Bring your own
Design Placement on a Shirt: A Guide That Uses Real Print Areas
A practical look at where a design should sit on a shirt, based on real print area boundaries rather than guesswork.
By Influxer · Published 2026-08-16 · Updated 2026-08-16 · 5 min read
Placement decides whether a design reads as intentional or accidental. The same artwork centered a few inches below the collar looks like a real product; nudged too high, too low, or too small, it looks like a sticker someone forgot to move. Yet most people upload their file and place it by eye, without ever seeing where the actual boundaries are.
The Influxer Custom Design Studio works inside a defined print area for every garment: a box that keeps your artwork inside the space a printer can reliably reproduce across sizes. Once you understand how that box behaves, placement stops being a guess and becomes a short set of decisions.
The print area is a boundary, not a suggestion
Every garment in the studio, whether a Comfort Colors 1717 tee or an Independent Trading Co. SS4500 hoodie, has a defined print area on the front, back, and smaller zones like the left chest or sleeve. When you upload artwork, the placement tool lets you move and scale it, but only inside that area.
This exists because a design that spills past the usable zone would sit differently on a small versus an extra-large garment, or run into a seam, collar, or hood. Staying inside the box is what makes the same design look right across every size you sell.
Full front vs left chest: pick a role for the print, not just a size
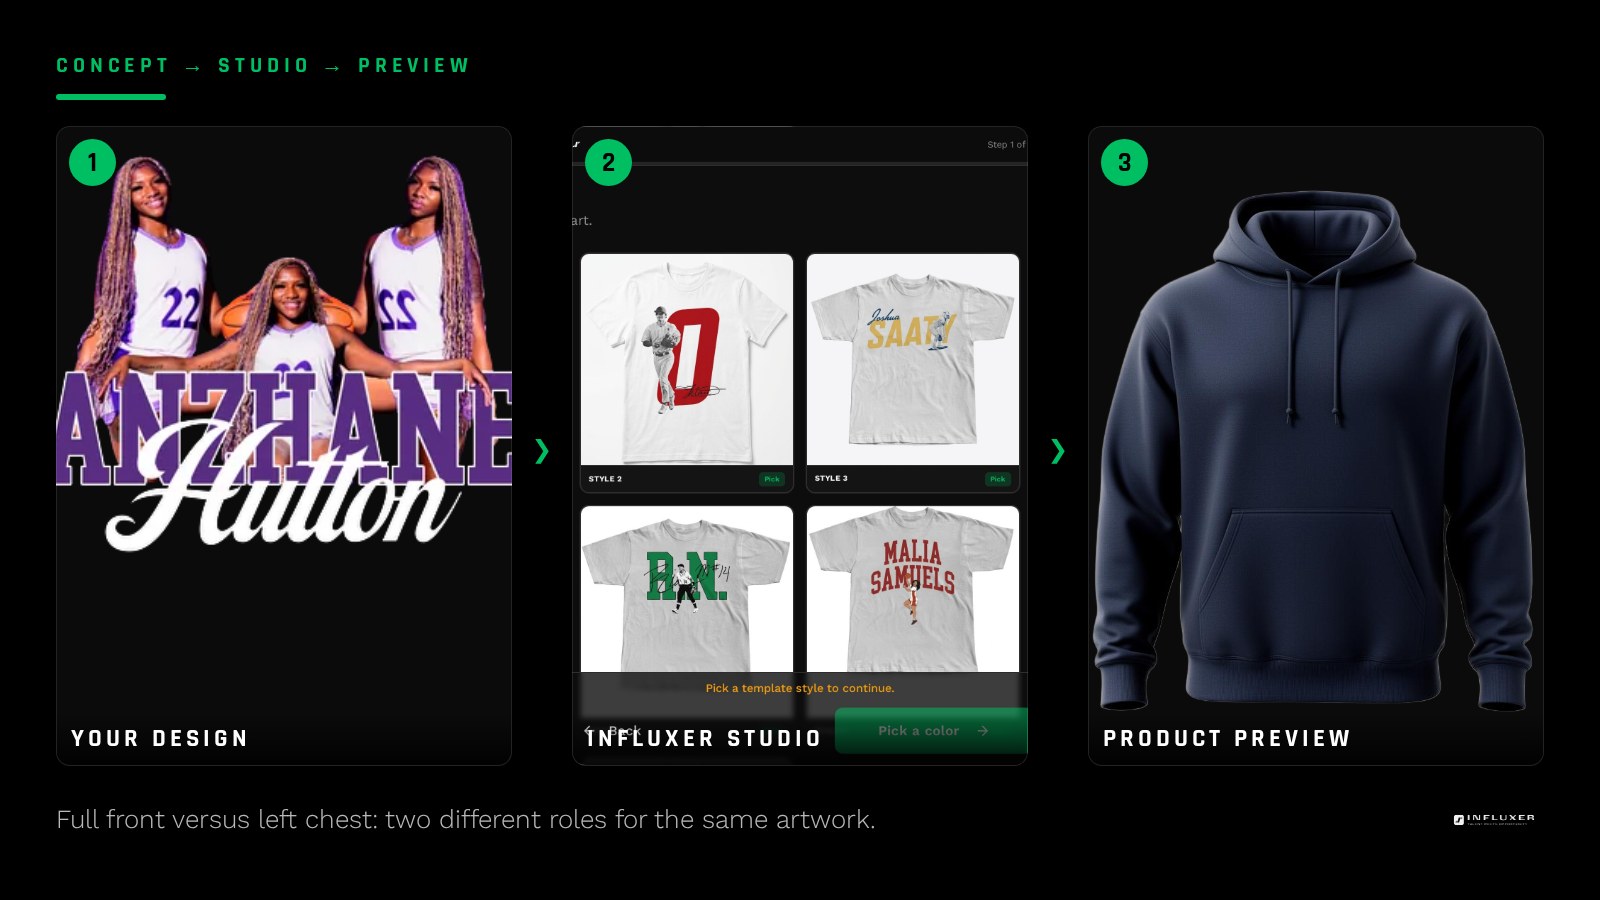
A full front print reads as the star of the shirt. It sits roughly centered, starting a few inches below the collar, and works best when the design itself is the point: a wordmark, a graphic, a nickname.
A left chest print is quieter. It sits higher and smaller, and it works well for a logo, initials, or a small mark that should feel like a detail rather than the headline. If you are pairing a left chest mark with a back print, keep the chest version simpler; it is read up close, at conversation distance, not from across a room.
- Full front: the design is the main statement on the shirt.
- Left chest: a smaller, quieter mark, often paired with a back print.
- Back print: read from a distance, so bigger and bolder holds up better there.
Centering by eye is not the same as centering by the print area
Placement tools measure from the edges of your uploaded file, not from where your eye finds the visible artwork. If your PNG has uneven transparent margins, the tool will center the file, not the design inside it, and the result looks off-center on the actual shirt.
Crop your file tight to the visible art before uploading. If a design already looks slightly off after placement, check the file margins first rather than nudging the placement repeatedly.
How scale changes the read of a design
Small adjustments in scale change how a design is perceived more than people expect. A mark sized to fill most of the chest print area reads as bold and confident. The same mark shrunk to leave a lot of empty space around it reads as tentative, like it is unsure it belongs there.
When you are unsure how large to go, err toward filling more of the available print area rather than less. Merch is usually seen at a distance or in a quick scroll, and a design with real presence holds up better than one that plays it safe.
Placement changes by garment, not just by design
The same artwork does not always belong in the same spot on every garment. A hoodie chest print needs to sit higher than a tee chest print to clear the front pocket. A quarter-zip has a narrower usable width near the collar than a crewneck. The studio adjusts the print area per garment for exactly this reason, so always re-check placement after switching garments rather than assuming the last position still works.
Use the mockup preview as your final judge
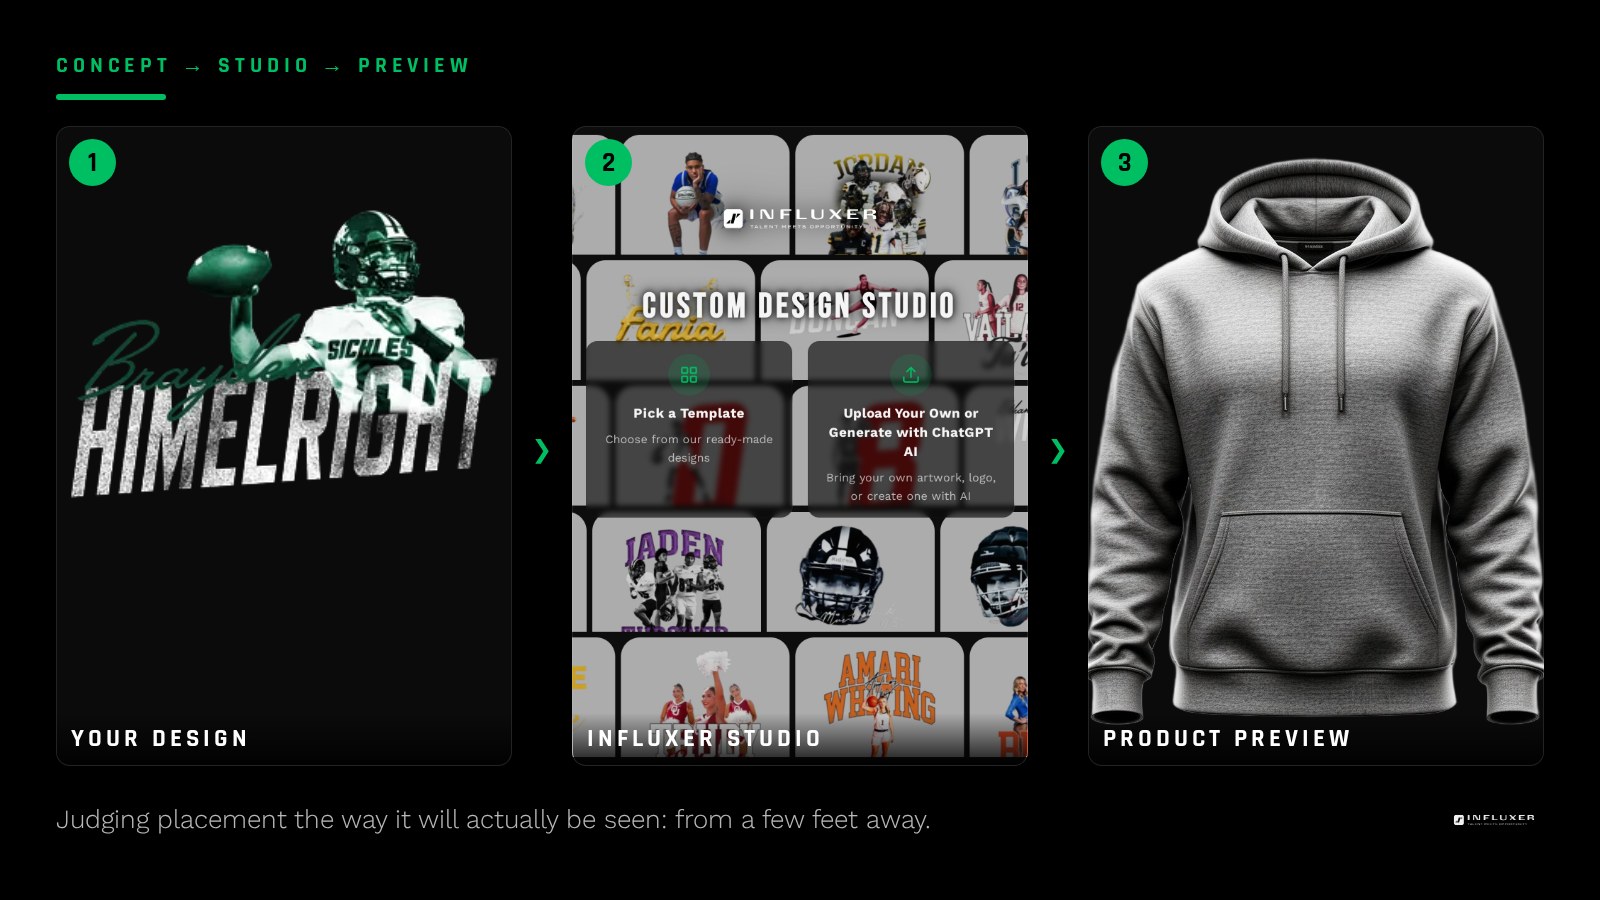
Once your artwork is placed, the studio renders it on a real garment mockup. This is the moment to actually evaluate the decision, not just confirm the upload worked. Step back from the screen, or shrink the browser window, and look at the design the way someone glancing at a shirt across a room would.
If the placement feels too high, too small, or crowded near a seam, adjust it right there before moving on. Catching it in the mockup costs nothing; catching it after production does not exist as an option, so the preview is the checkpoint that matters.
Placement decisions to make before you finalize
- Decide whether the design is the headline (full front) or a detail (left chest).
- Crop the uploaded file tight so the placement tool centers the visible art, not empty margin.
- Scale the design to use most of the available print area rather than leaving it small.
- Re-check placement after switching garments, since print areas differ by product.
- Confirm hoodie chest prints sit high enough to clear the front pocket.
- View the mockup preview at a distance to judge readability, not just accuracy.
- Pair a left-chest mark with a simpler design than you would use for a back print.
Frequently asked questions
Where should a single logo go on a shirt?
A single logo works well either centered as a full-front print if it should be the main statement, or smaller on the left chest if it should read as a detail. The choice depends on how much presence you want the mark to have.
Why does my design look off-center even though I centered it?
Placement tools center based on the edges of your uploaded file, not the visible artwork inside it. If your file has uneven transparent margins, crop it tight to the actual design before uploading.
Does hoodie placement differ from tee placement?
Yes. A hoodie chest print needs to sit higher than a tee print to avoid the front pocket, and the studio adjusts the print area per garment. Always recheck placement after switching between products.
How do I know if my design is too small?
Preview it on the garment mockup and look at it from a distance or a shrunk browser window. If it reads as a faint detail when you wanted it to be the main design, scale it up to use more of the available print area.
Place your design on a real mockup — Upload your artwork and adjust placement inside the actual print area.
See ready-made layouts instead — Start from a design that already has placement worked out.