Design it for me
Photo Requirements for Merch Design (and Easy Fixes)
A short, practical guide to what makes a photo work in a merch design: lighting, background, and a few fixes that take two minutes.
By Influxer · Published 2026-08-16 · Updated 2026-08-16 · 6 min read
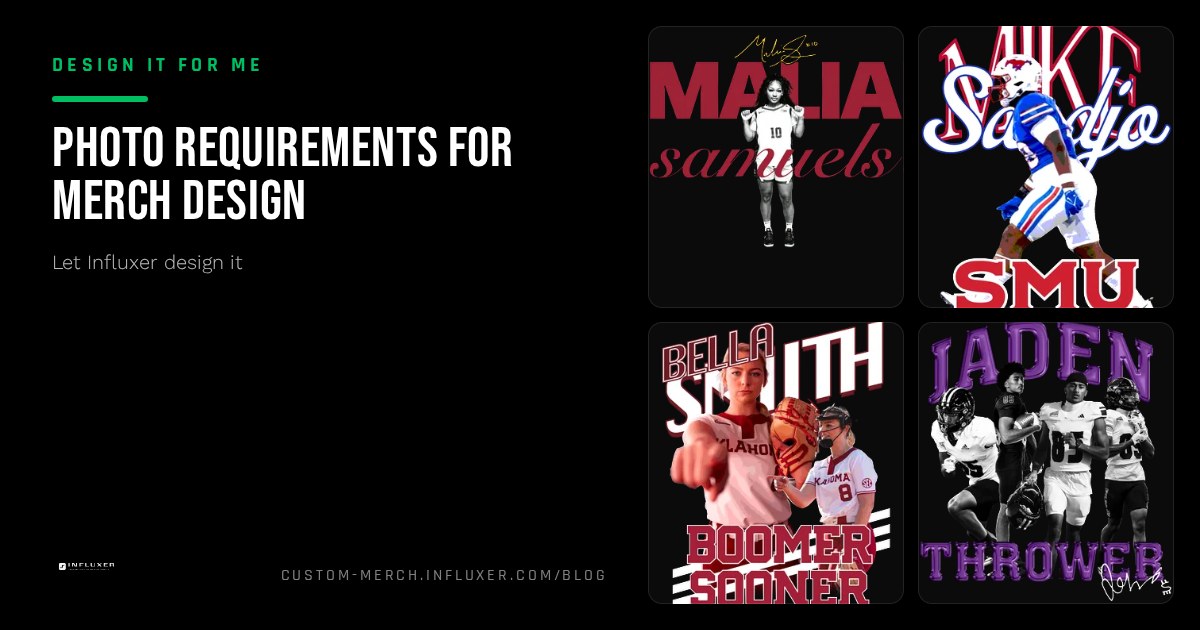
The Photo step in the Influxer athlete flow is completely optional, but when a photo works, it adds a personal layer that a text-only design simply cannot match. It connects your face or your action on the field directly to the brand you are building. However, a poor photo can actually detract from a great design.
When a photo does not work for print, it is almost always due to one of three easily fixable problems: bad lighting, a cluttered background, or low resolution. These issues aren't always obvious on a small phone screen, but they become very apparent once the image is enlarged to a ten-inch chest print on a hoodie.
None of these fixes require a professional camera or a studio setup. In fact, most can be addressed in a couple of minutes using the phone you already have in your pocket. This guide walks through what actually matters for a print-ready photo and how to check your own shots before you submit them.
By following these simple requirements, you ensure that your merch looks professional and that your design moves through the studio review process without being sent back for a retake. Here is what you need to know to get it right the first time.
Lighting matters more than the camera
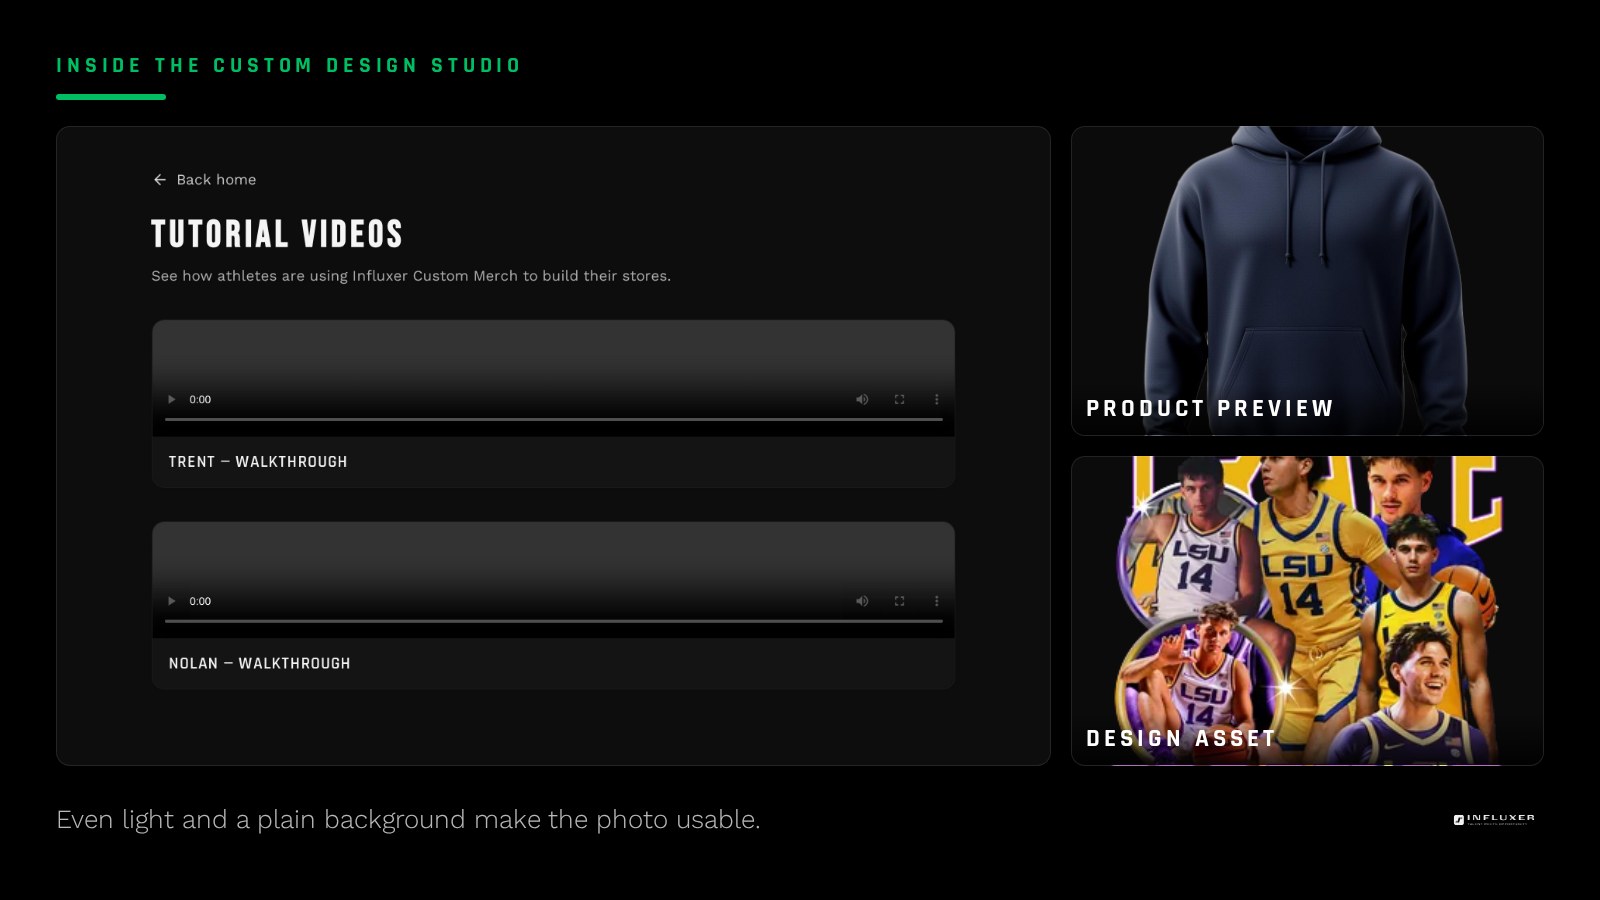
Even, natural light is your best friend. A photo taken near a window or in overcast daylight outdoors produces a high-quality, usable image from almost any modern smartphone. The goal is to have soft light hitting your face without creating harsh, high-contrast shadows.
Harsh direct sun is actually one of the worst lighting conditions. It creates hard shadows across the face, makes you squint, and can blow out the highlights in your gear. Conversely, dim indoor gym lighting introduces a yellow or green color cast and digital graininess (noise) that becomes very noticeable once the photo is placed at print size.
If you have to choose between an indoor gym shot under flickering fluorescent lights and stepping outside for thirty seconds on an overcast day, take the outdoor shot every single time. The difference in final print quality will be massive.
Background: plain beats busy
A busy background is a major distraction in a merch design. A locker room, a crowded sideline, or a cluttered bedroom pulls attention away from you and makes it much harder for the design team to isolate your figure if the layout calls for it. A plain wall, a stretch of green grass, or an empty gym corner works much better.
Think of the background as negative space. You want the viewer's eyes to go straight to the subject (you), not the equipment rack or the person walking by in the distance. Even if the background is going to be cropped, a clean original file makes the cropping process much cleaner and the final edges sharper.
- Plain wall or fence: the safest and most versatile default background.
- Avoid: other team logos, crowds, or cluttered equipment racks.
- Avoid: busy patterned clothing that competes with your face or jersey number.
- Aim for contrast: if you are wearing a dark jersey, stand in front of a lighter wall.
Resolution: shoot at full size, do not screenshot
This is the most common technical error. You must take the photo directly with your phone's camera app at its native resolution. Do not screenshot a photo from a text thread, a social media post, or a website. Screenshots and social media apps compress images significantly to save space, stripping away the detail needed for printing.
A photo that looks perfectly sharp on a phone screen at thumbnail size can look soft, blurry, or pixelated once it is enlarged to fill the chest area of a shirt. If you are using a photo someone else took, ask them to "AirDrop" it or send it as a "File" rather than a standard text message to preserve the original quality.
Do not use borrowed team photography
This is a legal requirement, not just a design preference. Photos shot by a school photographer, a broadcast crew, a professional agency, or another organization belong to whoever took the photo, even if you are the person in the shot. Using that photography in your own merch design without a written license is something the Influxer studio cannot do.
To avoid delays, only upload photos that you took yourself, or photos that a friend or family member took specifically for you with the clear permission for you to use them for your merch. It is better to have a slightly less "pro" shot that you own than a perfect action shot that results in a copyright rejection.
Framing and pose: give the design room to breathe
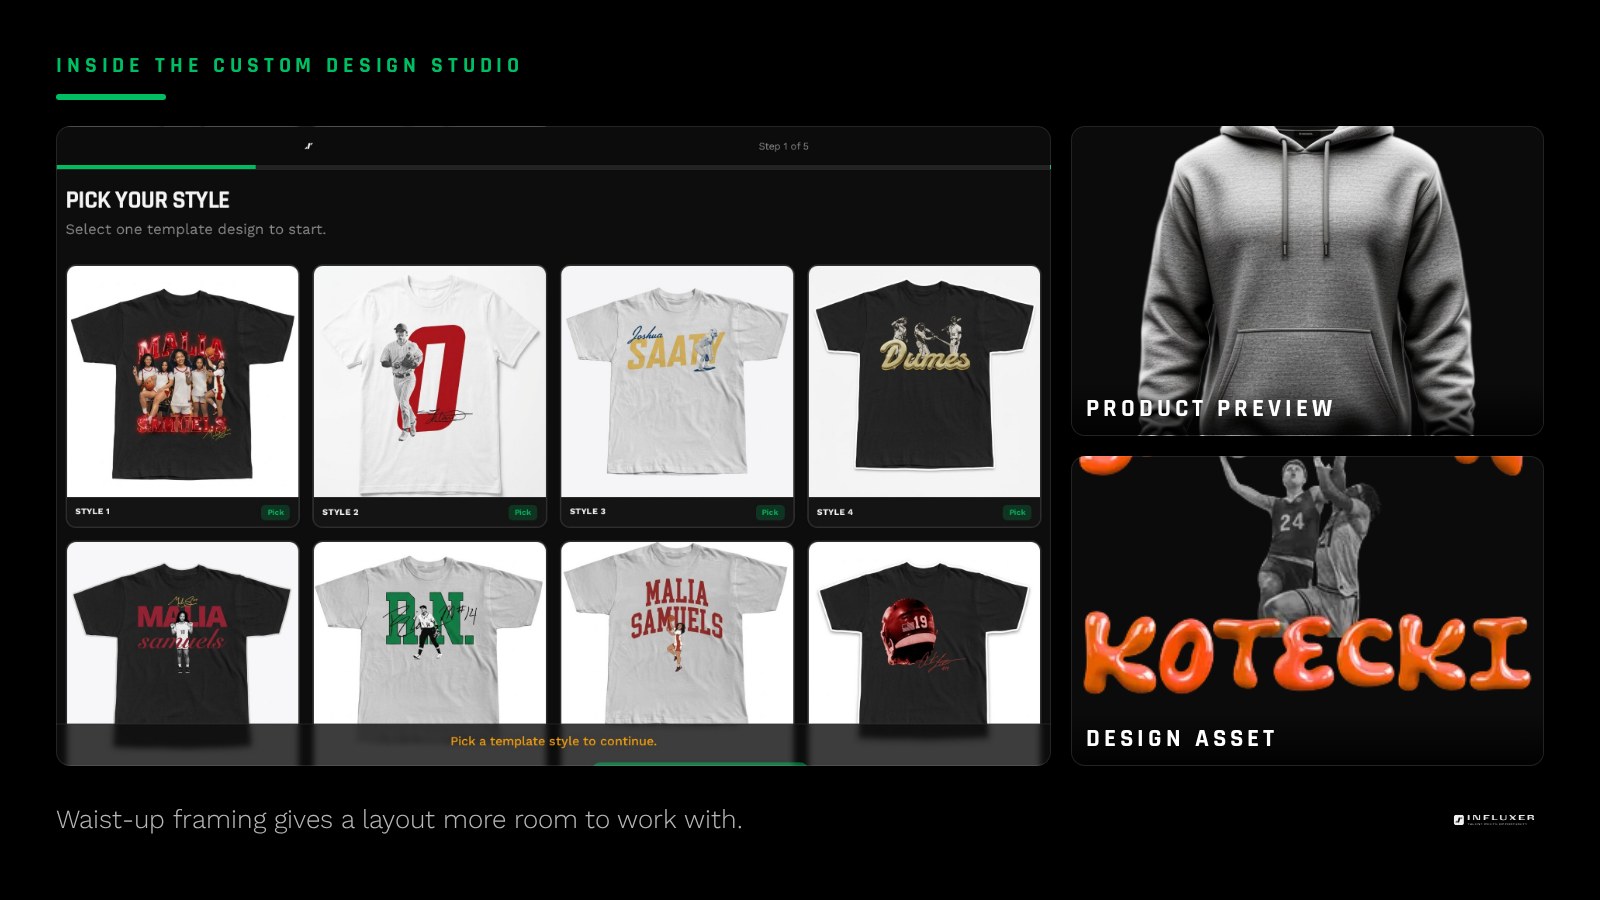
A waist-up or full-body shot in your gear, facing mostly toward the camera, provides the most flexibility for how the photo gets integrated into a layout. If the photo is cropped too tightly at the top of the head or the sides of the shoulders, it limits the design team's ability to create a balanced composition.
Extreme close-ups or heavily cropped action shots where limbs are cut off often look awkward when placed inside a design box. Stand comfortably, look at the camera (or slightly off-camera if that is the vibe), and make sure there is a bit of space all around you in the frame. We can always crop in, but we cannot add more background that isn't there.
A quick check before you submit
Before you upload, do the "zoom test." Open the photo at full size on your phone and zoom in specifically on your face and any text or numbers visible on your jersey. If the image looks soft, fuzzy, or shows blocky pixels when you zoom in, it will look the same way on a printed garment.
Also, look at the background one last time. If there is a trash can, a distracting sign, or another brand's logo clearly visible right next to your head, it is worth taking thirty seconds to move slightly and retake the shot. A little bit of effort during the Photo step saves a lot of frustration during the Review step.
Before you upload a photo to the studio
- Shoot in even, soft daylight or very bright indoor light.
- Avoid harsh direct sun that creates hard shadows and squinting.
- Choose a plain, uncluttered background like a wall or empty field.
- Ensure no other brand logos or team marks are visible in the background.
- Take the photo directly with your camera app; never use a screenshot.
- Confirm the photo is one you took or have explicit permission to use.
- Zoom in on the full-size image to check for sharpness and detail.
- Prefer a waist-up frame with space around your head and shoulders.
- Skip the Photo step entirely if you do not have a high-quality image yet.
Frequently asked questions
Is the Photo step required to complete my order?
No, the Photo step is completely optional in the five-step studio flow. Skipping it does not leave your submission incomplete, and many of our best-selling designs rely solely on great typography and graphic elements.
Can I use a photo from my school or team website?
No. That photography is owned by the school or the photographer who was hired to take it. It cannot be used in a custom merch design without their express legal permission, regardless of who is in the photo.
What if my only photo was taken indoors under gym lights?
It might work, but gym lighting often creates a yellow color cast and "noise" in the image. If you can retake the photo near a large window during the day, the natural light will result in a much cleaner print.
Does the background get removed automatically by the studio?
Do not assume a cluttered background will be perfectly removed. While our designers can do a lot, starting with a plain background ensures the cleanest results and prevents the photo from looking "pasted on" in the final design.
What is the minimum resolution I should aim for?
While we don't have a hard pixel count, a photo taken at your phone's standard "12MP" or higher setting is usually perfect. The key is avoiding the compression that happens when you send photos via text or social media.
Start with a template — Bring a clean photo and the studio will build around it.
Watch the studio walkthrough — See the Photo step in the actual flow.