Design it for me
Done-For-You Athlete Merch Design: How It Works Start to Finish
You do not need design skills to get merch that looks intentional. Here is exactly how the done-for-you path works from your first brief to final review.
By Influxer · Published 2026-08-16 · Updated 2026-08-16 · 5 min read
Not every athlete wants to open a design tool and start dragging text boxes around. If your strength is your sport, not layout software, the done-for-you path lets the Influxer studio do the visual work while you provide the raw material: your name, your sport, your photos, and a sense of what you like.
This is not a black box. You still make the real decisions — garment, colors, what the design says, and whether the first draft is close enough or needs a change. What changes is who is pushing pixels around a print area.
Below is the actual sequence, what each step needs from you, and where the choices you make early save you a round of back-and-forth later.
Start from a template, not a blank canvas
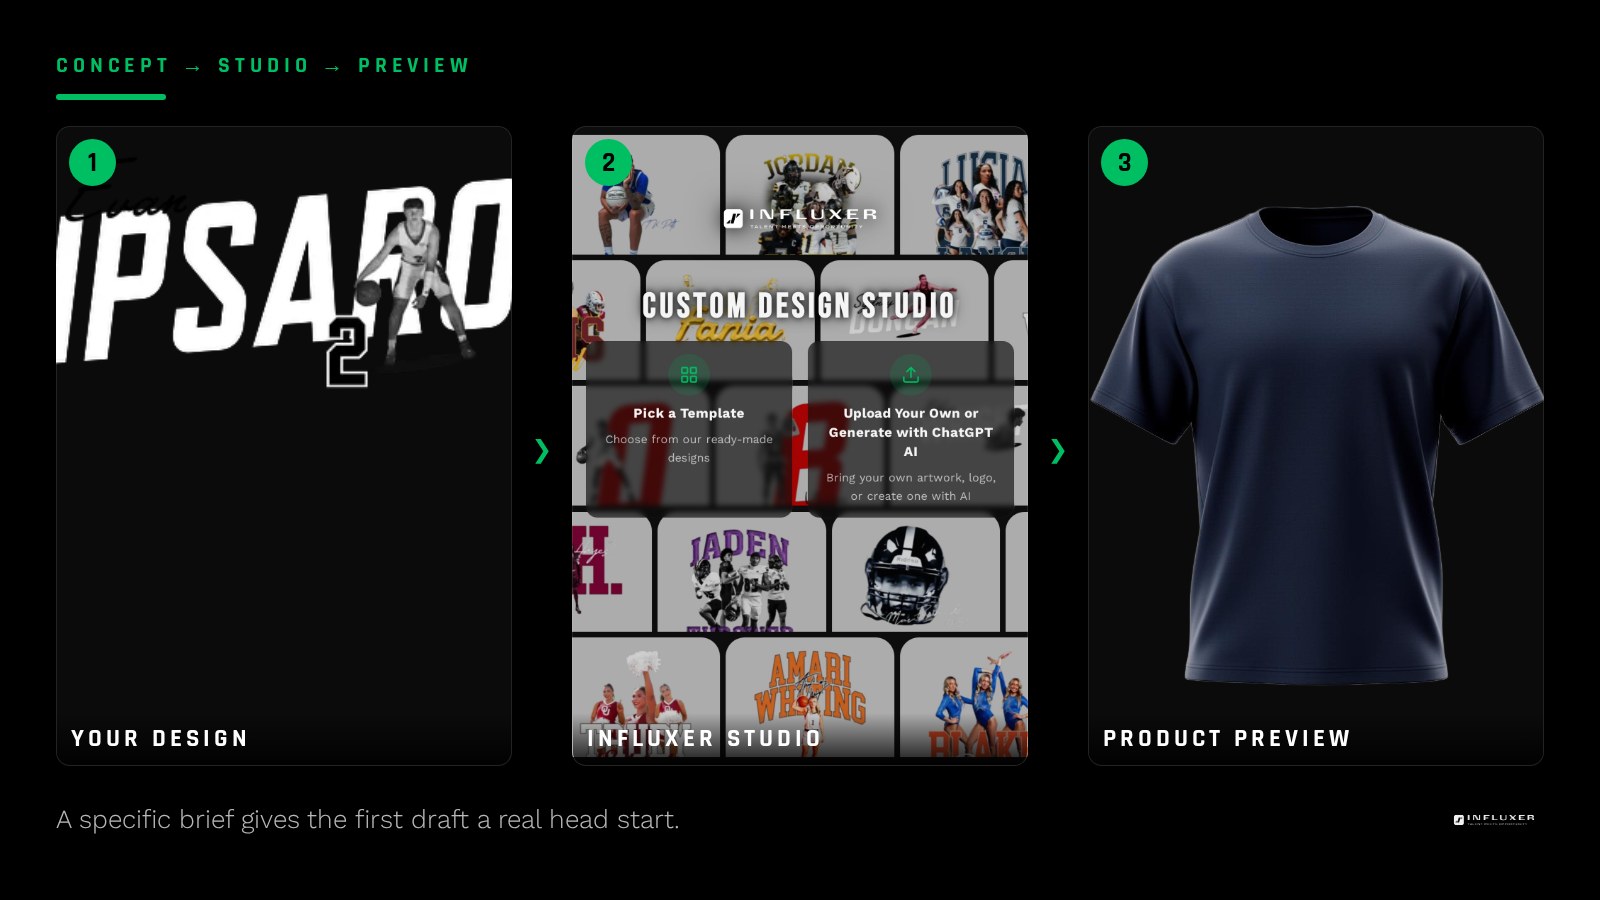
The done-for-you path begins at "Pick a Template" on the home page, which routes to /onboarding?mode=templates. A template is a proven layout for your sport — the studio already knows where the name goes, where the number sits, and how the composition balances on a tee versus a hoodie.
Starting from a template does not mean the result looks generic. You are supplying the specifics: your name, your number, your school colors if you want them echoed, and any photo or detail that makes the layout yours. The template is scaffolding, not the finished product.
What a useful first brief includes
The single biggest lever you control is how clear your first brief is. A brief that says "make it look good" gives the studio nothing to work from except the template default. A brief that gives specifics gives the team something to build toward on the first pass.
- Full name or nickname exactly as you want it spelled and capitalized
- Sport, position, and jersey number if relevant
- Any phrase, hashtag, or slogan you actually use, not one you thought of just now
- Colors you want kept or avoided, named specifically (e.g. Pepper, not "dark")
- A reference: a design you have seen and liked, and what specifically you liked about it
Photos help more than most people expect
The Photo step in the five-step flow (Design, Photo, Signature, Info, Review) is optional, but a clean photo gives the design real texture. This does not mean a professional headshot. It means a well-lit, uncluttered shot of you in your gear, taken with a decent phone camera in daylight or good indoor light, without another team's photography or a stock image standing in for you.
Avoid photos pulled from a school website or a game broadcast; those belong to whoever shot them, and the studio cannot use borrowed team photography in a design regardless of how good the shot looks.
Colors and garments still need a decision from you
Even on the done-for-you path, someone has to pick the shirt. Comfort Colors 1717 wears differently than a standard tee, and the Independent Trading Co. SS4500 hoodie has a front pocket that changes where a chest print should sit. Naming your preferred garment and one or two acceptable colors up front means the first draft is already close, instead of correct in concept but wrong in wardrobe.
The Review step is where you actually approve it
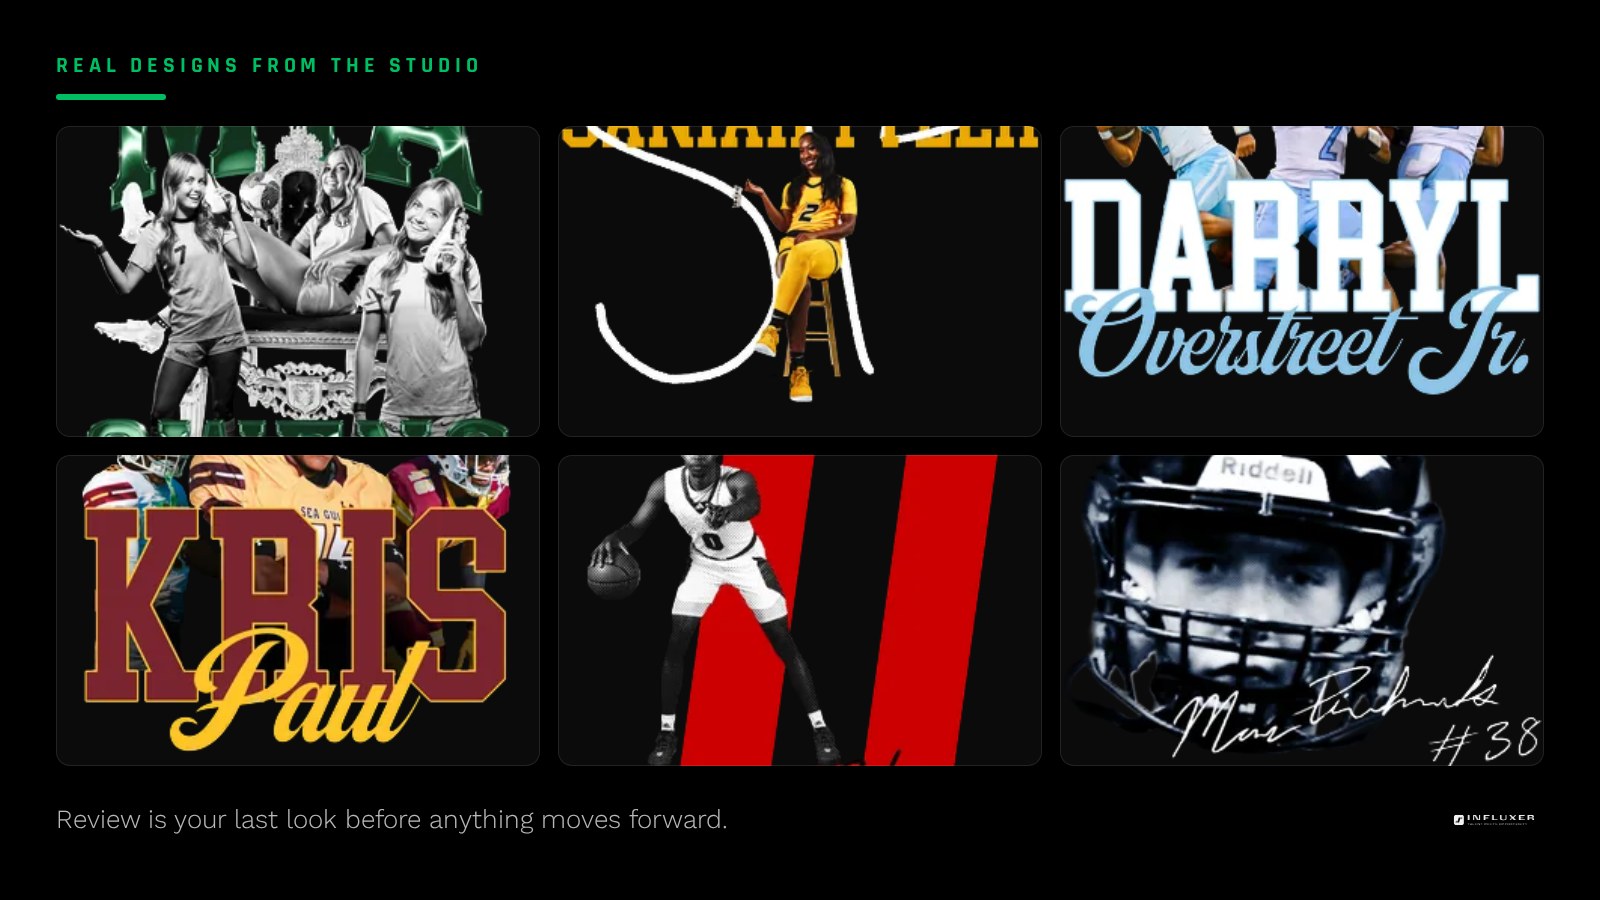
Every submission ends at Review, the fifth step, where you see the design placed on the real garment mockup before anything moves toward production. This is not a formality — it is the point where you check the spelling, the color, the placement, and whether the composition matches what you asked for.
Because Info and Design data auto-save as a draft, you can leave Review, think about it, and come back through your resume link rather than needing to finish everything in one sitting.
What affects how the process moves
How quickly a design comes together depends on a few concrete things: how specific your initial brief was, whether your photo is usable as-is or needs a retake, and how many rounds of feedback it takes to match what you pictured. None of these are fixed numbers — they are just the levers you control.
Giving a specific brief the first time, choosing your garment and colors before you start, and using clear, worded feedback (see below) all shorten the distance between your first look and your final approval.
Feedback that actually moves the design forward
When a first draft is not quite right, name the specific element and the specific change: "move the number lower and increase its size" gets acted on cleanly. "It feels off" does not point anywhere. Treat each round of feedback like a brief in miniature.
Before you start the template path
- Write out your name, number, sport, and any phrase exactly as you want them to appear.
- Pick a garment (tee or hoodie) and one or two acceptable colors.
- Gather one well-lit, uncluttered photo if you plan to use the Photo step.
- Decide if you want to skip the Signature step — it is optional either way.
- Have a reference design ready to describe, even if you cannot upload it.
- Know your school or team colors by name, not just by memory.
- Set aside time to actually review the Review step instead of clicking through it.
Frequently asked questions
Do I need to know how to design anything myself?
No. The template path is built for exactly this: you provide the specifics — name, number, sport, colors — and the studio builds the layout. Your job is describing what you want clearly and reviewing the result.
Can I still request changes if I do not like the first draft?
Yes. The Review step exists specifically so you can catch anything before it moves further. Describe the exact change you want rather than a general impression, since specific feedback is easier to act on.
What if I do not have a good photo?
The Photo step is optional and skipping it does not stop your submission from being complete. If you do have one, a clear, well-lit shot without clutter or borrowed team photography works best.
Is the Signature step required?
No, it is entirely optional and can be skipped without affecting the rest of your submission.
Start with a template — Let the Influxer studio build around your name, sport, and details.
See the five studio steps — Short videos walking through Design, Photo, Signature, Info, and Review.