Design it for me
What to Send Us When You Want the Design Handled for You
The done-for-you path still needs input from you. Here is exactly what to gather before you start so the first draft is close to what you pictured.
By Influxer · Published 2026-08-16 · Updated 2026-08-16 · 6 min read
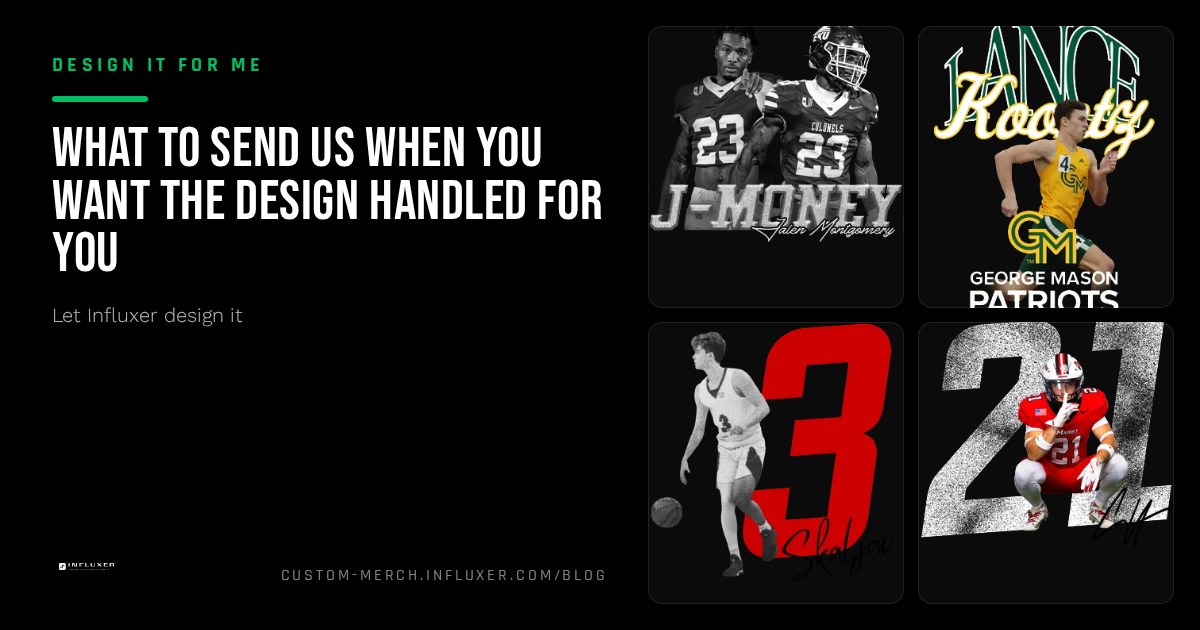
Choosing the done-for-you path at Influxer—where you start from a ready-made layout—is a great way to ensure professional results without needing to be a graphic designer. However, handing over the creative work does not mean you should show up empty-handed. The studio builds from the information you provide, so the quality of your initial input directly shapes how close the first draft lands to the vision in your head.
Most of what is needed is information you already have ready: you just haven't written it all down in one place yet. By gathering these details before you open the studio, you can move through the flow with much more confidence and speed. This is a plain-language list of what to prepare, organized by how each piece of info affects the final design.
None of this requires specialized software or design experience. It simply requires you to be specific instead of general. Being specific is the single best habit for producing a design you are ready to take live without multiple rounds of revisions.
Before you start your session at /onboarding?mode=templates, take five minutes to go through this list. Your future self—and the design team—will thank you.
Names and text, spelled exactly right
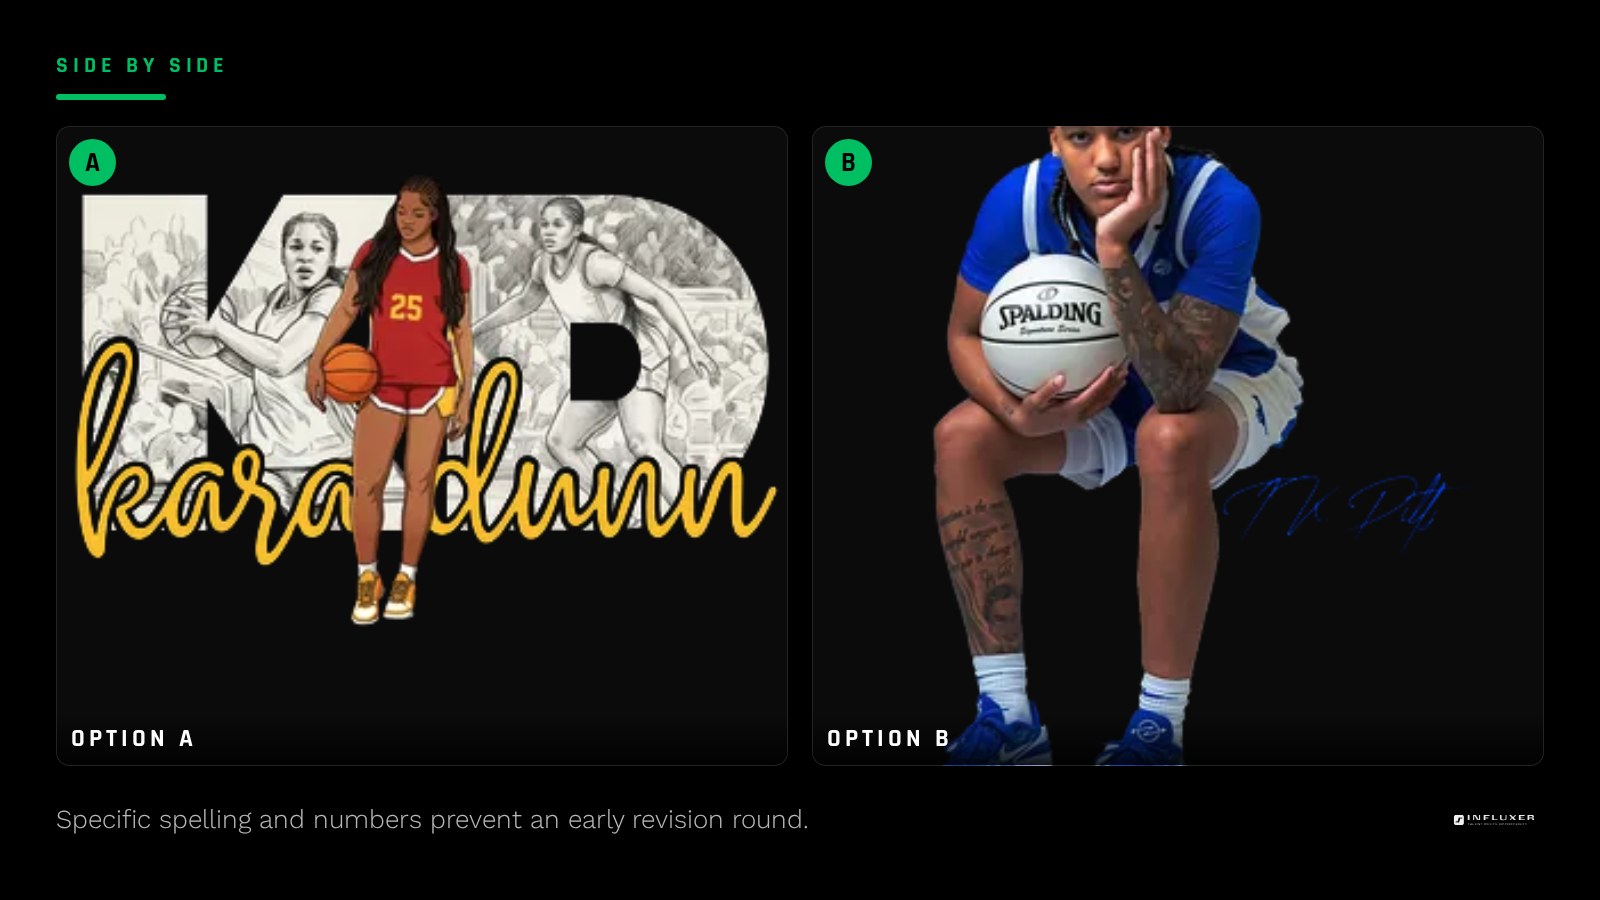
Write out your name, nickname, or team name exactly as you want it to appear on the final garment—capitalization, punctuation, and spacing included. If your last name has an unusual spelling or if you prefer an initial plus a last name, state that explicitly. The designers will follow your lead, so if you type it in all caps, they will likely build it in all caps.
Include your jersey number as a digit (e.g., "24"), not a word, unless you specifically want the word spelled out for a stylized look. If there is a specific phrase or hashtag you use frequently on social media or in the locker room, include it—but only choose ones that genuinely represent you, rather than something invented just for the shirt.
Double-checking this step is the easiest way to avoid a wasted revision round. A typo caught in the brief is fixed in seconds; a typo caught after the first draft is delivered adds days to the process.
- Full name or nickname, with exact spelling and capitalization.
- Jersey number, written clearly as a digit.
- Sport and position if it changes the layout (e.g., a "Pitcher" vs "Outfielder" graphic).
- Any real phrase, hashtag, or motto you actually use and want featured.
Colors, named specifically from the picker
Vague color language like "dark colors" or "school colors" almost always results in a revision round. Instead of general descriptions, name the actual colors available in our garment picker: Pepper, Blue Jean, Yam, Ivory, Blue Spruce, or Watermelon. If you are trying to match a specific team palette, identify the two or three primary colors that palette actually uses.
If you are unsure which named color is closest to what you picture, it helps to say what you are trying to avoid as well. For example, "not a bright red, something closer to a deep maroon like Crimson" gives the designer a much clearer target. You can browse all the available garment colors at /start to see them on real product mockups.
Consistency in color naming ensures that your hoodies, tees, and long sleeves all look like part of the same collection.
A reference, even an imperfect one
If you have seen a design you liked—perhaps on a teammate's shirt, in a photo, or on another brand's site—describe it specifically. What about it worked for you? Was it the heavy font weight, the way the number was integrated into the logo, or the placement on the chest? A reference paired with a specific reason is far more useful than a vague request for "something like this."
You don't need to find a perfect match. Even a rough idea of the "vibe" (like "minimalist and modern" vs "bold and retro") helps the studio select the right template variants to show you.
Garment and print area preferences
Decide up front which garments you want to offer. Will it be a standard tee, a Comfort Colors 1717 for a softer feel, or an Independent Trading Co. SS4500 hoodie? Each garment has a different physical print area and different construction constraints. For instance, the hoodie's front pocket changes where a centered chest design can sit.
If you know your primary garment before the first draft is built, the designers can optimize the layout for that specific canvas. A design built for a flat t-shirt chest might need to be scaled differently to look good on a heavy hoodie.
Photos, if you plan to include one
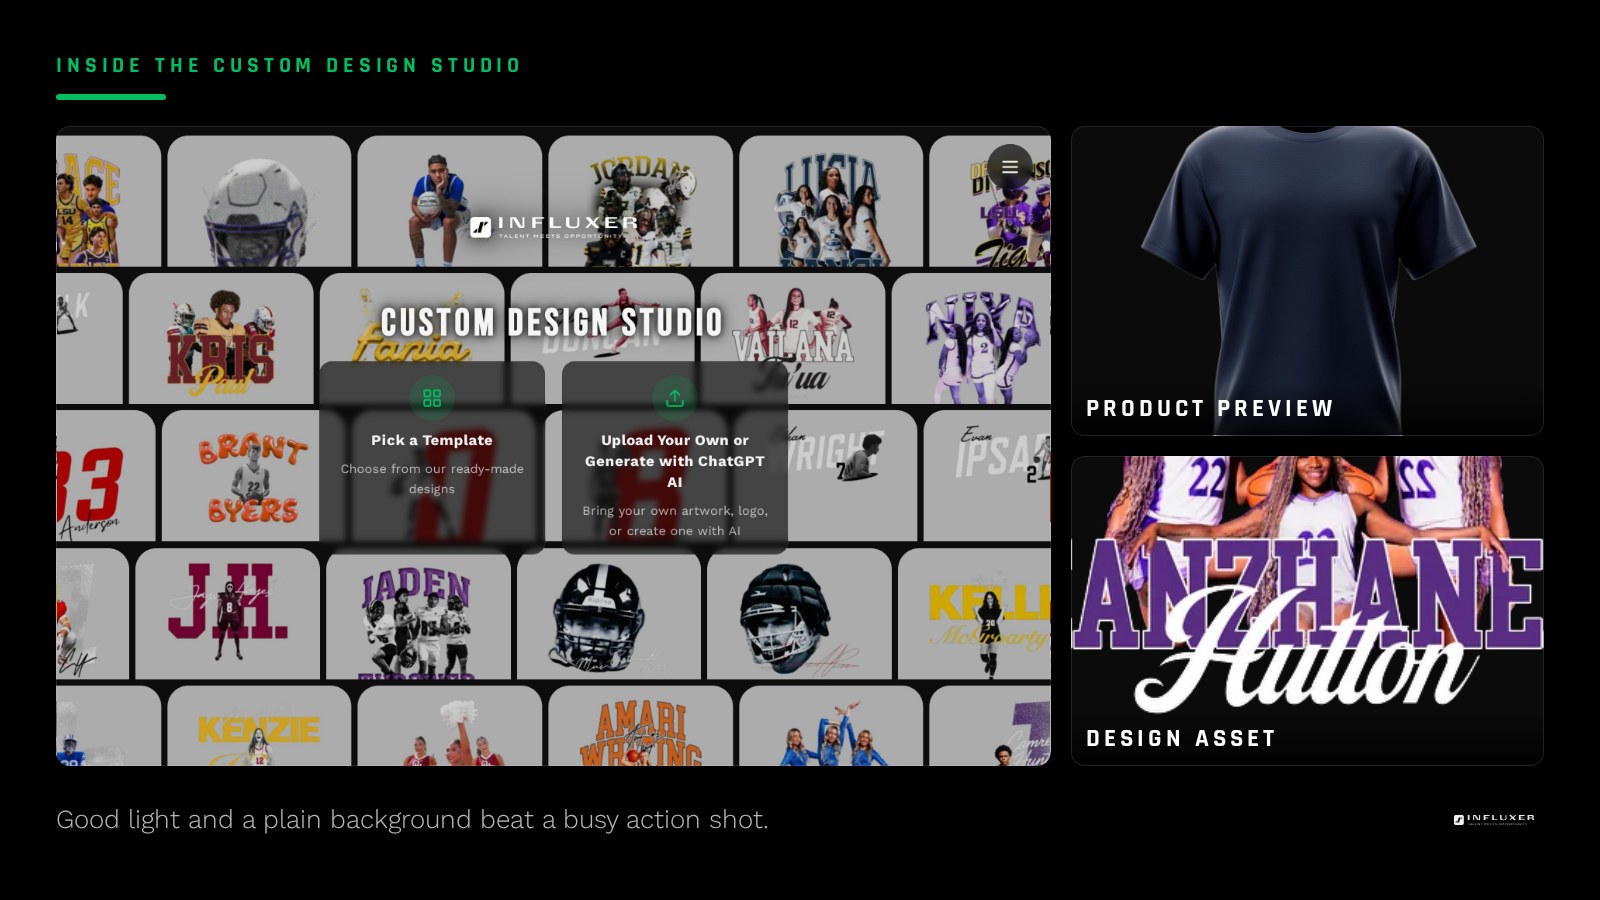
The Photo step is optional, but if you want an image worked into the design, you need to provide one that is print-ready. Look for a photo taken in even, natural light with an uncluttered background. A plain wall or simple outdoor light works much better than a busy locker room or a grainy action shot taken from the far side of the field.
Crucially, avoid using team or school photography that you do not legally own the rights to. A high-quality photo you took yourself on a modern phone is a much better starting point than a professional shot pulled from a website that will result in a copyright rejection. Check out our full photo requirements guide at /tutorials for more tips.
What you do not need to send
It is just as important to know what you *don't* need to worry about. You do not need a professional design file, a pre-made mockup, or any experience with design software. You don't need to understand technical print terms like DPI or bleed zones—that is exactly what the studio and the design team handle for you.
Sending too little specific information is a far more common problem than sending too much. Don't be afraid to be detailed in your brief; it's the fastest way to get your merch ready to take live.
Gather this before you start your design session
- Exact spelling and capitalization of your name or nickname.
- Jersey number written as a digit (e.g., 24).
- Your sport and specific position if relevant to the layout.
- One or two real phrases or hashtags you actually use.
- Two or three specific color names from the Influxer garment list.
- A reference design link or description and the specific reason you liked it.
- Your primary garment choice: tee, 1717 tee, or SS4500 hoodie.
- One usable, well-lit photo if you plan to include one.
- Confirmation that you own the rights to any photos you provide.
Frequently asked questions
What if I do not have a reference design in mind?
That is perfectly fine. You can describe the "mood" instead—such as "bold and simple" versus "detailed and layered." Specific color and text details will still give the designers enough to build a great first draft.
Can I change my mind about the colors later?
Yes. The Review step is where you confirm every detail, including colors, text, and placement, before anything is finalized. You have the opportunity to adjust your choices before the submission is sent to the team.
Do I need a professional headshot?
No. A phone photo taken in good, even light against a plain background works very well for merch. What matters most is the lighting and the lack of clutter, not the professional equipment.
What happens if my brief is too vague?
The studio will build from the template defaults based on your sport. While this still looks good, it might take more rounds of feedback to get it exactly how you pictured it. A specific brief just saves time.
How do I "take live" my finished design?
Once the design team has finalized your brief and you have approved the Review step, the design is checked for technical print requirements. After it passes, it is ready to take live on your store page.
Start with a template — Bring your name, number, and colors and let the studio build the layout.
See what the Review step checks — Understand the full flow before you begin.