Design it for me
How Long Custom Merch Design Takes, Step by Step
There is no fixed timer on a design order. Here is the actual sequence of steps and what genuinely affects how quickly it moves.
By Influxer · Published 2026-08-16 · Updated 2026-08-16 · 6 min read
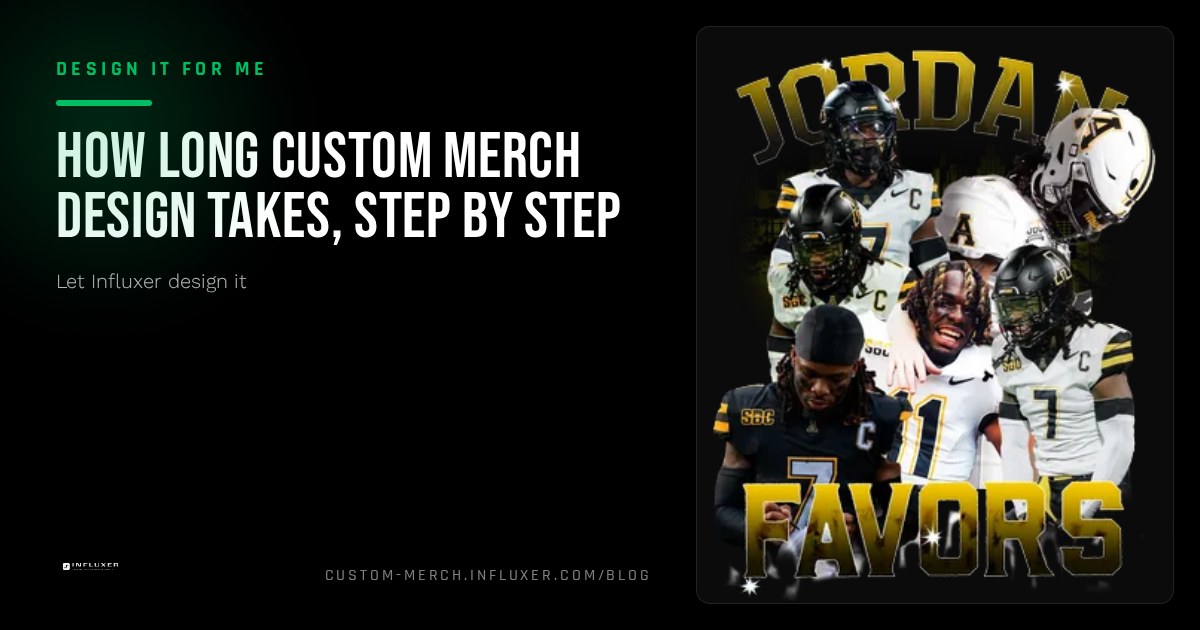
People searching for a timeline usually want a single number, but a useful answer is the sequence of steps and what affects each one. In a custom environment, speed is a collaborative effort between the athlete and the studio. The time it takes to move from concept to a finished product depends heavily on clarity and the speed of the feedback loop.
Speed is about being accurate. A design order is a series of dependent steps: your initial input, a studio build, your review, and possibly a revision round. Each step has levers you control. If you provide everything the studio needs on day one, the process moves without friction.
Below is that sequence in order, with the specific things that shorten or extend each part. By understanding how the studio works, you can avoid pitfalls that add days and instead take live your merch with confidence.
Step one: your brief
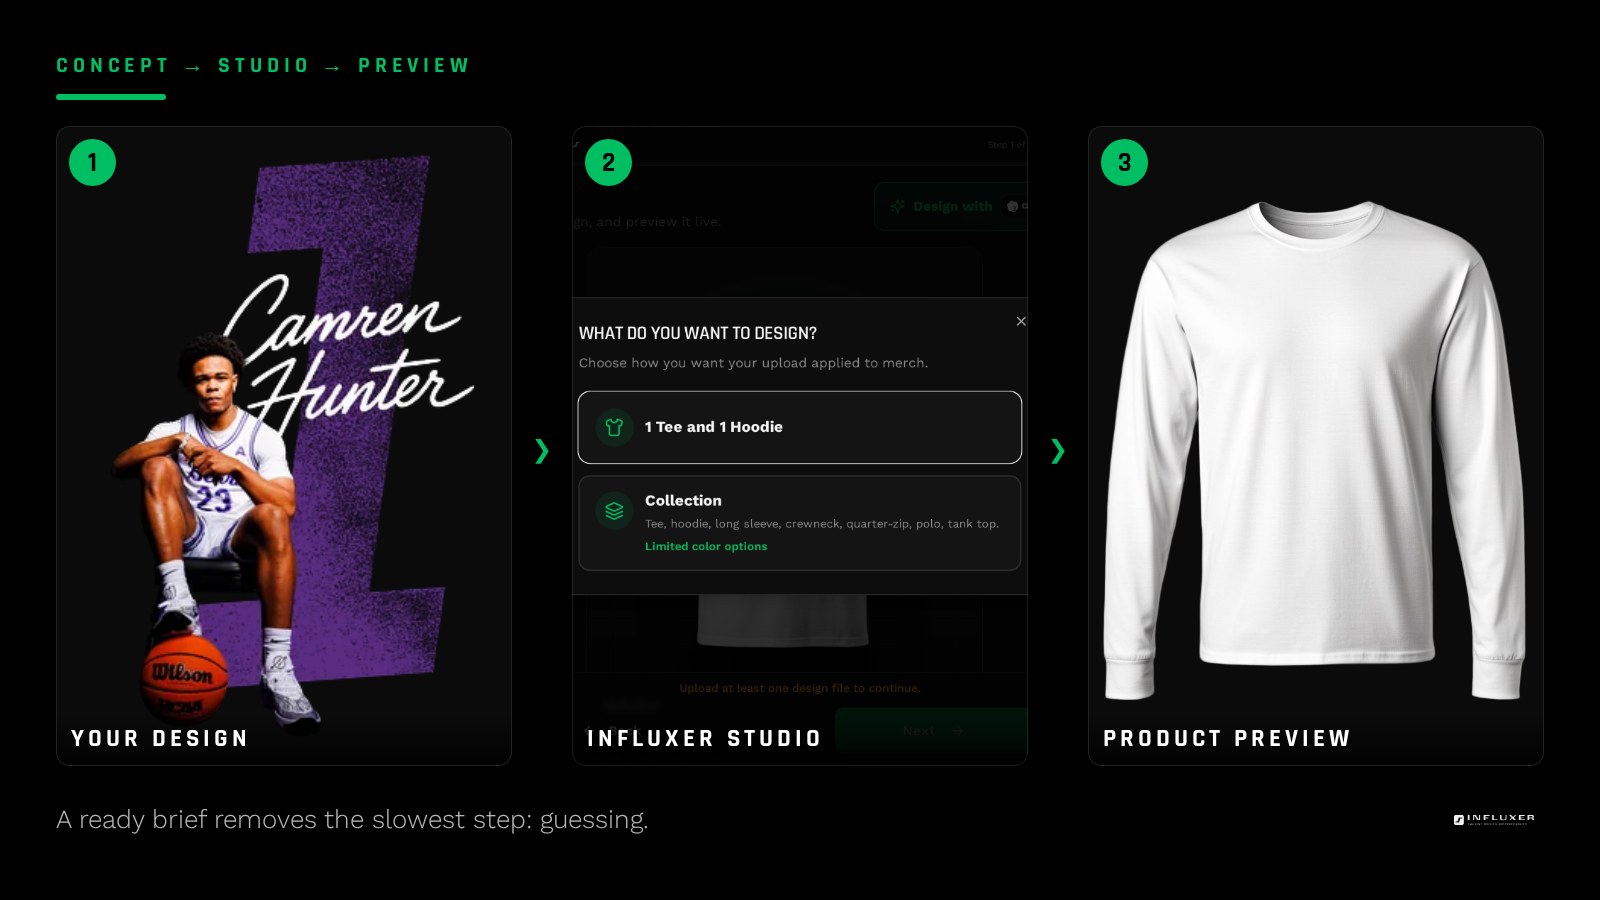
Everything starts with what you provide in the Design step—your name, jersey number, sport, specific colors, and any visual reference. A brief with specific names and clear color choices gives the studio a clear target to hit from the very first draft. The more the design team has to "discover" your style, the longer the initial build takes.
When you provide a visual reference—like a photo of a shirt you love—you give the design team a "North Star." Without it, the studio has to interpret words like "modern" or "bold," which can mean different things to different people. If you can name the exact colors you want—like Pepper, Blue Jean, or Crimson—you eliminate guessing and ensure the digital mockup matches your vision.
Step two: the Photo and Signature steps
Photo and Signature are optional stages, but they are common points where momentum can stall. If you plan to include a photo, having it ready before you start avoids a pause. High-resolution means the file is large enough to show detail without pixelation. If your photo is blurry or dark, the studio may have to pause to request a sharper version.
The Signature step can be skipped entirely. If you do include one, have a clean scan or high-contrast photo ready to upload. A signature written with a thick black marker on plain white paper is much easier for the studio to process than a pencil signature on lined paper, which requires manual cleanup that can delay the build.
Step three: Info
The Info step captures who the order belongs to. Filling this in accurately the first time avoids follow-up questions to confirm name spelling or email. Choosing to link your submission to an account allows the system to auto-populate your details for future orders, creating a streamlined path for every design you decide to take live in the future.
Step four: Review
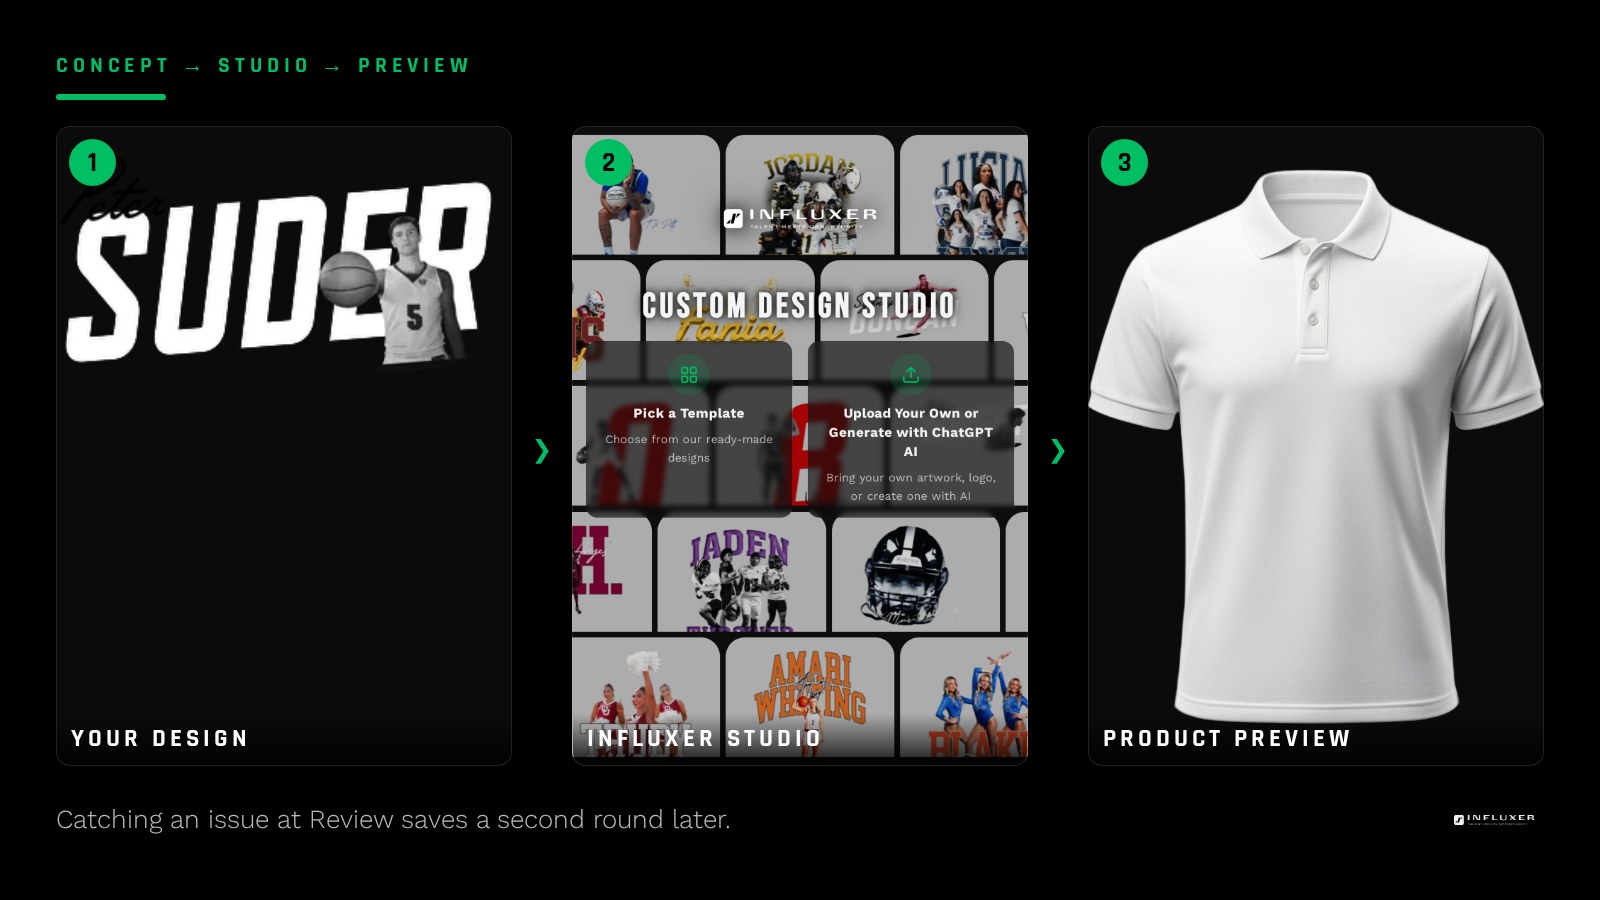
Review is where the design is shown on a real garment mockup. Look closely—check spelling, color accuracy, and placement—rather than just skimming. During the Review step, you aren’t just looking at the art; you are looking at how it sits on the product. Is the name too close to the collar? Is the jersey number centered on the chest?
Think of Review as your quality control gate. Verify the contrast—does the font color pop against the fabric color? The more time you spend ensuring every detail is correct now, the less likely you are to need a time-consuming revision round later. Catching a small error here is infinitely faster than catching it after submission.
How revisions affect the timeline
A revision round isn’t just a "quick fix"; it’s a return to the design desk. When you submit a request for a change, the studio team has to open the original source file, adjust the layers, export new mockups, and re-upload them for your review. This cycle is why "one more thing" can add a day to the process.
To keep things moving, group all your feedback into a single revision request rather than sending multiple small updates. A specific note—indicating which element needs to move or what color needs to change—moves much faster than a general impression. The clearer your instructions, the faster the designer can execute the fix and return the updated mockup.
Common reasons timelines slip
The most common cause for a timeline slip is a "missing asset pause." This happens when an order is submitted but the photo is too low-quality to print, or the requested name doesn’t match the athlete’s account details. In these cases, the studio has to pause work and wait for a response.
Another factor is "revision ambiguity." If a request says "make it look cooler," the design team has to guess what that means, which often leads to a second revision round. Clarity is the most effective tool you have for maintaining speed. By being decisive, you remove the guesswork that leads to delays.
Factors that genuinely affect the pace
None of these are promises about exact dates, just the honest list of what actually moves the needle. By managing these factors, you can significantly influence how quickly you are ready to take live your new merch.
- Specificity of your brief: Providing hex codes and placement instructions removes all guesswork.
- Quality of inputs: Using a high-megapixel camera and clear ink prevents technical rejections.
- Number of revision rounds: Each round resets the queue; getting it right early is the fastest path.
- Clarity of feedback: Using directional terms (e.g., "move logo down") is faster than subjective terms.
- Response time: The clock is often waiting on your approval; checking your dashboard once a day keeps the momentum.
What you can do to keep things moving
Prepare your brief before you open the studio flow. Have your photo and signature files ready. Read every field in the Review step carefully, checking for typos in names and numbers. Catching a mistake yourself is always the fastest way to fix it.
Finally, use your resume link if you need to pause. Don't start over from scratch if you realize you forgot a detail; the studio auto-saves your progress. This allows you to gather missing information without losing the work you have already put into the design brief.
Keep the process moving
- Write out your brief before opening the flow.
- Prepare a high-resolution photo in advance.
- Fill in the Info step accurately the first time.
- Read the Review step mockup and text fields closely.
- Phrase any revision request with a specific element.
- Respond promptly to clarifying technical questions.
- Use your resume link if you need to pause and come back.
- Group all desired changes into one revision request.
- Check font contrast against the chosen garment color.
Frequently asked questions
Can you give me a specific delivery date for my design?
No fixed date is promised since the pace depends on factors you influence, such as brief specificity and revision rounds. The better the inputs, the smoother the movement.
Does skipping the Photo and Signature steps speed things up?
Yes. Both are optional, so skipping either removes a step. Whether that changes your overall pace depends on how ready your other inputs are.
What slows a design order down the most?
Vague briefs and unclear revision requests are common friction points. They require extra back-and-forth to clarify what you actually want.
Can I pause partway through and come back later?
Yes, your progress auto-saves as a draft. You can close the window and resume from your unique link later without losing information.
What happens if I submit an order and then change my mind?
Changing your mind after submission requires manual intervention. It is always faster to ensure you are 100% happy during the Review step before clicking submit.
Why does the Review step look different on my phone?
Screen sizes and resolutions vary, which can slightly alter colors. However, the placement and text shown in the mockup are accurate representations of what you will take live.
Start with a template — A prepared brief moves through the flow more smoothly.
See the five studio steps — Understand each step before you begin.