Bring your own
PNG vs SVG for Shirt Printing: Which File Should You Upload?
PNG and SVG are not interchangeable. One holds detail at a fixed size, the other scales cleanly forever. Here is how to pick.
By Influxer · Published 2026-08-16 · Updated 2026-08-16 · 5 min read
PNG and SVG solve different problems, and picking the wrong one for your design is one of the more common reasons a print comes out softer or flatter than expected. Neither format is universally better, they are built for different kinds of artwork.
PNG is a raster format: it stores a fixed grid of pixels, so it holds photographic detail and complex color blends well, but it only looks sharp at the size it was created for. SVG is a vector format: it stores shapes as math, so it scales to any size with no loss of sharpness, but it cannot represent a photograph the way PNG can.
This guide walks through when to choose each one for the Influxer upload path, and how to convert between them without losing quality when your only source file is the wrong format.
What makes PNG and SVG fundamentally different
A PNG file is a grid of colored dots, the same way a digital photo is. Every pixel has a fixed value, and if you stretch the image bigger than its native pixel count, the software has to guess and blur the gaps between dots that used to be single points.
An SVG file instead stores instructions: draw this circle at this radius, fill this path with this color. Because it is math rather than dots, an SVG rendered at 2 inches and the same SVG rendered at 20 inches both come out perfectly crisp, since the shapes get recalculated fresh at every size.
When PNG is the right choice
Choose PNG for anything with photographic content, soft gradients, drop shadows, or texture: a photo-based design, a hand-drawn illustration exported from a raster app, or a logo with realistic shading. These effects do not translate into vector shapes, so PNG is the only option that preserves them.
The tradeoff is that you must export the PNG at your real print size and 300 DPI up front, because you cannot enlarge it later without quality loss. If you only have a small PNG and no source file to re-export from, treat that as a resolution problem to solve before uploading, not something placement can fix.
When SVG is the right choice
Choose SVG for wordmarks, monograms, icons, flat logos, and any design built from clean shapes and solid colors. These are exactly the elements that vector software like Illustrator, Affinity Designer, or even Canva PDF export handle natively.
The upside is real: an SVG uploaded once works at a small left-chest size and a large back print with no separate export needed. The Influxer studio can scale it inside the print area without any of the softness a resized PNG would show at the same range.
- Wordmarks and initials: SVG.
- Flat icon-style logos: SVG.
- Photos and photo-based art: PNG.
- Illustrations with shading or texture: PNG.
What happens if you upload the wrong one
A photo saved as SVG is not actually possible in a useful sense; design tools either rasterize it as an embedded PNG inside the SVG wrapper anyway, or the conversion tool traces it into blobby shapes that lose the photographic detail entirely. If a converter promises to turn your photo into a vector, expect a rough, posterized result, not a faithful copy.
Going the other direction, a vector logo saved as a small PNG loses the one advantage vector had: at chest print size, the edges of thin letters may already show soft pixelation, when the original vector could have scaled to any size with sharp edges.
Converting between the two
If your only source is a vector file and you need a PNG, most design tools let you export a raster version at a specific pixel size, so set that export to at least 3300 pixels wide for a standard 11-inch chest print and you keep the vector sharpness in raster form.
If your only source is a small PNG and the design is simple enough to redraw, tracing tools in Illustrator or Affinity can rebuild flat shapes as vector paths, but this works best on high-contrast logos with clean edges, not photos or gradients.
Uploading either format in the studio
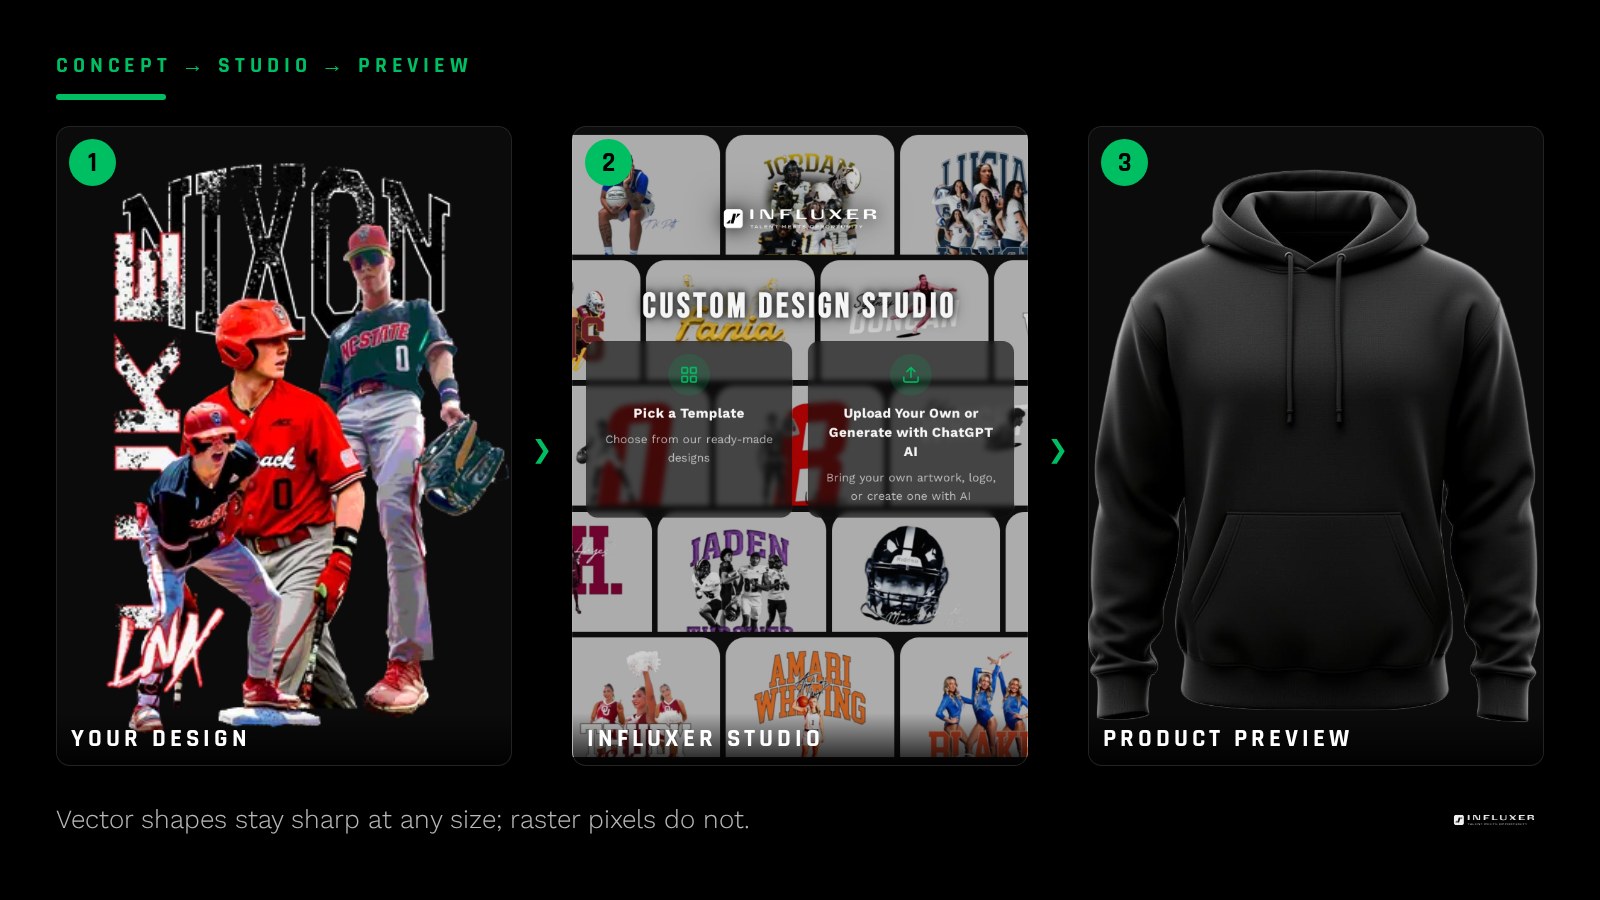
The Influxer upload path accepts PNG, JPG, PDF, and SVG directly, so you do not need to convert a proper SVG into anything else before uploading. Choose simple upload for a single design or collection if the same artwork needs to sit across multiple garments and colors.
Once uploaded, both formats preview on the real garment mockup the same way. The difference shows up when you resize inside the placement tool: an SVG stays sharp through any adjustment, while a PNG holds only as well as its original resolution allows.
Choosing PNG or SVG
- Identify whether your design has photographic or gradient content, or is flat shapes and text.
- Choose SVG for wordmarks, monograms, and flat logos.
- Choose PNG for photos, textured illustrations, and shaded artwork.
- Export PNGs at real print size and 300 DPI, never smaller and scaled up.
- Keep vector source files when you have them, even if you also export a PNG.
- Confirm the format opens correctly and matches expectations before uploading.
Frequently asked questions
Is SVG always better than PNG for printing?
No, it depends on the artwork. SVG is better for flat shapes and text because it scales without quality loss, but it cannot represent photos or soft gradients the way PNG can, so the right choice depends on what your design actually contains.
Can I convert a PNG to SVG without losing quality?
Only if the PNG is a simple, high-contrast flat graphic. Tracing tools can rebuild clean shapes into vector paths reasonably well, but photos and gradients will not convert cleanly and usually come out blocky or posterized.
Does the Influxer studio accept both PNG and SVG uploads?
Yes, the upload path accepts PNG, JPG, PDF, and SVG directly, so you can upload whichever format matches your artwork without converting it first.
What resolution should a PNG be if I cannot use SVG?
Aim for at least 3300 pixels wide for an 11 to 12 inch chest print, which works out to roughly 300 DPI at that size. Anything smaller risks visible softness once it is scaled to full print dimensions.
Upload your design — Bring your PNG or SVG into the studio and place it on a real garment preview.
Watch the studio walkthrough — See how to correctly size and place your uploaded files.