Bring your own
Upload Your Own Design for Custom Athlete Merch: The Complete Guide
A practical walkthrough for anyone who already has artwork: what file to upload, how big it needs to be, and what happens between upload and production.
By Influxer · Published 2026-08-16 · Updated 2026-08-16 · 6 min read
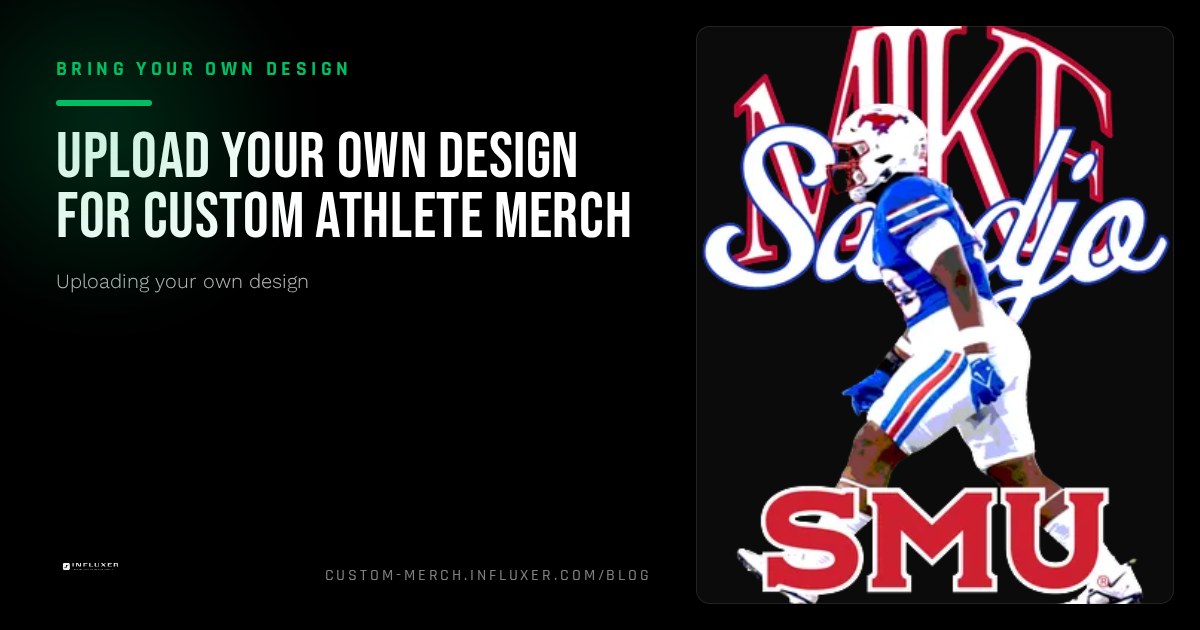
If you already have a design finished, uploading it is the fastest path to real merch. You are not starting from a blank page or waiting on a creative round trip. You are handing over a file and choosing where it sits on the garment.
The part people underestimate is the file itself. Artwork that looks perfect on a phone screen can print soft, cropped, or with a grey box behind it. Print is unforgiving about resolution and transparency in a way that social media never is.
This guide covers the whole path: what to upload, how to check it, how the studio previews it on the product, and what happens after you submit. Everything below reflects the actual Influxer Custom Design Studio, not a generic printing tutorial.
Start in the upload path, not the template path
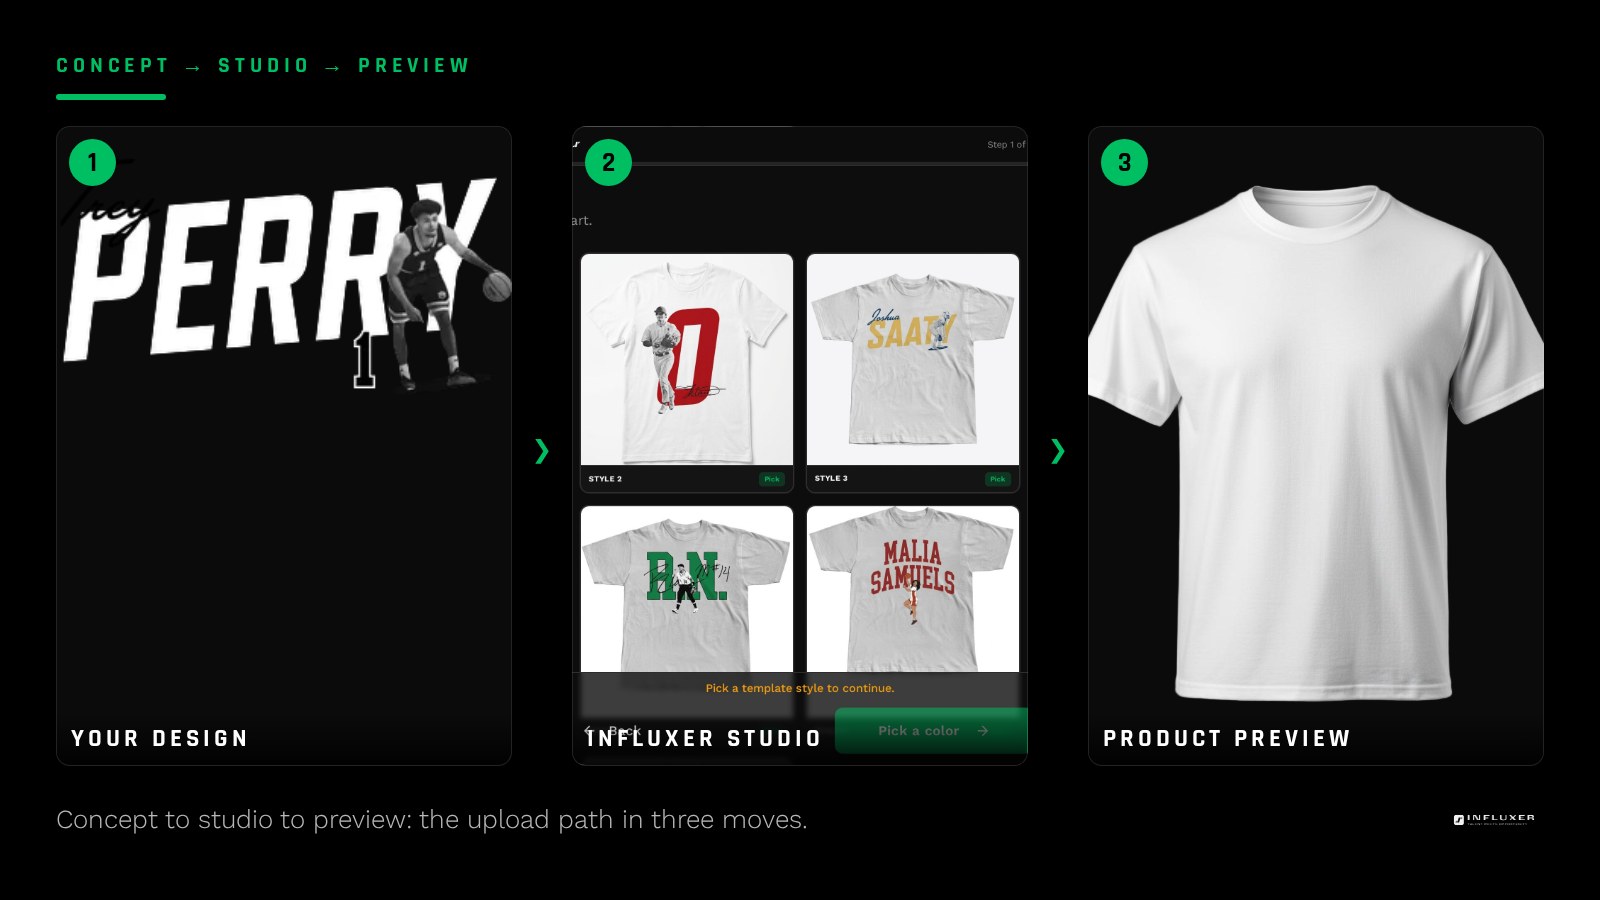
The home page gives you two clear doors. "Pick a Template" starts you from a ready-made design. "Upload Your Own" starts you from your file. Choosing the upload door matters because the two paths keep separate data: the studio does not mix a template with your artwork.
Inside the upload path you pick between a simple upload and a collection. Simple upload is one design on one product family and it is the quickest way through. Collection takes the same artwork across multiple garments and colorways, which is what you want if you are planning a real drop rather than a single shirt.
- One design, one product, fastest route: simple upload.
- Same design across tees, hoodies, and multiple colors: collection.
- Multiple unrelated designs: upload them as separate designs in the same session.
The file specs that actually matter
Three properties decide whether your art prints cleanly: pixel dimensions, transparency, and color contrast. Everything else is secondary.
For a standard adult chest print of roughly 11 to 12 inches wide, aim for artwork at least 3300 pixels wide. That is 11 inches at 300 DPI. If your file is 1080 pixels wide because it came off Instagram, it will print soft at full chest size, even if it looks sharp on a screen.
Transparency is the second trap. A JPG cannot hold transparency, so a JPG logo on a black tee arrives with a white rectangle around it. Export a PNG with a real alpha channel, or upload vector artwork such as SVG or PDF where the background is genuinely empty rather than painted white.
- Raster: PNG at 300 DPI for the final print size, transparent background.
- Vector: SVG or PDF with outlined text so fonts cannot substitute.
- Avoid: screenshots, social exports, and anything scaled up from a small original.
Check your file before you upload it
Open the file at 100 percent zoom and look at the edges of the letters. If they are fuzzy on your screen at full size, they will be fuzzy on fabric. Then drop the file onto a black background in any editor. Any halo, grey fringe, or hard rectangle you see there will print.
Say your mark is a wordmark plus a number. Zoom to the counters inside the numbers. Thin strokes under about two pixels at print resolution tend to fill in or break up, so thicken them before you upload rather than after you see a proof.
Placement and print area
The studio drops your artwork into a defined print area on a real garment mockup and lets you move and scale it inside that box. The box exists because printers need a repeatable position across sizes, so art that spills past it gets pulled back in.
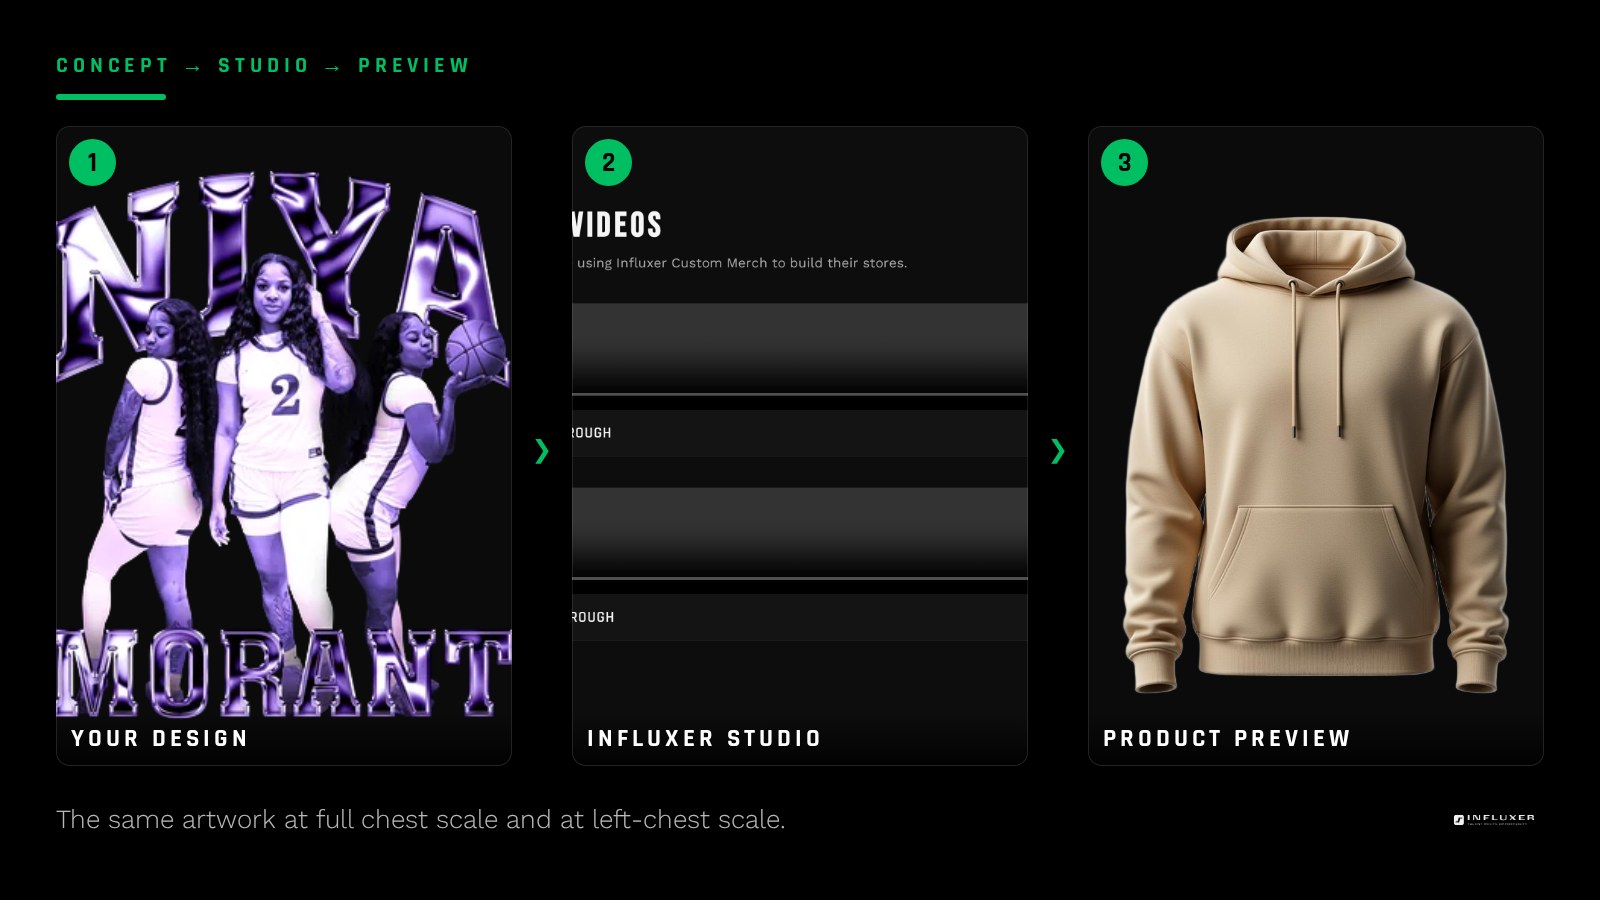
Two placement choices cover most designs. A centered chest print sitting a few inches below the collar reads as classic and works on tees and hoodies alike. A smaller left-chest mark reads quieter and pairs well with a larger back print. On the SS4500 hoodie, remember the front pocket: keep hoodie chest prints higher than you would on a tee to avoid the seam.
Preview on the real product, then judge it
The mockup preview is not decoration. It is the fastest way to catch mistakes: art that is too small, and art that disappears into the garment color. Toggle through colors before you settle. A navy design on a Blue Jean tee technically works but still looks muddy.
A useful trick is to look at the preview from across the room. Merch is read at distance. If the name is unreadable at thumbnail scale, simplify it: fewer words, heavier weight, or more spacing.
The five steps you will actually go through
The athlete flow is five steps: Design, Photo, Signature, Info, Review. Design is where your upload and placement happen. Photo is optional supporting imagery. Signature can be skipped entirely. Info captures who the merch belongs to, and Review is your last look before it goes to the Influxer team.
Your progress auto-saves as a draft, so you can leave mid-flow and pick it up from a resume link later. That matters if you realize at step three that your PNG needs a fix: you can re-export it without losing the rest of your entries.
- Design: upload, place, scale, choose garment and colors.
- Photo: optional athlete or lifestyle image.
- Signature: optional, skippable.
- Info: name, contact, and details for the order.
- Review: confirm everything, then submit.
What happens after you submit
Your submission lands with the Influxer team along with your original file, not a compressed screen copy. A human reviews the artwork against print requirements: size, transparency, contrast, and placement inside the print area.
If something needs a fix, you will be asked for a specific change. That is the reason the upload step asks for the highest-quality file you have: the better the original, the fewer rounds before production.
Rights: upload what is yours
Only upload artwork you own or have permission to use. That includes fonts with commercial licenses, purchased graphics, and anything a friend designed for you. School logos, conference marks, and pro team assets are owned by those organizations and cannot be added here.
You can still look connected to your program without borrowing its marks. Use your own wordmark, your number, and colors that echo your team palette. It reads as yours, and it clears review without a conversation about trademarks.
Before you hit upload
- Export at 300 DPI for the real print width, at least 3300 pixels wide for chest prints.
- Save as PNG with transparency, or as SVG/PDF with text outlined.
- View the art on both black and white backgrounds to remove any halo or box.
- Thicken any stroke that looks hairline at full print size.
- Decide simple upload or collection before you start.
- Preview on your chosen garment colors to check readability.
- Confirm every element in the file is yours to use.
Frequently asked questions
What file format should I upload for custom merch?
PNG with a transparent background is the safest raster choice. If your artwork is vector, upload SVG or PDF with the text converted to outlines. The studio also accepts JPG, but only use it for full rectangular designs.
Can I upload a Canva design?
Yes. Export from Canva as a PNG with a transparent background at the largest size, then check the edges. Set your Canva document to print dimensions first instead of scaling up a small graphic later.
Do I have to sign anything to finish my submission?
The signature step is optional. Skipping it does not leave your submission incomplete, and you can still reach the Review step and submit.
What if my design needs a change after I submit?
The Influxer team reviews the artwork and will come back with a specific request if needed. Your draft data stays intact, so you just replace the file rather than rebuilding.
Upload your design — Bring your finished artwork into the studio and place it on a real garment preview.
Watch the studio walkthrough — Short videos covering upload, placement, and the review step.