Bring your own
Image Resolution for Shirt Printing: How Many Pixels You Actually Need
DPI in an export dialog can lie. Here is how to calculate the pixels your design actually needs at real print size.
By Influxer · Published 2026-08-16 · Updated 2026-08-16 · 4 min read
Resolution questions almost always come down to one number: how many pixels does the artwork have at the size it will actually print, not the size it currently sits at on a screen. A file can claim 300 DPI in its metadata and still print soft if it was scaled up from something smaller earlier in its life.
This guide gives you the actual math, the pixel counts you need for common print areas, and a quick way to check any file before you upload it to the Influxer studio.
The math behind DPI
DPI stands for dots per inch, and it only means something in combination with a physical size. A file with 3600 pixels of width is 12 DPI at 300 inches wide, and 300 DPI at 12 inches wide. The pixel count never changes, only the size you are printing it at changes what that count means.
This is why an export dialog showing "300 DPI" can be misleading. If the source artwork was originally small and someone typed 300 into the DPI field without changing pixel dimensions, the software just relabels the same soft pixels rather than adding real detail.
Real pixel targets for common print sizes
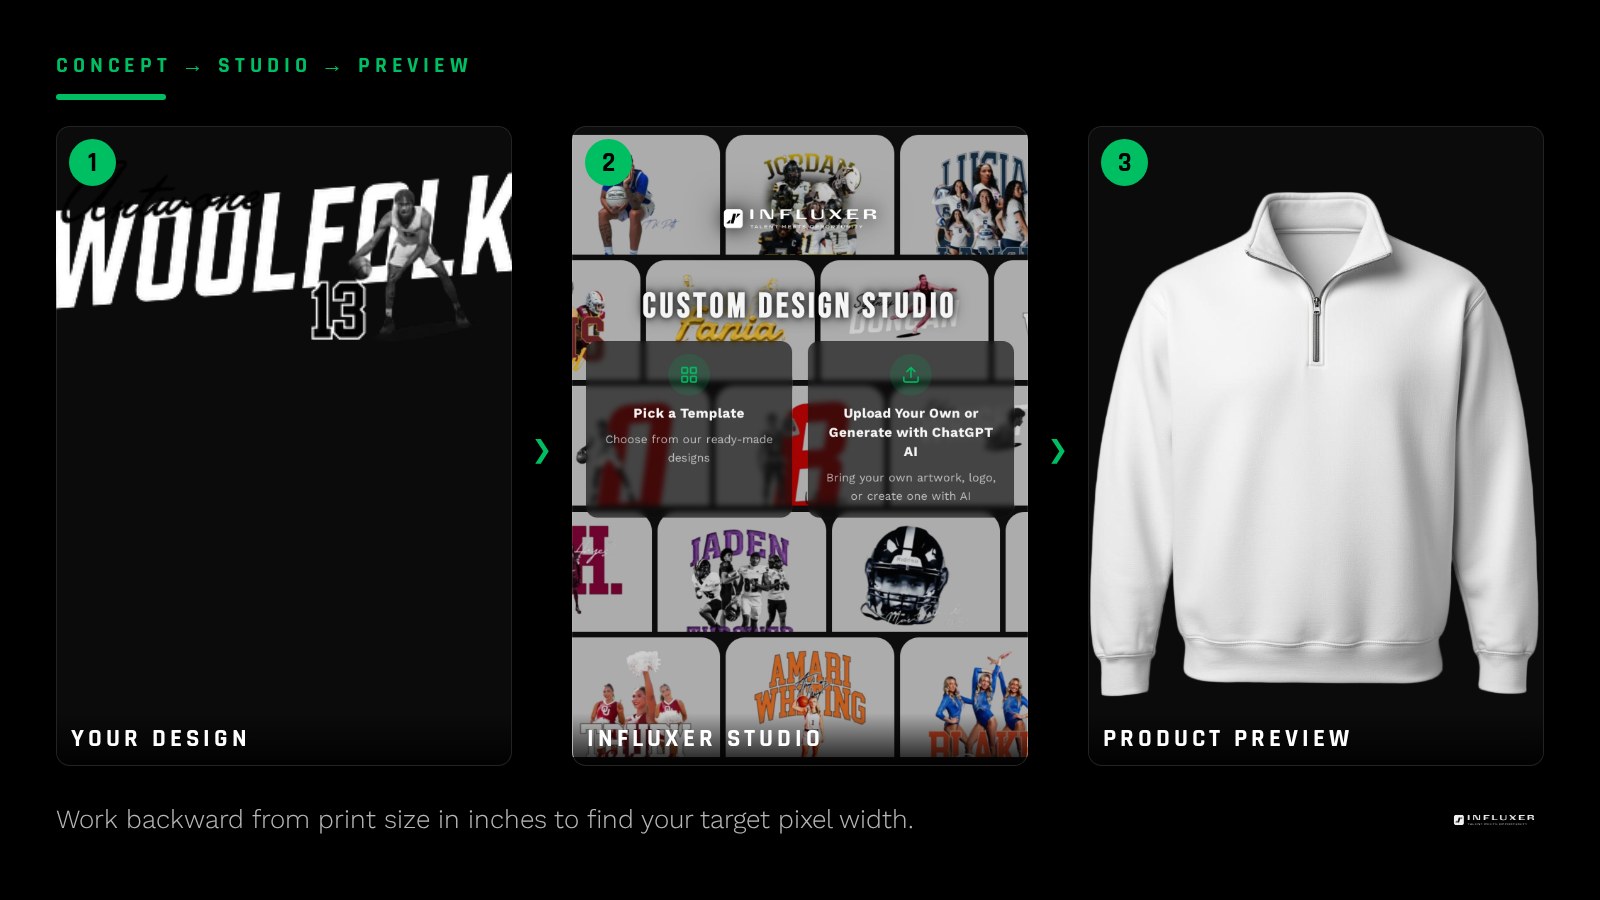
Work backward from the print size you actually plan to use. Multiply the width in inches by 300 to get the pixel width you need at full quality.
- Full front print, about 12 in wide: roughly 3,600 px wide.
- Back print, about 12 in wide: roughly 3,600 px wide.
- Left chest, about 4 in wide: roughly 1,200 px wide.
- Sleeve or hood hit, about 3 in wide: roughly 900 px wide.
How much resolution loss you can actually get away with
Fabric texture hides some softness that would be obvious on a screen, so you have more room than a photo print would allow. Between 150 and 300 effective DPI at final size, most designs still look sharp enough at normal viewing distance.
Below about 150 effective DPI, thin strokes, small text, and fine details start to blur visibly, and the effect gets worse the closer someone stands, which happens constantly with a shirt.
How to check a file you already have
Open the file and find its pixel dimensions, not its stated DPI. Decide the width you plan to print it at in inches, then divide the pixel width by that number. If the result is 150 or higher, the file is usable; if it is under 100, the design will visibly soften at that size.
For example, a logo that is 900 pixels wide printed at 4 inches gives you 225 effective DPI, which holds up fine on a left chest. That same 900-pixel file stretched to a 12-inch full front print drops to 75 effective DPI, which will look noticeably soft.
What to do when a file is too small
If you have access to the original source, whether that is a layered Photoshop file, an Illustrator document, or the Canva project, go back and re-export at the correct pixel size rather than resizing the flattened output. A vector source can be exported at any size with no loss, so this is often the fastest fix.
If no larger source exists, reduce the print size to match what the file supports, or move the design to a smaller placement like a left chest instead of a full front print. Upscaling software can smooth some artifacts but cannot add detail that was never captured.
Checking resolution inside the studio
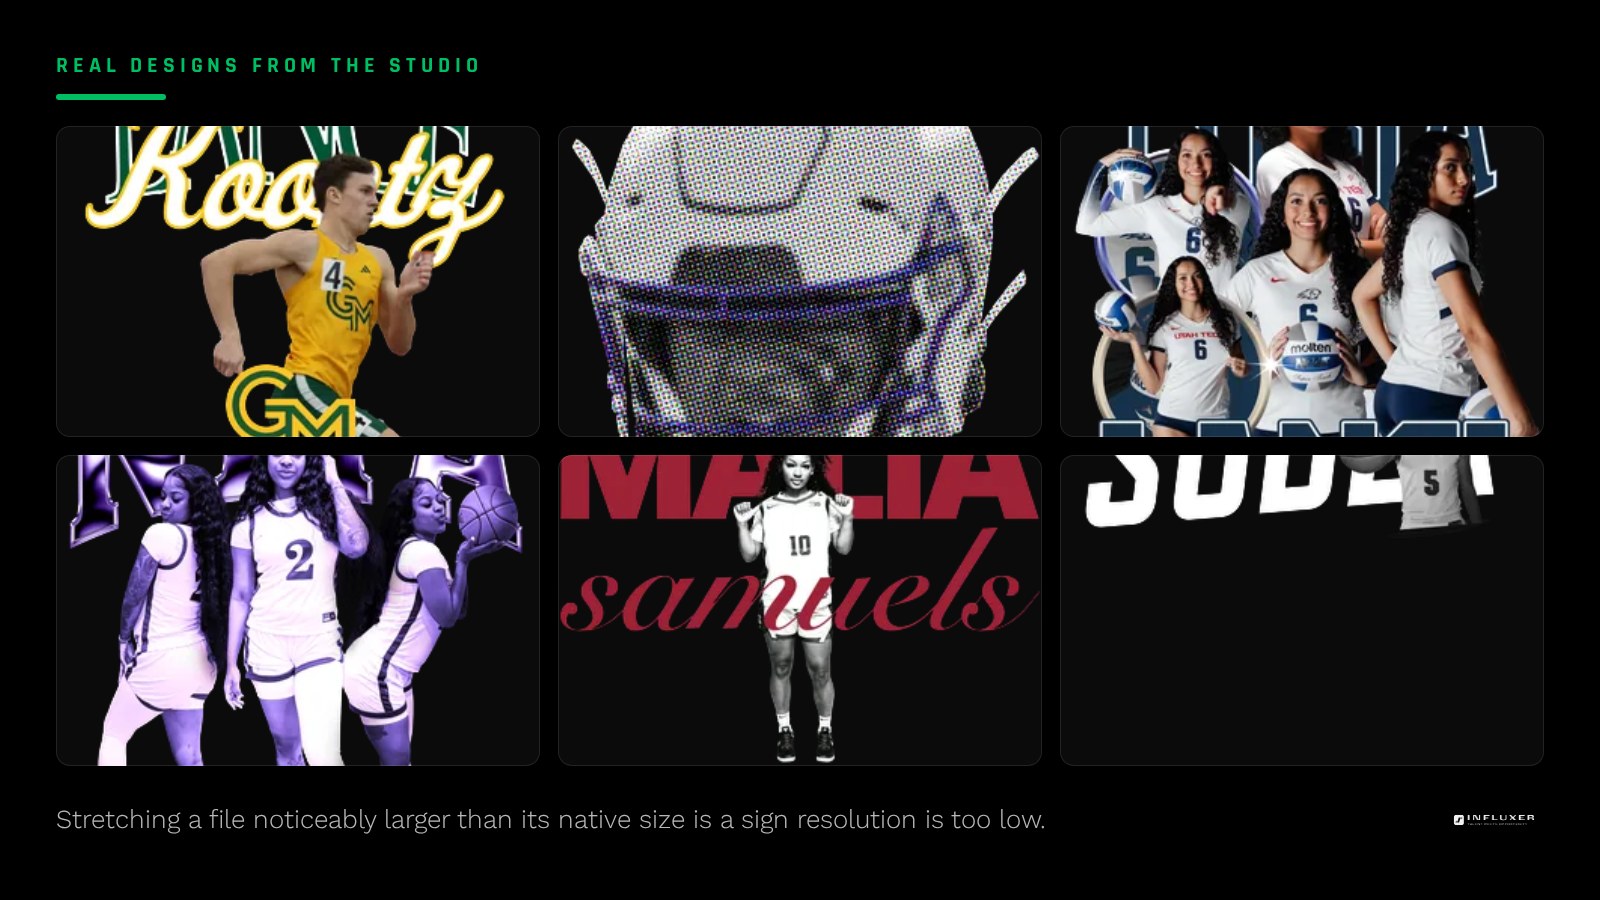
Once you upload artwork to the Influxer studio, the placement tool lets you resize the design inside the print area on a real garment mockup. If you need to stretch the file noticeably larger than its natural size to fill the print area, that is a visual sign the resolution is on the low side for that placement.
A quick way to sanity-check before you even upload: zoom into the file at 100 percent on your own screen. If edges already look soft at that zoom level, they will look at least as soft once printed.
Resolution check before you upload
- Find the actual pixel dimensions of your file, not the stated DPI.
- Decide the real print width in inches you plan to use.
- Divide pixel width by print width to get effective DPI.
- Confirm effective DPI is at least 150, ideally near 300.
- Re-export from the original source file if resolution falls short.
- Zoom to 100 percent and inspect edges before uploading.
- Match placement size to what your resolution actually supports.
Frequently asked questions
What is the minimum resolution for a shirt design?
Aim for at least 150 effective DPI at the size you plan to print, and 300 if possible. Below 150, fine details and small text begin to look visibly soft at normal viewing distance.
Why does my file say 300 DPI but still look blurry?
DPI only means something relative to a physical size. If the pixel count is low and someone typed 300 into a DPI field without adding real pixels, the file still prints soft, since the label changed but the underlying detail did not.
Can I use a smaller file if I print it smaller?
Yes, effective DPI depends on the size you print at. A file that is too soft for a 12-inch full front print may work fine at a 4-inch left chest, since the same pixels are spread over a much smaller area.
Does resizing in the studio placement tool fix low resolution?
No, the placement tool changes how large the design appears in the print area, but it cannot add detail that the original file does not have. Fix resolution before uploading by re-exporting from a larger or vector source.
Upload your artwork — See how your file resolves at real print size on a garment mockup.
Watch the studio walkthrough — See how placement and sizing work inside the studio.