Bring your own
Using an AI-Generated Logo on Merch (and Cleaning It Up First)
A practical process for turning a rough AI-generated logo into print-ready artwork, covering the specific problems AI art creates for merch.
By Influxer · Published 2026-08-16 · Updated 2026-08-16 · 5 min read
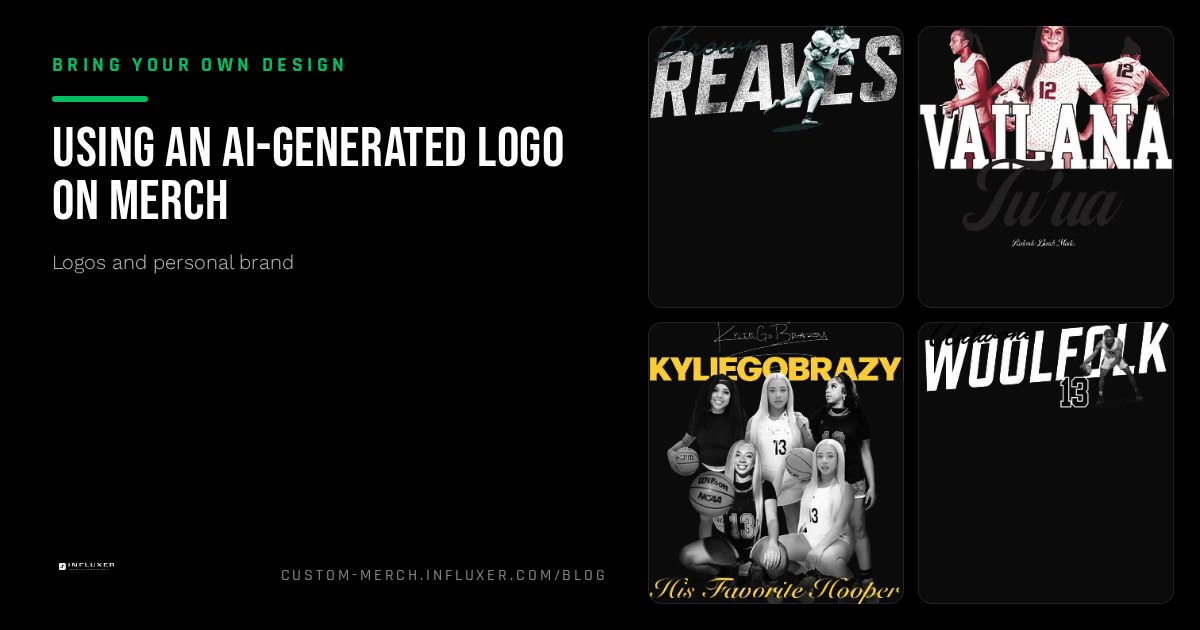
An AI image generator can hand you a concept in seconds, a symbol, a mascot idea, a stylized wordmark, and that speed is genuinely useful for exploring directions you would not have thought of on your own. The problem is that almost no AI-generated image comes out print-ready. It usually arrives as a low-resolution raster file with a busy background, inconsistent line weights, and details that only make sense at the size it was generated.
The Design step in the Influxer studio includes an AI logo helper that can generate artwork with a transparent background, which solves one of the biggest headaches immediately. But even with that transparent background, there is still cleanup work between "cool AI concept" and "artwork that reads cleanly at chest-print size."
This guide covers what to fix first, the resolution trap that catches almost everyone, and how to decide when an AI-generated logo needs to be treated as a sketch to redraw versus artwork you can clean up directly.
Treat the first output as a concept, not a final file
The single biggest mistake is uploading the raw AI output straight into a print order. AI-generated images are typically produced at a fixed, moderate resolution meant for screen viewing, and they often contain small inconsistencies, uneven line weights, slightly asymmetrical shapes, stray artifacts, that are invisible at thumbnail size but obvious once blown up to an 11-inch chest print.
Approach the first generation as a direction-finding exercise. Generate a handful of variations, pick the one whose composition and idea you like best, and plan on refining or redrawing it rather than expecting to use it exactly as generated.
The resolution trap
Most AI image tools output somewhere in the range of 512 to 1024 pixels square by default. That sounds like a lot until you compare it to what print actually needs: a clean 11-inch chest print at 300 DPI needs artwork roughly 3300 pixels wide. A 1024-pixel image scaled up to that size will look soft or pixelated, even though it looked crisp on your phone screen.
Two options fix this. Some generation tools offer an upscale or high-resolution export option, which is worth using if available. Otherwise, treat the AI output as a reference and rebuild the actual print file as vector artwork, tracing or redrawing the shapes in a vector tool so the final file scales to any size without quality loss.
Clean up the background properly
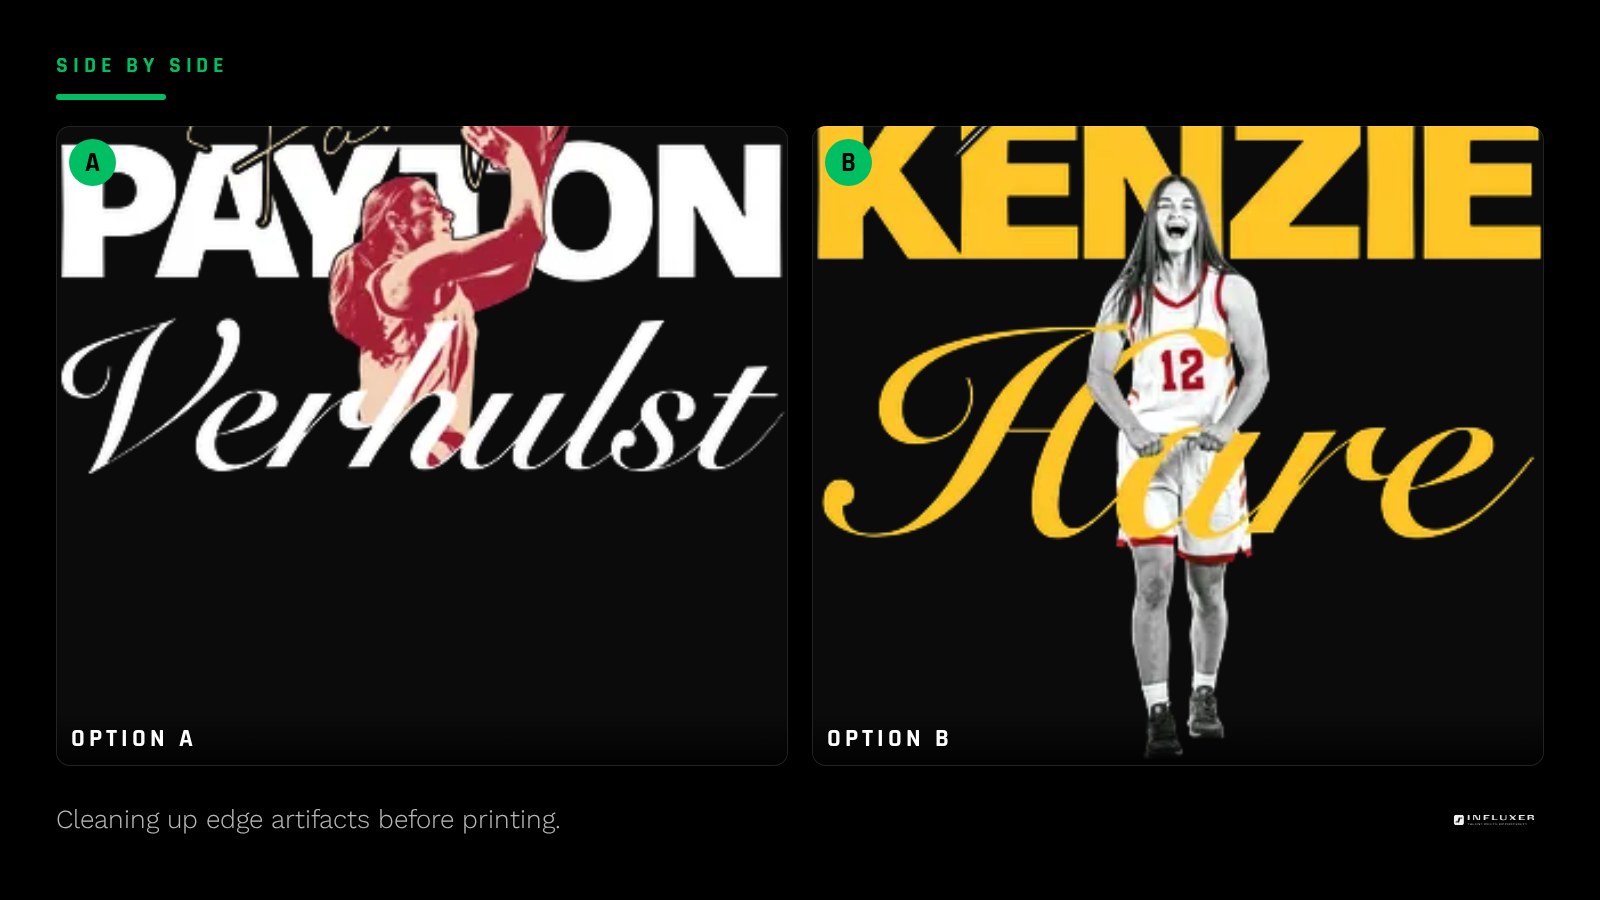
Even with a transparent-background generation, check the edges closely. AI-generated transparency sometimes leaves faint halos, semi-transparent fringing, or small stray pixels around the main shape, especially around curved edges or fine details. These artifacts are subtle on screen but can print as a visible grey ring around your logo on a colored garment.
Zoom in on the edges at full resolution and use a clean-up tool to remove any semi-transparent pixels along the border, either by tightening the selection or manually erasing the fringe. A logo with a genuinely clean edge, no halo, no stray dot, is worth the extra ten minutes it takes to fix.
Standardize line weight and symmetry
AI-generated marks frequently have inconsistent stroke thickness across the design, one side of a symbol slightly thicker than the other, or a line that tapers unintentionally. This reads as sloppy once printed large, even though it is easy to miss in a small preview.
If the design is meant to be symmetrical, consider redrawing just half of it cleanly and mirroring it, which gives you perfect symmetry rather than fighting with an AI output that is only approximately even. For asymmetrical designs, at minimum standardize the stroke width across the whole mark so it does not look like it drifts in weight from one section to another.
Simplify before you finalize
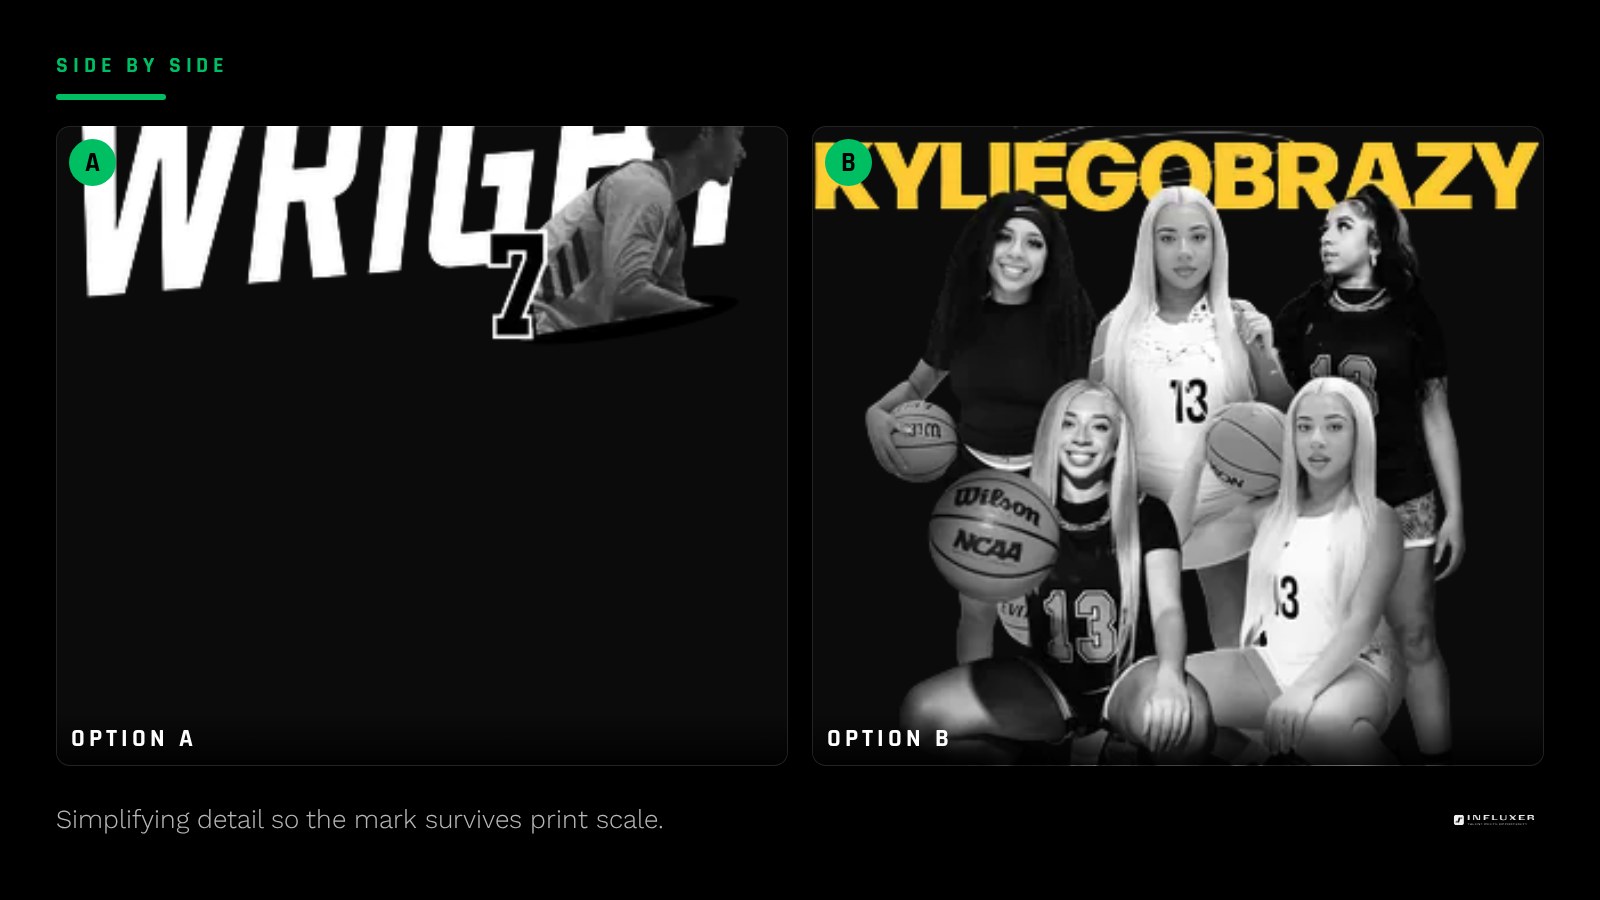
AI-generated images often include more small detail than a print at merch scale can actually hold, tiny textures, fine cross-hatching, or intricate background elements that will not survive being reduced to a chest-sized graphic. Identify the two or three elements that make the design work and remove or simplify everything else.
This is also where you decide the color approach. Many AI outputs default to full color with gradients and shading, which may not be what your merch actually needs. Revisit the one-color versus full-color decision once you have a cleaned-up shape, rather than assuming the AI-generated color treatment is final.
Know what you can and cannot rely on
Do not assume an AI-generated image is automatically free of any resemblance to existing trademarks, especially if your prompt referenced a specific team, brand, or well-known character. Review the result critically and avoid anything that closely echoes a protected logo or mascot, even if you did not intend to reproduce it. Use AI-generated art as a starting point for something genuinely your own, not a shortcut around using someone else’s protected mark.
Before you upload an AI-generated logo
- Generate a few variations and treat the first result as a concept, not a final file.
- Check the actual pixel resolution against your intended print size.
- Redraw the mark in vector software if the resolution cannot support your print size.
- Zoom into edges and remove any halo or semi-transparent fringing.
- Standardize stroke weight, or redraw and mirror symmetrical shapes.
- Simplify small detail that will not survive being printed at chest scale.
- Reassess whether the design needs full color or works better in one color.
- Confirm the result does not closely echo an existing protected logo or mascot.
Frequently asked questions
Can I use the AI logo helper in the Influxer studio directly?
Yes, the Design step includes an AI logo helper that can generate artwork with a transparent background. It is a strong starting point, but review the result at full size and clean up any edge artifacts before finalizing your order.
Why does my AI logo look blurry once I place it on the garment mockup?
Most AI tools generate images at a resolution meant for screens, often well below what a large chest print needs. If the mockup preview looks soft, the file likely needs to be upscaled or redrawn in vector form rather than used at its original resolution.
Should I redraw an AI logo from scratch instead of using it directly?
For anything you plan to print larger than a small accent size, redrawing the shapes as clean vector artwork usually produces a much sharper, more consistent result than trying to clean up the raw raster output.
Is it safe to use an AI-generated mascot design?
Review it carefully for resemblance to any existing character or team mascot before using it, especially if your prompt referenced a specific style or property. Treat AI output as a concept to refine into something original, not a finished, cleared design.
Upload your cleaned-up logo — Preview your finished artwork on a real garment mockup.
Watch the studio walkthrough — See the AI logo helper and upload flow in action.