Design it for me
Merch for Athletes Who Are Not Designers
You do not have to know layout software to get merch that looks like you meant it. Here is what the process actually asks of you.
By Influxer · Published 2026-08-16 · Updated 2026-08-16 · 4 min read
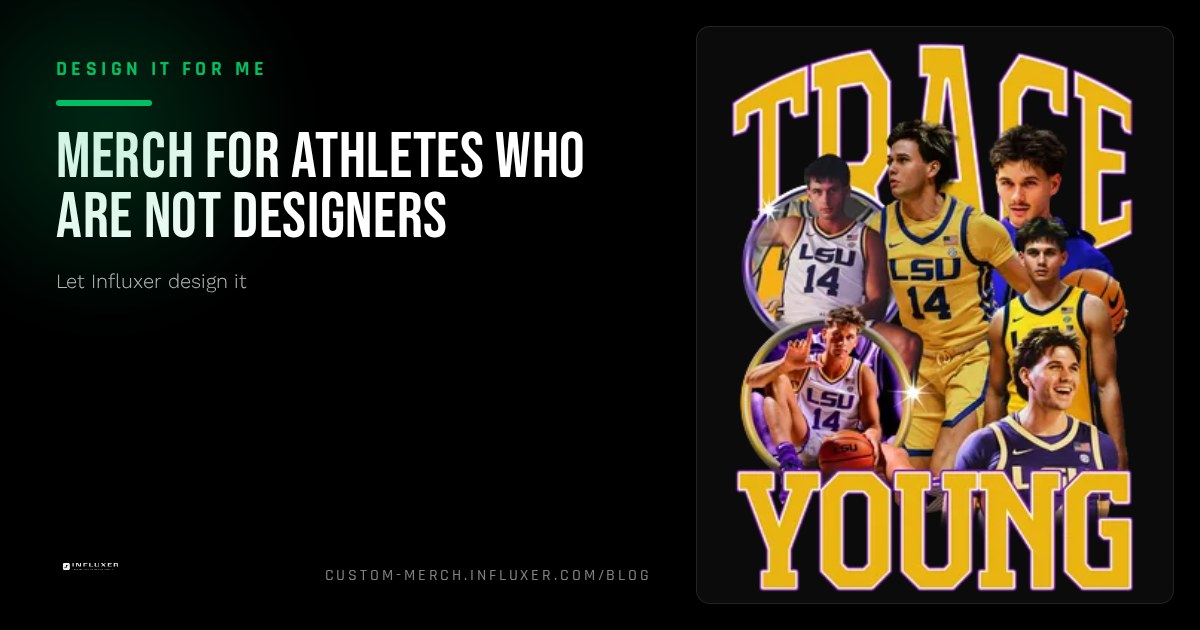
Most athletes who want merch are not designers, and they should not have to become one just to get a shirt that looks right. The gap between "I want a shirt with my name and number on it" and "I know how to lay out type, choose a print area, and balance a composition" is real, and it is the exact gap the done-for-you path is built to close.
What you actually need is not design skill. It is clarity about who you are, what you play, and what you want the shirt to say. The Influxer studio takes those specifics and builds the visual layer around them, using a template as the starting structure instead of a blank page.
Here is what the process looks like when you have zero design background and no intention of learning one.
You are not being asked to design anything
The template path starts at "Pick a Template" on the home page, which routes to /onboarding?mode=templates. A template already has a working layout for your sport: where a name sits, where a number goes, how it reads on a tee versus a hoodie. Your job is filling in the specifics, not building the composition from scratch.
This means you never have to open a design tool, learn a font pairing rule, or figure out DPI. Those are things the studio handles once you have supplied the raw material.
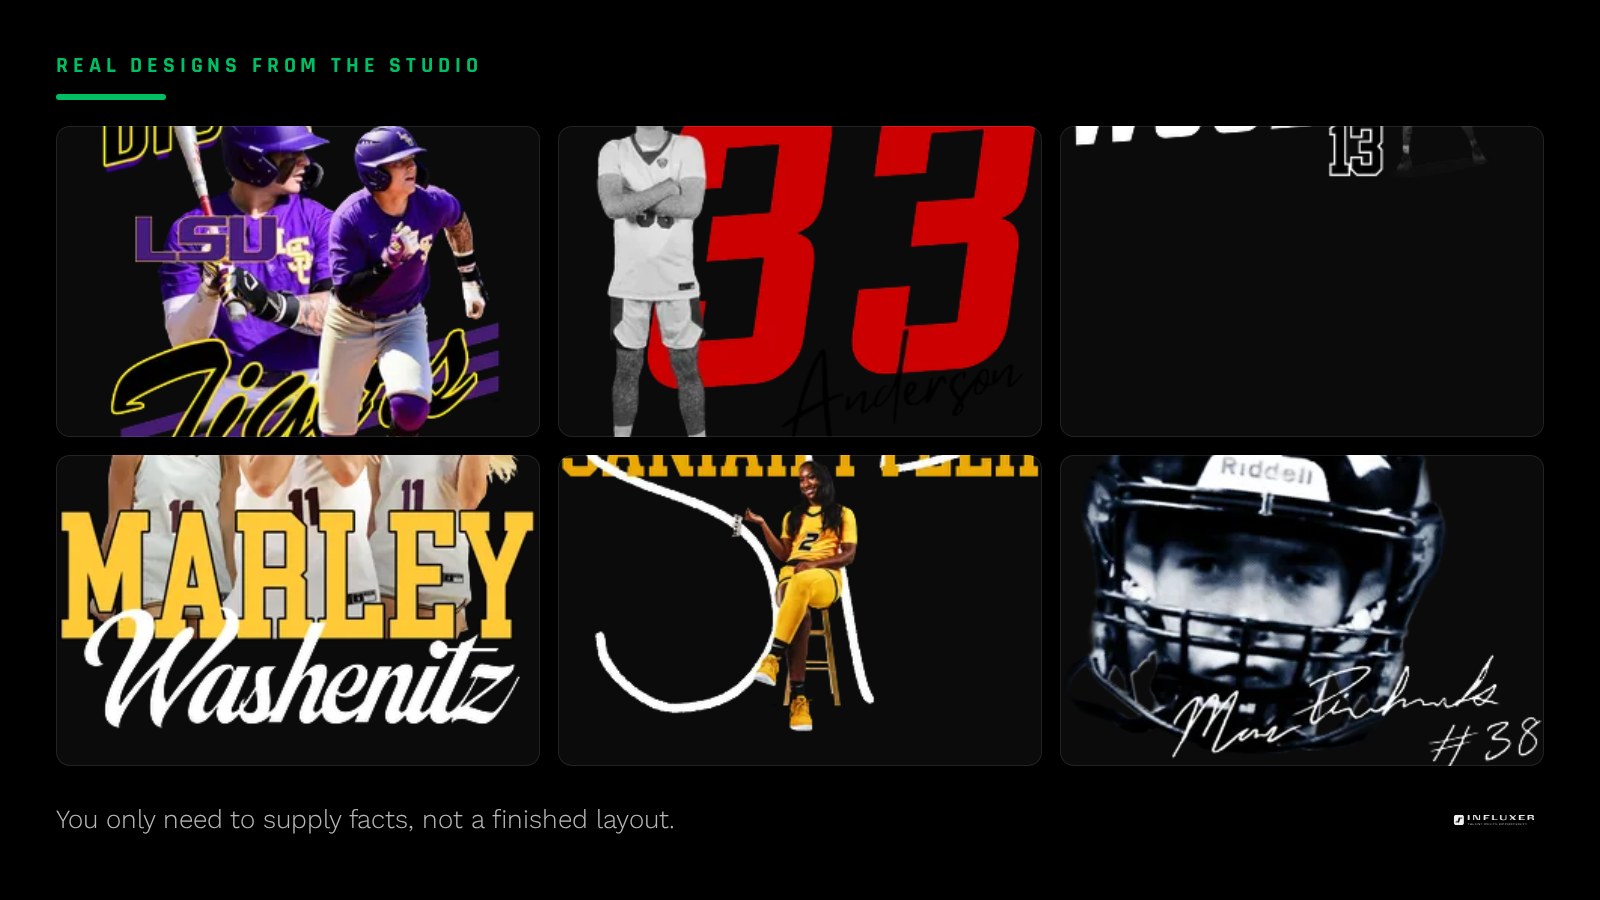
What "raw material" actually means
The raw material is just information you already have in your head. It is not a mockup, not a drawing, not a Canva file.
- Your name or nickname spelled exactly the way you want it printed
- Your sport, position, and jersey number if it matters to you
- A phrase or slogan you actually say or use, not one invented for this shirt
- Colors you like or want to avoid, named specifically rather than described vaguely
- One shirt or design you have seen before and can describe why you liked it
A photo is optional, not required
The five-step studio flow is Design, Photo, Signature, Info, and Review. Photo and Signature are both optional. If you have a decent, well-lit picture of yourself in your gear, it can add texture to the design, but skipping it entirely does not stop your merch from coming together. Do not delay starting just because you do not have a photo ready.
Review is your one job to take seriously
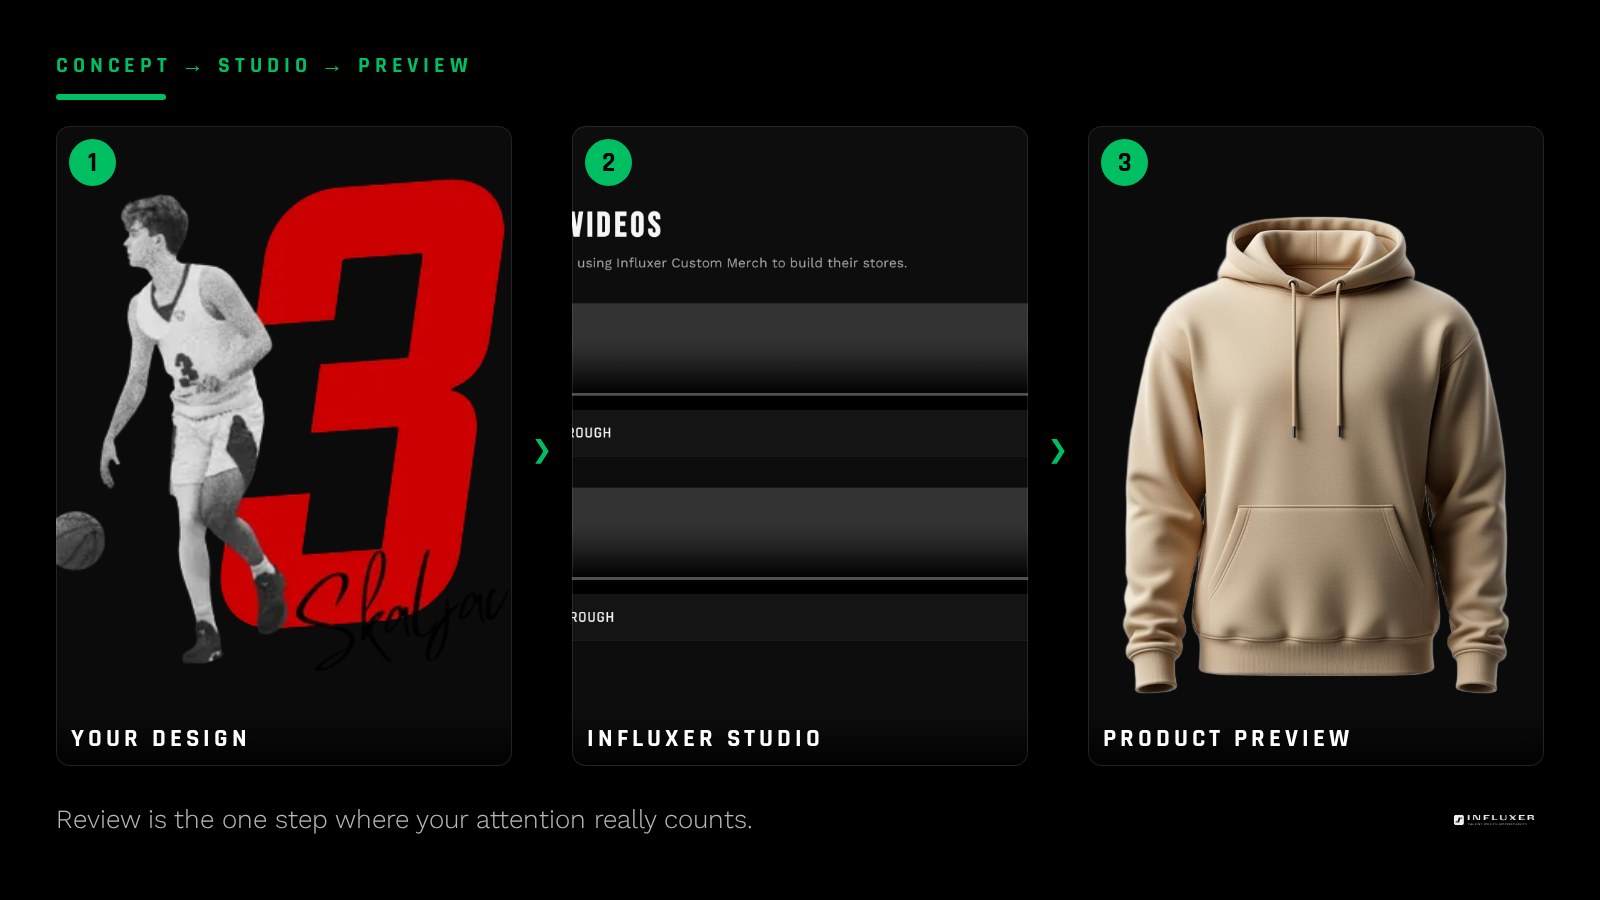
The one step where your attention genuinely matters is Review, the last of the five steps. This is where the design is shown on a real garment mockup before it moves any further. Look at the spelling of your name, the size of your number, and whether the color choice reads the way you pictured it.
You are not expected to critique layout theory here. You are checking facts: is my name spelled right, is the number the one I actually wear, does the color match what I asked for.
You still get a say in garment and color
Even with zero design input, you are the one deciding between a Comfort Colors 1717 tee and an Independent Trading Co. SS4500 hoodie, and which color each comes in. Naming a preferred garment and a color like Blue Jean or Pepper up front means the first version you see is already close to what you had in mind.
If a school or team mark is involved
If you want an official school or team logo on your merch, that mark is licensed property, and using it requires permission from the school or organization that owns it. This is true no matter who is doing the design work. Personal marks — your own name, number, or a phrase you use — do not carry that restriction.
If the first draft is not quite right
You are allowed to ask for a change, and you do not need design language to do it. Instead of saying "it feels off," say what you actually see: "make my name bigger" or "change the shirt color to black." Specific, plain language works better than vague impressions because it tells the studio exactly what to fix.
What to have ready before you start
- Write your name or nickname exactly as you want it printed.
- Know your sport, position, and jersey number.
- Pick one phrase you actually use, if you want one on the shirt.
- Name a garment: tee or hoodie.
- Name one or two colors you want, using real color names.
- Have a photo ready only if you want to use it — it is optional.
- Confirm whether any logo you want to include is a licensed school or team mark.
Frequently asked questions
Do I need any design software or experience at all?
No. The template path is built for people with no design background. You provide the specifics — name, sport, colors — and the studio builds the layout for you.
What if I do not know what I want the design to look like?
Describe one shirt you have seen and liked, even loosely. A single reference point is more useful to the studio than trying to invent design language you are not familiar with.
Can I still use my school logo if I am not a designer?
A school or team logo is a licensed mark owned by that school or organization, so using it requires their permission regardless of who designs around it. Your own name, number, or personal phrase does not have that restriction.
What happens if I do not like the first draft?
You review it at the Review step and can describe the specific change you want. Plain, specific feedback like "make the number bigger" works better than a general impression.
Start with a template — Let the Influxer studio build the layout around your details.
Compare your options — Not sure this is the right path? See how it compares.