Help me choose
Planning an Athlete Merch Drop From Idea to Order
A practical roadmap for turning a merch idea into a real drop, from the first sketch to the day you open orders.
By Influxer · Published 2026-08-16 · Updated 2026-08-16 · 6 min read
Most merch drops that feel rushed were rushed on purpose, not by accident. Someone had an idea two weeks before a big game and tried to compress design, decisions, and promotion into a few days. It usually still works, but it leaves obvious gaps: no one got a preview, the store page went up with one photo, and half the team found out after orders closed.
A drop does not need months of lead time, but it does need a sequence. Design decisions come before color decisions. Color decisions come before you shoot photos. Photos come before you write the store page. Skip a step and you end up redoing an earlier one under time pressure.
This is the order of operations we see work consistently for athletes planning their own merch, whether it is a single design or a full collection. Treat it as a checklist you can compress or stretch depending on how much time you actually have.
Start with the reason, not the design
Before you open the studio, write down in one sentence why this drop exists. A senior season send-off, a fresh identity for a new year, a way for family and friends to show up at games in something real — the reason shapes every decision after it.
A drop tied to a specific date, like a senior night or a tournament, has a hard deadline that should set your whole timeline working backward. A drop with no specific date, like an ongoing personal brand, has more room but also more risk of drifting without ever getting done.
Lock the design before you lock anything else
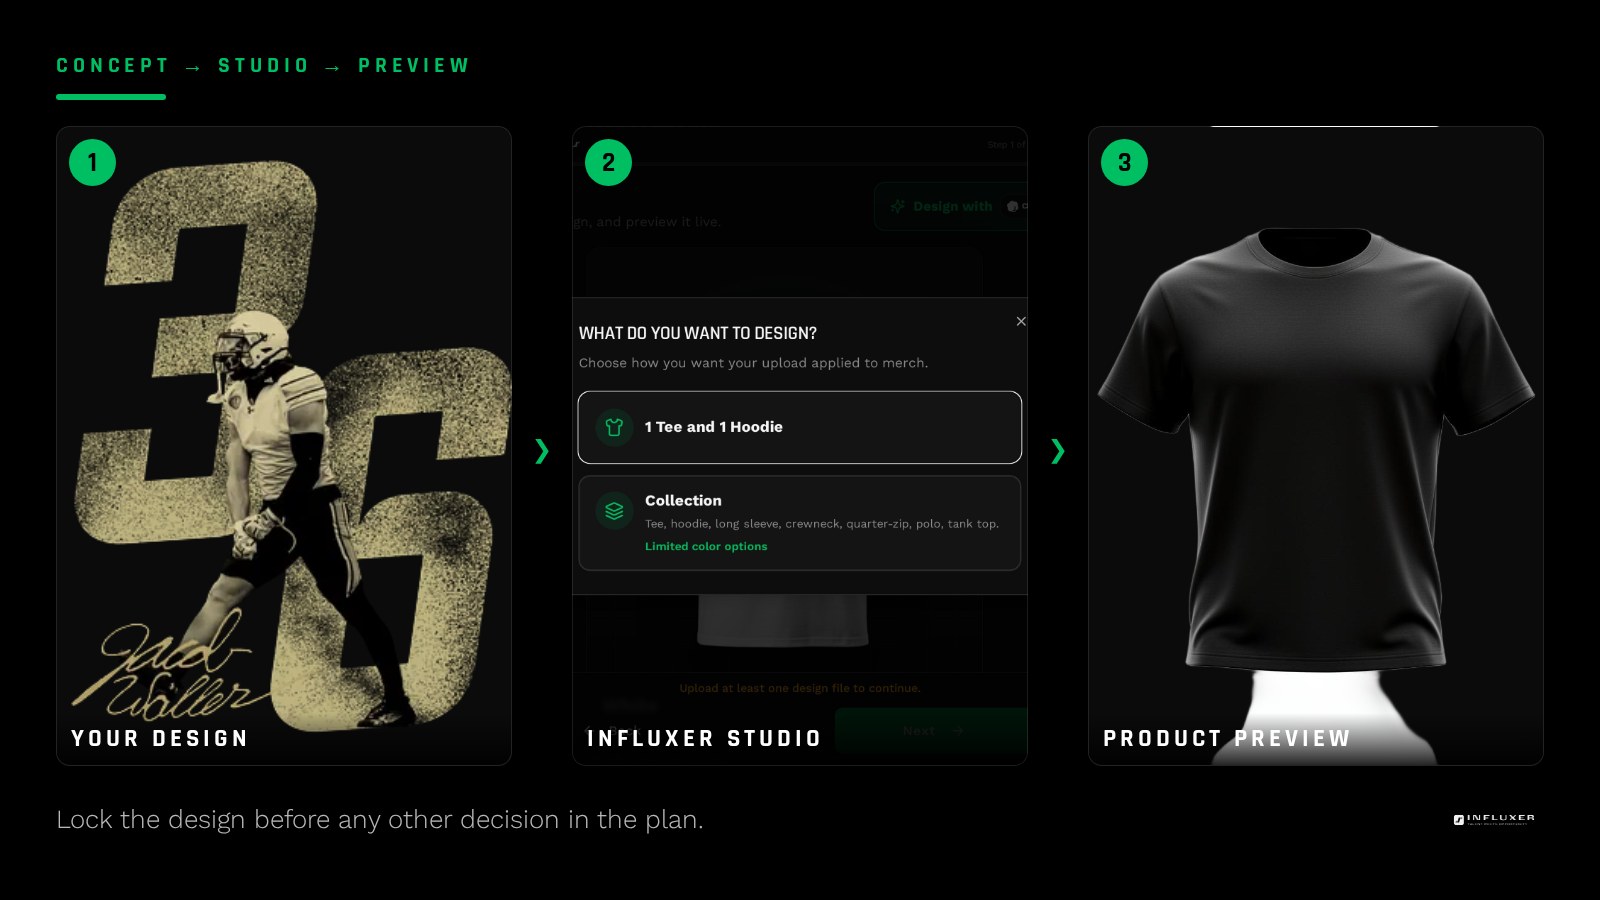
Whether you are uploading your own artwork or starting from a ready-made design, get the actual design settled first. Everything downstream — photos, colors, store copy — depends on knowing what the mark looks like and where it sits on the garment.
In the Influxer studio, this is the Design step: you place your artwork on a real garment mockup and choose the products and colors it will appear on. Do not move to photos or copy until this step feels finished, because a late design change usually forces you to redo both.
Choose products and colors deliberately
Decide early whether this is a tee-only drop, a tee-and-hoodie drop, or a small collection across more garments. More products means more decisions and more photos, so match the scope to how much time you have before your deadline.
Pick colors that read well with your design, not just colors you like. A design in a dark ink can disappear on a Pepper tee but hold up clearly on Ivory or Blue Jean. Preview the same artwork on your final color choices before you commit, since the studio mockup will show you exactly how contrast holds up.
- One product, one color: fastest, lowest risk, good for a tight deadline.
- One product, two or three colors: still simple, gives buyers a real choice.
- A small collection across tee and hoodie: needs more lead time for photos and copy.
Plan your photos before you need them
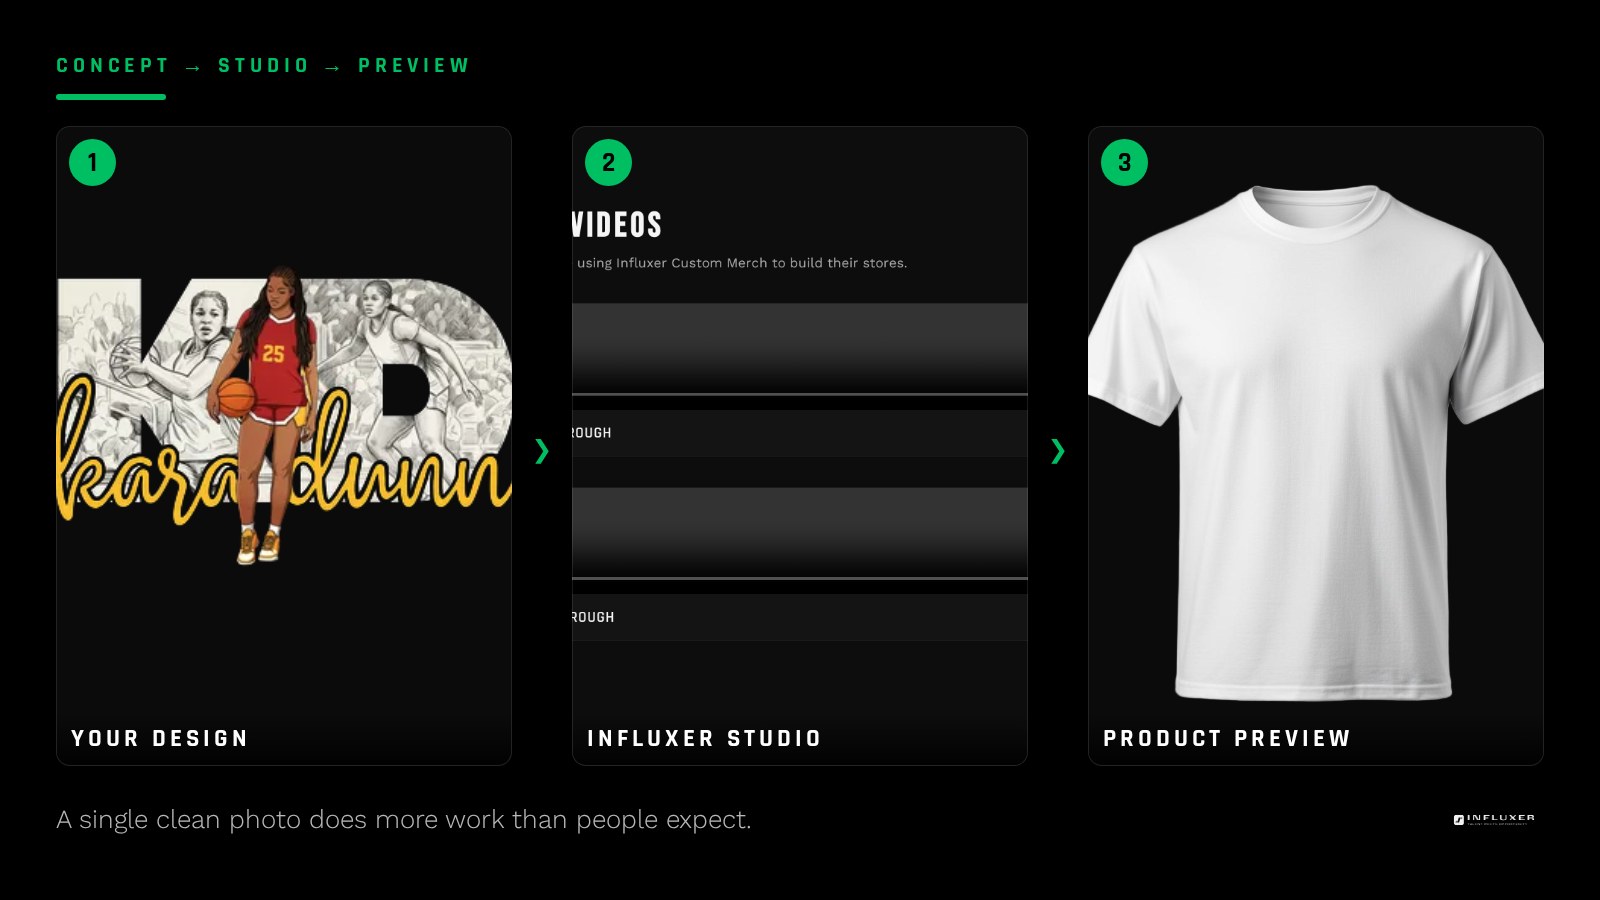
Photos are the piece people plan last and regret planning last. A store page with only the studio mockup looks unfinished next to one with a real photo of the design on a person. You do not need a photographer — you need fifteen minutes, good light, and a plan for what shots you actually need.
Decide this while the design is still fresh: one clean front-facing shot in natural light, one closer detail shot of the print, and if you can manage it, one candid shot that is not posed. That short list covers a store page without turning into a production.
Bring in teammates before you open orders, not after
If teammates, siblings, or friends are part of the plan, tell them what the design looks like and roughly when you plan to open orders before that day arrives. A group that already knows the details buys faster and shares the page without being asked twice.
This does not need to be formal. A quick preview sent to a group chat, with a rough date, does most of the work. People who see something coming are more likely to act when it actually shows up.
Write the store page while the design is fresh
The store page is where a browsing visitor decides to order or leave. Write it while you still remember exactly why you made the design the way you did — that context is usually more useful copy than a generic product description.
Keep it specific: what the design represents, what garments and colors are available, and any timing that matters, like a deadline for ordering before you close out the run. Vague copy reads like every other product page; specific copy reads like it belongs to you.
Pick a date and hold it
Set the day you plan to open orders and treat it as real once you have told anyone else about it. A drop that keeps slipping loses the attention you built leading up to it, and people stop checking back.
If you are torn between opening earlier with a smaller version of the collection or waiting for everything to be perfect, lean toward opening on time with what is ready. You can always add a product later; you cannot get back the attention you lose from repeated delays.
Review, then open orders
Before you submit, walk through the design once more at full size, check that every color option actually looks right, and make sure the Info step reflects who this order belongs to. This is also a good moment to double check your promotion plan for the first day so you are not figuring it out after orders are already open.
Once the Influxer team reviews the design against print requirements, you are ready to open orders. The planning work above is what makes that day feel like a payoff instead of a scramble.
Drop planning, in order
- Write down the reason for this drop and any hard deadline attached to it.
- Finish the design and placement before moving to any other decision.
- Choose products and colors that suit the design, then preview them on real mockups.
- Plan your photo shots in advance: one clean shot, one detail shot, one candid.
- Tell teammates or family what is coming and roughly when, before orders open.
- Write specific store page copy while the design context is still fresh.
- Pick a date to open orders and hold it even if the collection is smaller than planned.
- Do a final review pass on design, colors, and info before submitting.
Frequently asked questions
How far in advance should I start planning a merch drop?
For a single design and one or two colors, a week or two is workable if you move through design, photos, and copy in order. A small collection with multiple products benefits from three to four weeks so photos and store copy do not get rushed.
Do I need professional photos to open orders?
No. A clear photo taken in good natural light, alongside the studio mockup, is enough for most drops. What matters more is having at least one real photo rather than only a digital preview.
What should I do first if I am short on time before a deadline?
Simplify the scope rather than skip steps. Go with one product and one or two colors, keep the photo plan to a single clean shot, and still tell anyone involved before you open orders.
Can I change the design after I have already told people about it?
Small refinements are fine, especially before you submit for review. Larger changes are easier to make before you have shared a preview widely, so try to lock the core design before you start telling people what is coming.
Start planning your drop — Compare paths and get into the studio with a plan already in place.
Watch the studio walkthrough — See the actual steps before you commit to a timeline.