Bring your own
How to Turn a Canva Design Into a Custom Shirt
Canva is built for screens, not fabric. Here is how to set the canvas, export, and check the file before it goes on a shirt.
By Influxer · Published 2026-08-16 · Updated 2026-08-16 · 5 min read
Canva is a great place to build a design and a risky place to export one, because most of its templates default to screen-sized canvases like 1080 by 1080 pixels. That size looks fine in the Canva editor and prints noticeably soft on an 11-inch chest graphic.
The fix is not complicated, but it happens before you open the export menu, not after. You need to set your canvas to real print dimensions, build or place your art at that size, and then export with the right settings so the background does not show up as a white box on a colored shirt.
This walkthrough covers the Canva side end to end, then the handoff into the Influxer upload path, where the same file gets placed on a real garment mockup before anything goes to production.
Set a custom canvas before you design anything
Skip the social media templates and start a Custom Size document instead. For a full chest print, set the canvas to 12 inches by 14 inches, which comfortably covers most adult print areas with room to spare. Canva lets you enter inches directly in the custom size dialog, so you do not have to convert to pixels yourself.
If you already built the design at a small size, do not just export it larger. Canva will upscale a small canvas into a bigger export, which stretches the same limited pixel information across more space and produces the same soft edges you started with. Rebuild or resize the elements themselves at the new canvas size.
Use elements at real size, not shrunk and enlarged
A common Canva habit is dragging in a small logo, shrinking it to fit a layout, then scaling the whole design up later. Whatever resolution that logo element had gets locked in at the small size, so enlarging the canvas around it does not add missing detail back.
If your logo or graphic came from an outside source, bring in the highest-resolution version you have before placing it, then size the canvas around it rather than the other way around. For text and shapes built natively in Canva, this is less of an issue since those render freshly at whatever size you set.
Export settings that actually matter
From the Share menu, choose Download, then PNG. Canva shows a Size option for Pro accounts that lets you export at a multiplier above the canvas size; on a 12 by 14 inch canvas, use the 2x option if it is available to push the pixel count higher, since more pixels never hurts a print file.
Turn on the transparent background toggle before downloading. This is the single most missed step. Without it, Canva fills the canvas with white, and that white becomes a visible rectangle the moment you place the design on any shirt color besides white.
- File type: PNG, not JPG.
- Background: transparent background toggle on.
- Size: highest multiplier your plan allows.
- Canvas: set in inches to real print size before designing.
Check the export before you upload it
Open the downloaded PNG and drop it onto a plain black square in any photo viewer or editor. If you see a light rectangle or fringe around your text or graphic, the transparent background toggle did not actually apply, or one of your Canva elements had its own solid background baked in from the original asset.
Zoom into fine details like thin letter strokes or small icons. Canva renders text cleanly at export, but any raster element you imported, such as a photo-based sticker, carries whatever resolution it had when you dragged it in. If it looks pixelated at 100 percent zoom on your screen, it will print that way.
Uploading into the studio
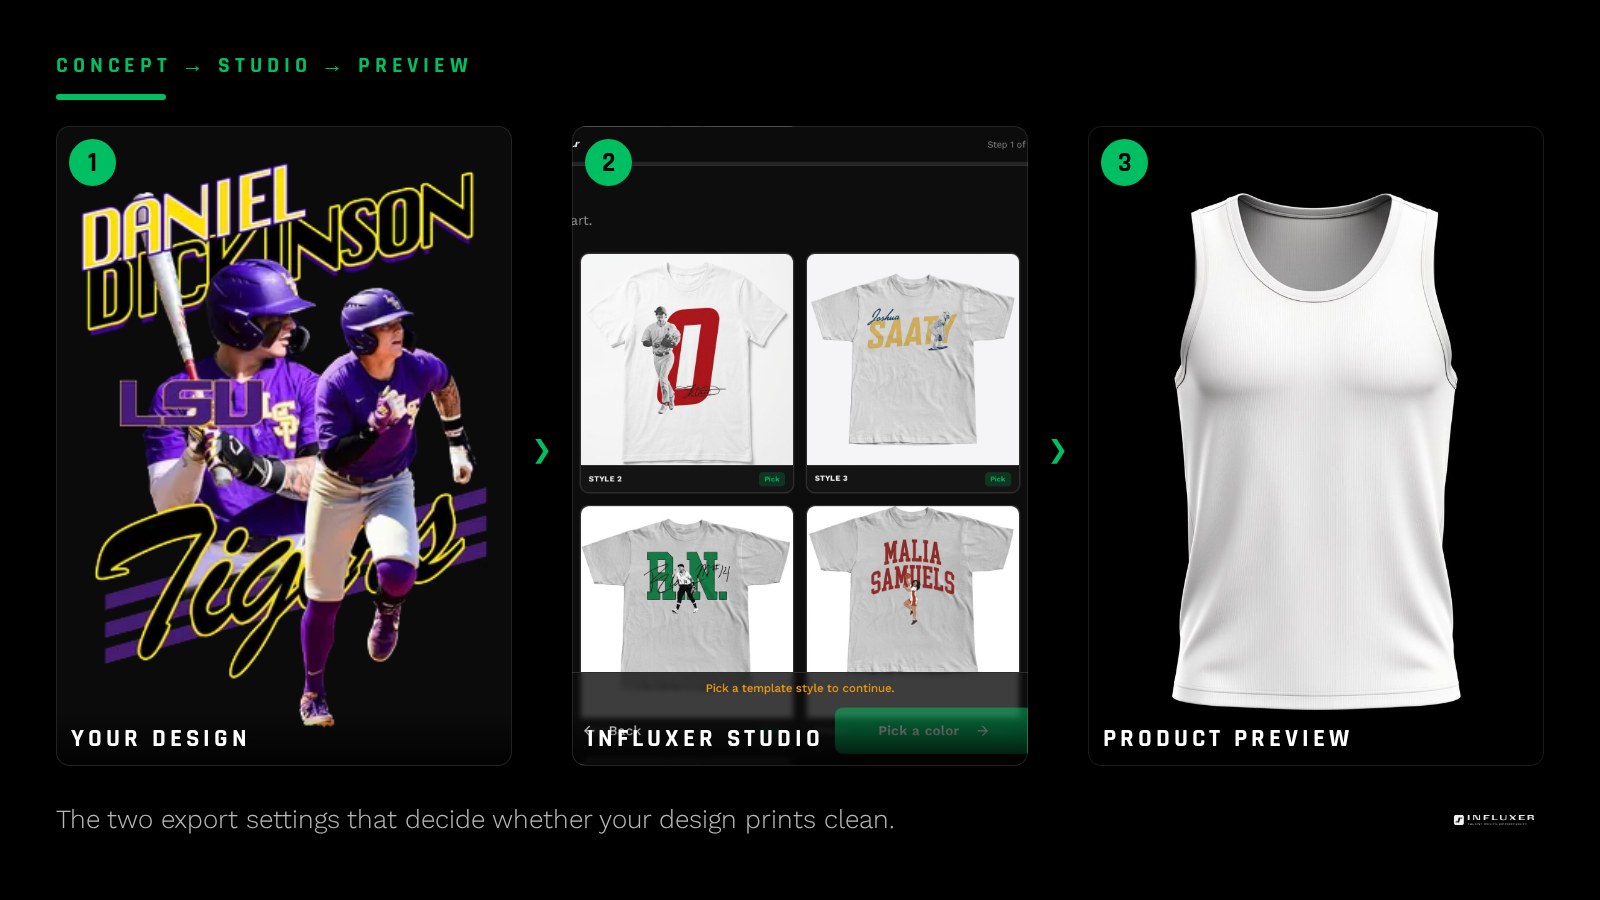
Once your PNG passes the black-background check, head into the Influxer Custom Design Studio through the upload path rather than the template path, since those keep separate data. Choose simple upload for one design on one product, or collection if you want the same artwork across multiple garments and colors.
The studio drops your file onto a real garment mockup inside the print area, and this is where a Canva export that looked fine on your laptop sometimes reveals itself as too small: if you have to scale it up noticeably to fill the chest area, the resolution problem is now visible on the mockup instead of hidden in a Canva tab.
When to skip Canva and go vector instead
If your design is mostly text and simple shapes with no photos or complex gradients, consider exporting as a PDF from Canva instead of a PNG. Canva PDFs preserve text and vector shapes at any print size without resolution loss, which removes the pixel-math problem entirely for that kind of design.
Photo-heavy designs do not benefit from this, since photos rasterize the same way regardless of file container. For those, stick with a high-resolution transparent PNG and follow the sizing steps above.
Canva-to-shirt export checklist
- Start a Custom Size canvas set in inches to your real print dimensions.
- Bring in outside graphics at their highest resolution before placing them.
- Export as PNG at the highest size multiplier available.
- Turn on the transparent background toggle before downloading.
- Check the file against a black background for halos or hidden boxes.
- Zoom to 100 percent and inspect thin strokes and small text.
- For text-and-shape-only designs, try a PDF export instead.
Frequently asked questions
Why does my Canva design look blurry on the shirt preview?
It was almost certainly built or exported at a screen-sized canvas, such as the default 1080 by 1080 template, then scaled up to fill the print area. Rebuild the canvas at real print inches and re-export instead of enlarging the existing file.
Do I need a Canva Pro account to export a usable file?
No, the free plan exports PNG with a transparent background just fine. Pro adds a higher size multiplier on export, which helps but is not required if your canvas was already set to real print dimensions.
Why does my shirt preview show a white box around my design?
The transparent background toggle was off during export, so Canva filled the canvas with solid white. Re-export with that toggle on and confirm the fix by viewing the PNG against a black background before uploading again.
Should I export as PNG or PDF from Canva?
PNG with transparency works for most designs, including photos and mixed graphics. PDF is a strong option when your design is only text and simple shapes, since it prints crisp at any size without the pixel-resolution concerns of a raster file.
Upload your Canva design — Bring your exported PNG or PDF into the studio and preview it on a real garment.
Watch the studio walkthrough — Short videos covering upload, placement, and the review step.