Help me choose
The Custom Merch Checklist to Run Before You Begin
A concrete, ordered checklist covering everything worth deciding before you open the design studio and start your first order.
By Influxer · Published 2026-08-16 · Updated 2026-08-16 · 4 min read
Most delays in a merch order do not happen inside the studio. They happen before it, when someone opens the Design step without knowing what garment color they want or without their logo saved anywhere handy. A short checklist run beforehand removes almost all of that friction.
This is not a generic "think about your brand" list. It is the specific set of decisions the Influxer studio will actually ask you to make, in the order it asks for them, whether you end up uploading your own artwork or starting from a ready-made design.
Work through it once before you open the studio, and the five steps that follow, Design, Photo, Signature, Info, Review, become a matter of confirming choices rather than making them under pressure.
Decide your starting path first
Before anything else, settle whether you are uploading your own design or starting from a ready-made one. This single decision changes what you need to have ready. Upload requires a finished file. A ready-made design requires almost nothing up front except garment and color choices.
If you are genuinely undecided, /start lays out both paths side by side without pushing you toward either one, and it is worth five minutes before you commit to a direction.
File checklist for the upload path
If you are uploading, your file needs to survive being enlarged to chest-print size. A rough rule: at least 3300 pixels wide for a standard 11-inch chest print, saved as a transparent PNG or as vector SVG/PDF with text outlined.
Check the file against a black background and a white background before you upload it. Any grey box, halo, or hard rectangle around your art will print exactly as you see it on screen.
- At least 3300px wide for a full chest print.
- Transparent PNG, or vector SVG/PDF with outlined text.
- No visible halo or background box on dark or light backgrounds.
- You own the rights to every element in the file.
Garment and color decisions
Decide roughly which garments you want before you start: a tee, the Independent Trading Co. SS4500 hoodie, or both. Then pick colors with your artwork or template in mind rather than picking a favorite color first and hoping the design works on it.
A quick gut check: would your design still read clearly if you shrunk the preview to thumbnail size? If the name or number disappears at that scale, simplify it before you commit to a color.
Photo and signature, only if you want them
The Photo step is optional support for your submission, not a requirement. If you have a clean action shot or headshot, have it ready on your device. If you do not, skip it without concern.
The Signature step is fully optional and skippable. There is no penalty for skipping it, and your submission still reaches Review complete without it.
Info you will be asked for
The Info step asks for your name, contact details, and specifics tied to the order, such as school, sport, or jersey number depending on your situation. Have these ready so you are not hunting for a jersey number mid-flow.
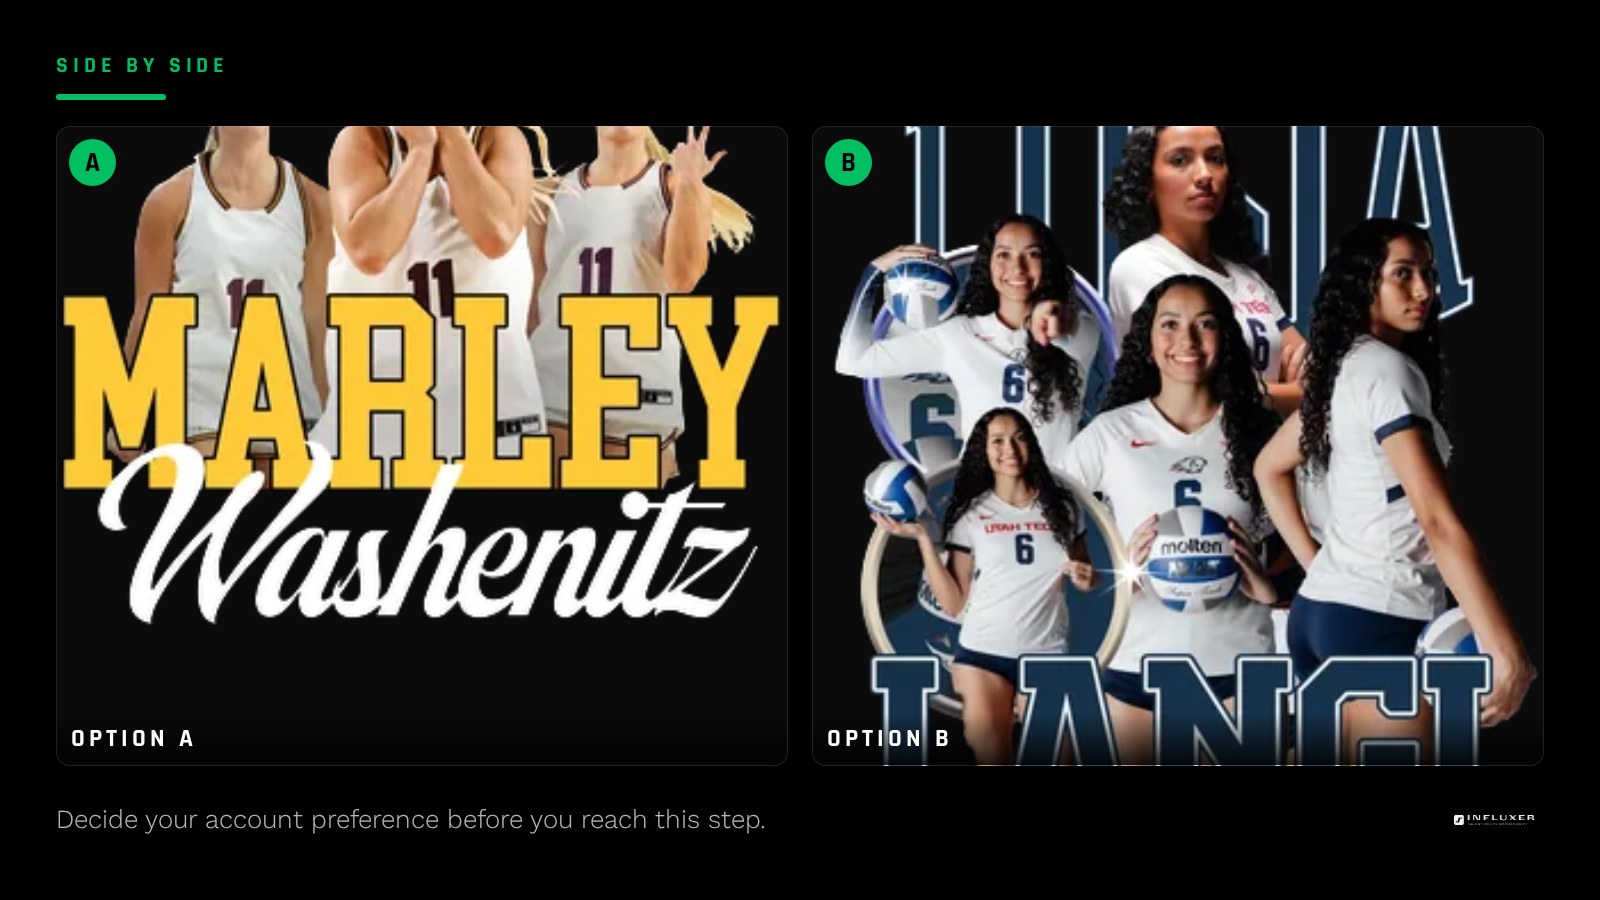
You will also be offered a choice about accounts: look up an existing Influxer account, get a signup link, or continue manually without creating one. Decide ahead of time which you prefer so it does not slow you down.
Give yourself permission to pause
Your progress auto-saves as a draft the moment you start entering real information, so you never need to finish everything in one sitting. If you get to the Design step and realize your file needs a fix, leave and come back using your resume link.
Treat this checklist as prep, not a hard gate. Even an incomplete answer to one item, like "not sure on hoodie color yet," is fine to carry into the studio and settle once you see the mockup.
Run through this before you open the studio
- Choose upload or ready-made design as your starting path.
- If uploading, export at 300 DPI, transparent PNG or vector, at least 3300px wide.
- Check your file against black and white backgrounds for halos or boxes.
- Pick garments: tee, hoodie, or both.
- Pick colors with the artwork in mind, not before you have seen it.
- Gather name, contact info, and any sport or jersey details.
- Decide account preference: lookup, signup, or manual entry.
- Remember the Signature step is optional and can be skipped.
Frequently asked questions
What is the single most common thing people forget before starting?
A print-ready file. Many people arrive with a screenshot or a small social media export, which looks fine on a phone but is far too low resolution for a chest print. Export a proper file before you start the Design step.
Do I need to know my exact garment colors before I begin?
No, a rough idea is enough. The studio previews your design or template on real garment mockups, so you can try a few colors and settle on one once you see it, rather than deciding blind beforehand.
Can I complete the checklist over several sessions?
Yes. None of this needs to happen in one sitting, and your progress inside the studio itself also auto-saves as a draft you can resume later.
Is this checklist different for upload versus ready-made design?
Mostly the same, except the file-prep section only applies if you are uploading your own artwork. If you start from a ready-made design, you can skip straight to garment, color, and info decisions.
Compare both paths — See upload and ready-made designs side by side before you choose.
Watch the studio walkthrough — Short videos covering every step of the design studio.