Help me choose
What You Need Before Your First Merch Drop
A practical rundown of what to gather and decide before your first merch drop, covering both the upload and ready-made design paths.
By Influxer · Published 2026-08-16 · Updated 2026-08-16 · 4 min read
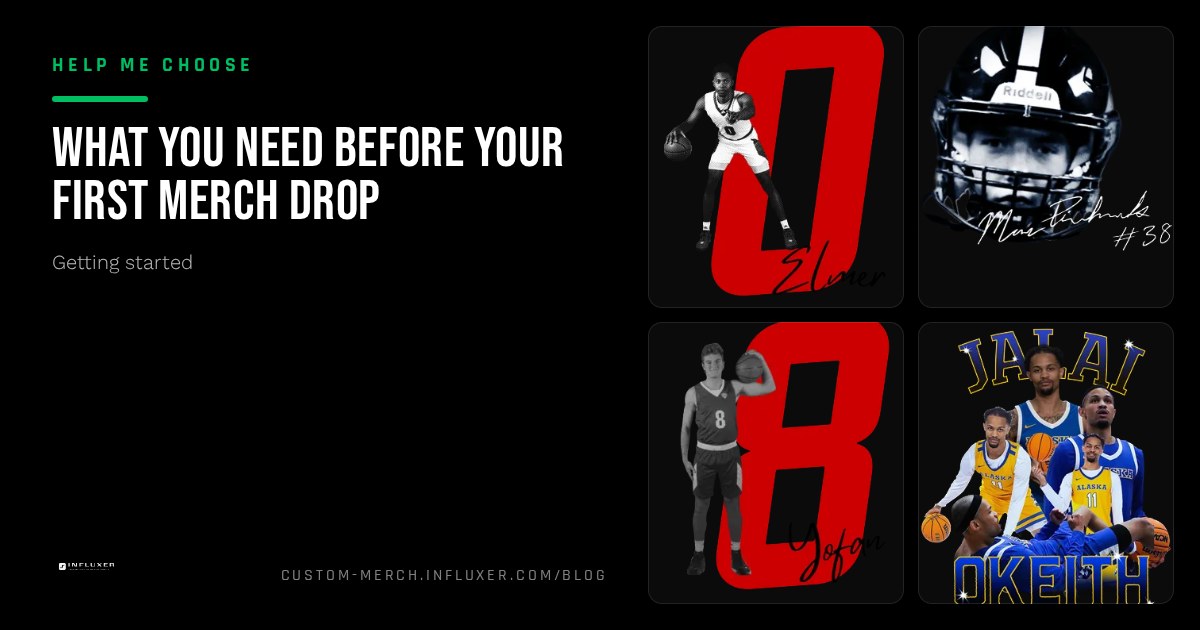
A merch drop is more than a single order. It usually means telling people it exists, so it is worth a little more preparation than a one-off shirt for yourself. The good news is that the preparation is mostly about decisions, not tools: you do not need design software, a printer, or a business license to start.
This is a practical rundown of what actually needs to be ready before you open the studio, whether you plan to upload your own artwork or start from a ready-made design. Some of it is about the product itself, and some of it is about the small logistics people forget until they hit the Info step.
None of this needs to be perfect on the first pass. Drafts auto-save, so you can gather half of what you need, start, and come back for the rest.
A design, or a plan to get one fast
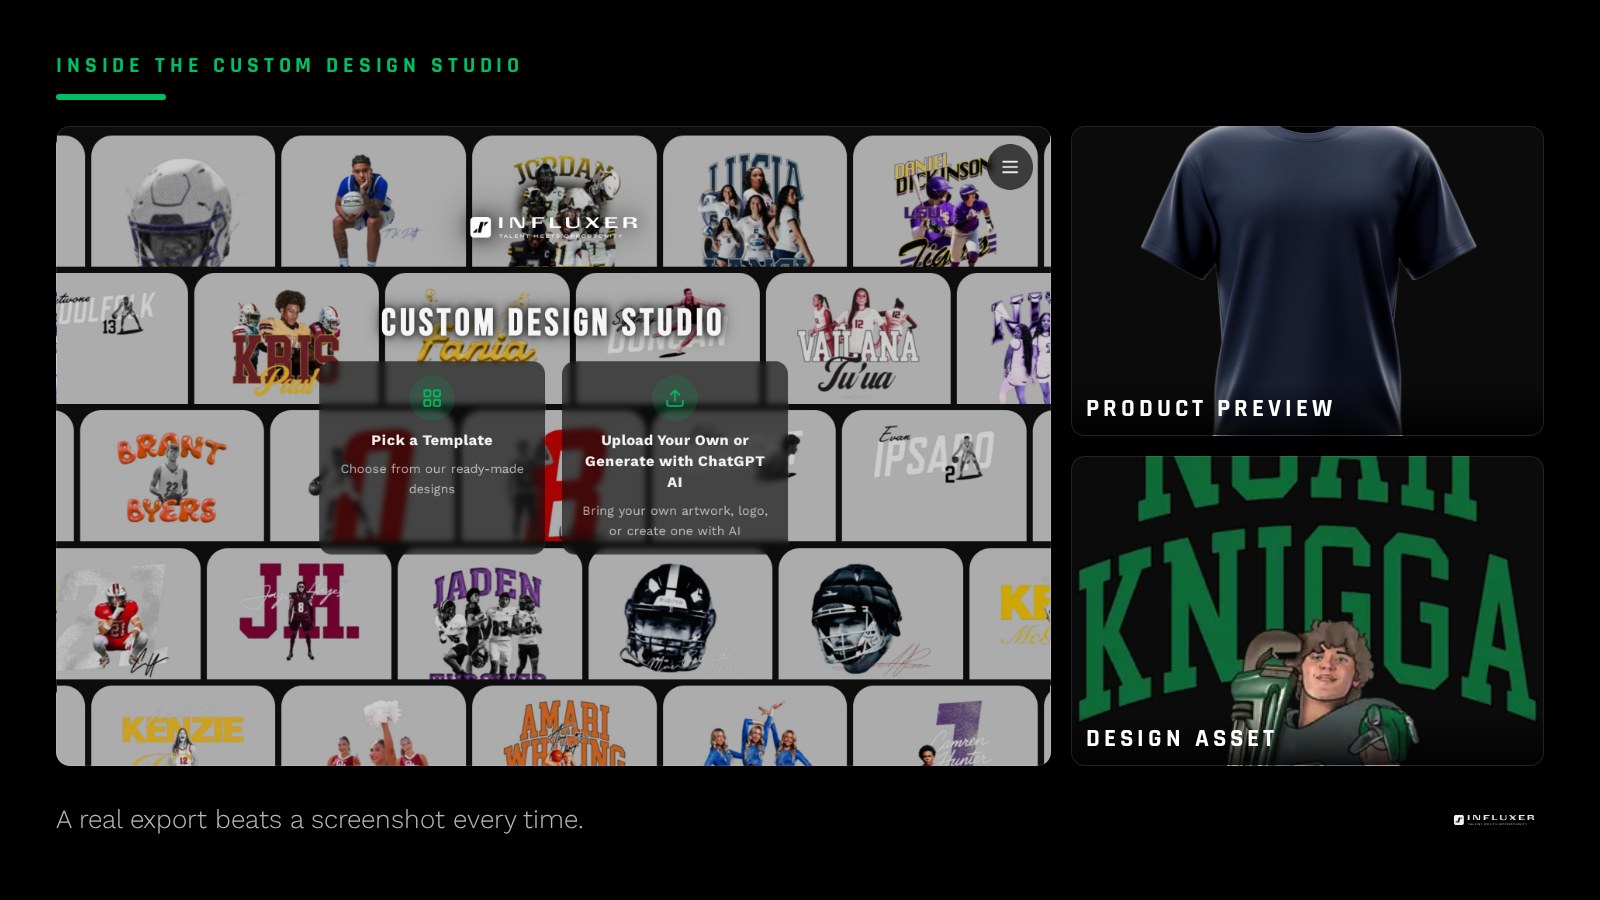
If you already have artwork, make sure it is a real file, not a screenshot. A design pulled from Instagram at 1080 pixels wide will look soft once it is enlarged to an 11-inch chest print. Export a proper version before your drop, ideally a transparent PNG or a vector SVG/PDF.
If you do not have artwork, a ready-made design removes this entire problem. You are choosing a finished layout and adjusting colors rather than sourcing or creating a file, which is often the faster route for a first drop with a real deadline.
Garment and color decisions that hold up across a drop
A single shirt for yourself can use any color you like. A drop, where multiple people will see and maybe buy it, benefits from colors that work across different skin tones, lighting, and photos. Neutral bases like Ivory or Pepper, paired with a bold accent, tend to photograph consistently.
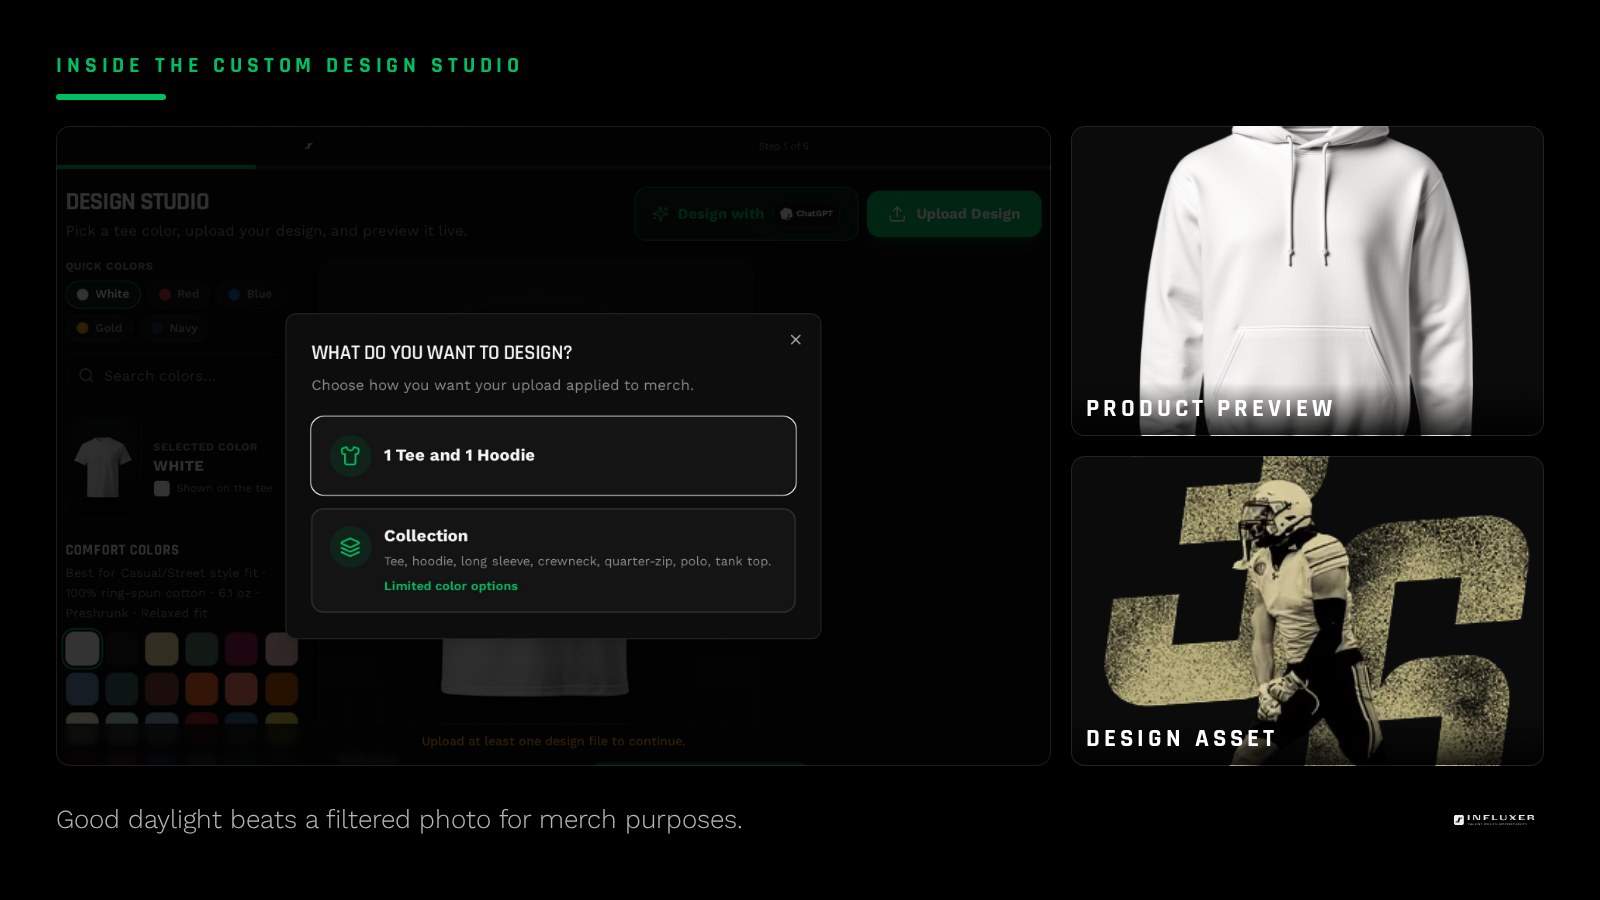
Decide early whether you want one design across multiple garments, tee and hoodie together, or a single simple item to start. The collection upload variant exists specifically for the first case, applying one design across multiple garments and colors at once.
Know who the merch is actually for
Before you reach the Info step, have a clear answer for whose name, number, or details belong on the order. If this drop is for a team or a teammate rather than yourself, decide that up front so you are not guessing at details mid-flow.
This matters more than it sounds like it should, because the Info step ties your submission to a specific person for production and contact purposes, not just a design file.
A photo, if you plan to promote the drop
The Photo step in the studio is optional, but if you intend to promote your drop on social media separately, it is worth having a clean, well-lit photo ready regardless. A photo taken in good light with a plain background reads better in a preview than a dark or busy one.
You do not need a professional shoot. A photo taken on a phone in daylight, without heavy filters, is usually more useful for merch purposes than a highly edited one.
A rough timeline, even a loose one
You do not need a firm date locked in, but knowing roughly when you want the drop out helps you decide how much time to spend deciding between colors or design tweaks. If you have a hard deadline, like a senior night or signing day, work backward from it so review and any requested fixes have room to happen.
If you have no deadline at all, take the extra time to preview your design across a few garment colors before committing, since there is no pressure forcing a rushed decision.
Decide your account approach ahead of time
The Info step will ask whether you want to look up an existing Influxer account, get a signup link, or continue manually without one. None of these is required to complete your submission, so decide which you prefer before you get there rather than pausing mid-flow to figure it out.
Gather this before your first drop
- A print-ready file if uploading, or a shortlist of ready-made designs you like.
- Garment choices: tee, hoodie, or both.
- Colors chosen with your artwork or template in mind.
- A clear answer for whose name and details go on the order.
- A clean, well-lit photo if you plan to promote the drop separately.
- A rough timeline, even if there is no hard deadline.
- Your account preference: lookup, signup, or manual.
Frequently asked questions
Do I need a professional photographer for a merch drop?
No. The Photo step is optional, and a clear phone photo taken in good light is usually enough. Save a professional shoot for later drops if the merch line grows.
What if I am still deciding between upload and a ready-made design?
That is normal. Compare both at /start before you commit, since neither path is a worse choice and both feed into the same five-step studio.
Should I plan colors for one shirt or a whole collection?
Decide this before you start. If you want one design applied across multiple garments and colors, the collection upload variant is built for that; a single item is faster if you just want to test the idea first.
Do I need to finish all this preparation before opening the studio?
No. Your progress auto-saves as a draft, so you can start with what you have ready and fill in the rest later using a resume link.
Compare both paths — See upload and ready-made designs side by side before you choose.
Watch the studio walkthrough — Short videos covering every step of the design studio.