Help me choose
The Five Steps of the Influxer Custom Design Studio
A step-by-step breakdown of Design, Photo, Signature, Info, and Review, so you know exactly what each screen will ask you to decide.
By Influxer · Published 2026-08-16 · Updated 2026-08-16 · 5 min read
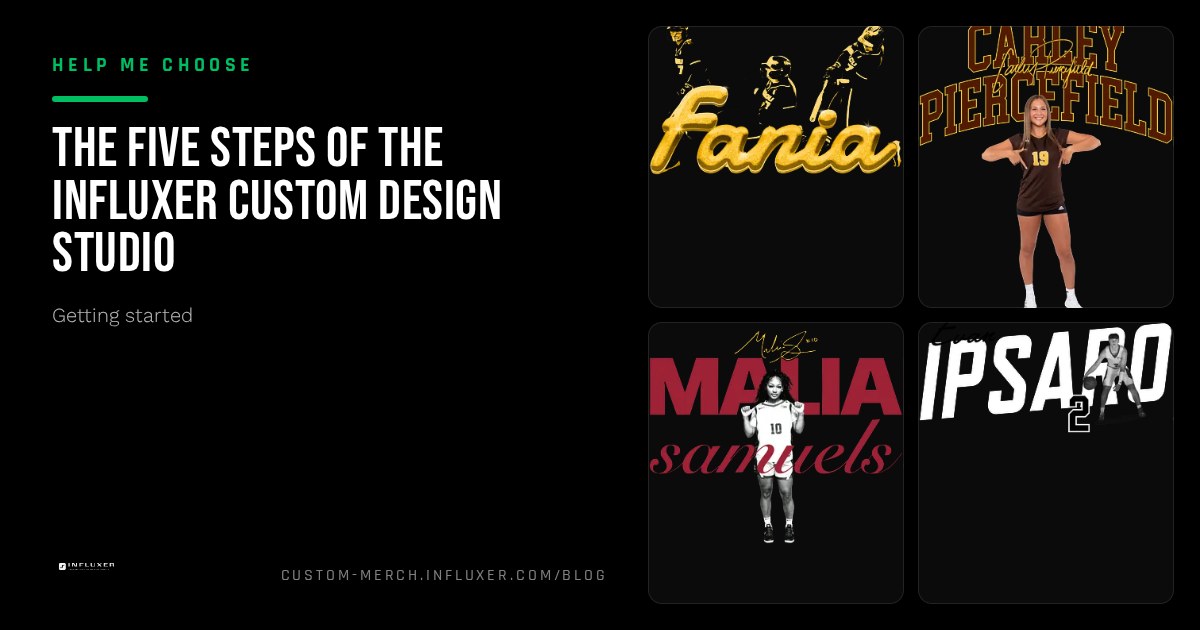
The Influxer Custom Design Studio is structured into five distinct steps. That is a deliberate choice: providing enough structure to catch technical print problems before they reach production, without adding so much complexity that a first-time user gives up halfway through.
This article walks through the Design, Photo, Signature, Info, and Review steps in their exact sequence. Whether you have chosen to upload your own artwork or use a ready-made design, the mechanics of these steps remain consistent, providing a reliable path to taking live your custom merch.
Crucially, none of these steps require you to finish in a single sitting. Your progress auto-saves as a draft the entire way through, allowing you to pause, gather more information, and return when you are ready.
By the time you reach the final submission, you will have had multiple opportunities to refine your vision. Let's look at each step in detail so you can move through the studio with confidence.
Step 1: Design
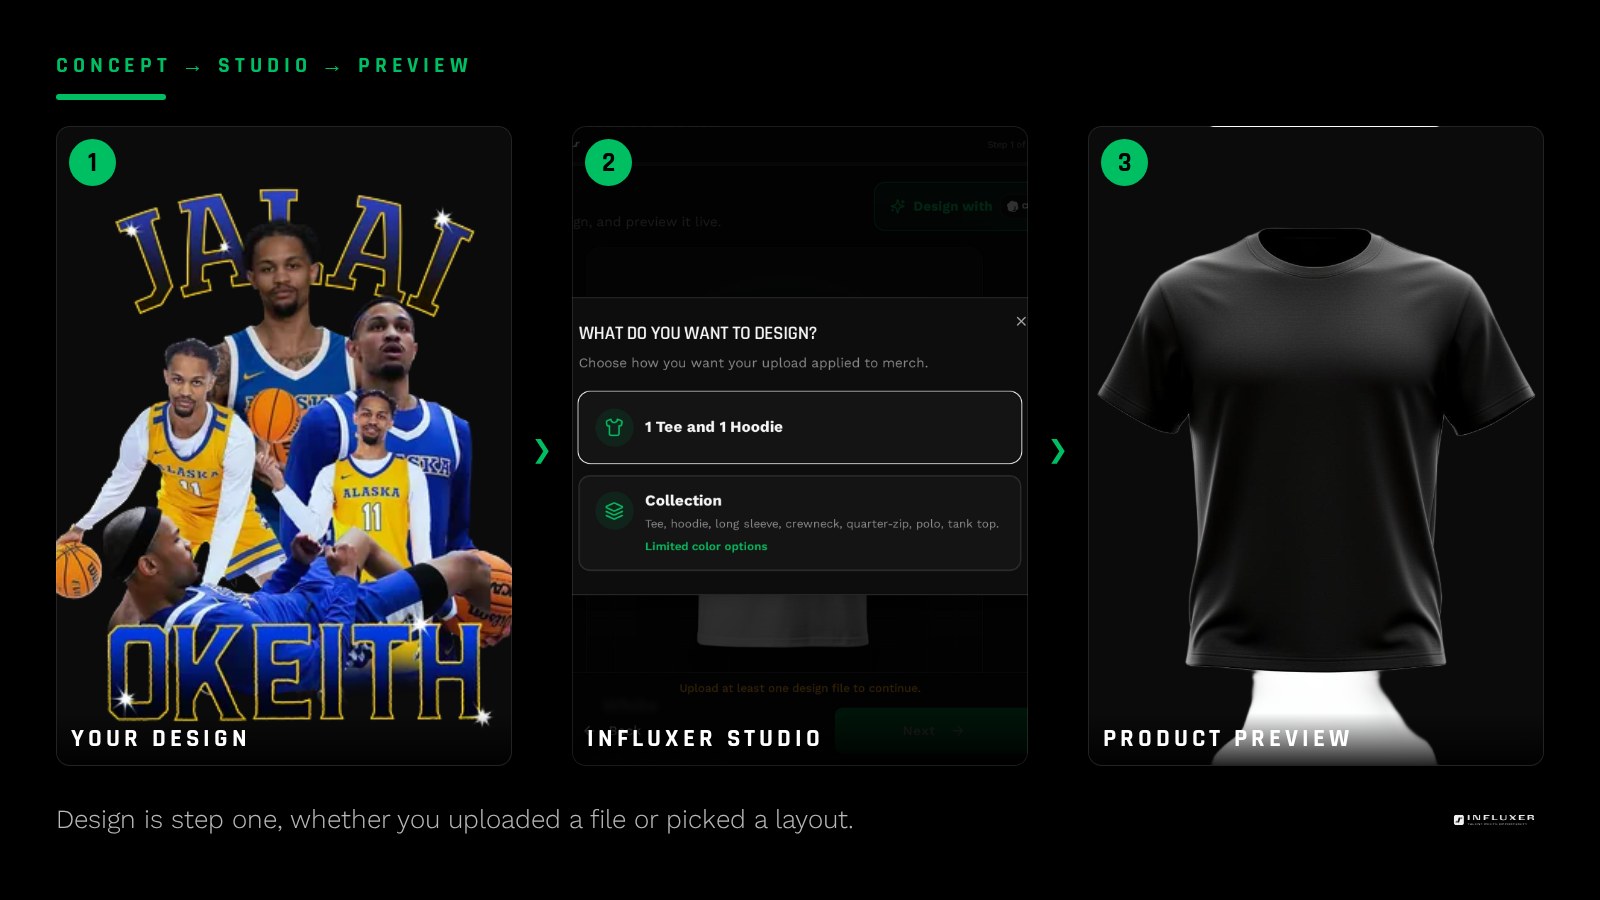
Design is the foundational step where your artwork or your chosen ready-made layout gets placed onto a real garment mockup. If you are in the "Upload Your Own" path, this is where you position, scale, and crop your file inside the defined print area. If you chose the "Pick a Template" path, you are selecting layout variants and garment colors.
The mockups you see here are accurate renderings of the actual garments—whether it's a tee, a Comfort Colors 1717, an SS4500 hoodie, or a crewneck. This is the moment to catch designs that might disappear against certain fabric colors or look smaller than you intended.
It is worth spending an extra minute here toggling between different garment types. A design that looks perfect on a t-shirt might need a slight adjustment for a hoodie due to the front pocket placement. The Design step gives you the tools to make those calls early.
- Upload path: precisely place, scale, and crop your artwork inside the print area.
- Ready-made path: choose from tested layout variants and a range of garment colors.
- Both paths: preview your work on garment mockups before proceeding.
Step 2: Photo
The Photo step allows you to add a supporting image, such as an action shot or a headshot, to your submission. This step is entirely optional. If you don't have a photo ready or simply prefer a text-based design, you can move straight to the next step without any technical issues.
If you do choose to add a photo, prioritize high resolution and even lighting. A clean, uncluttered background makes the integration much smoother and more professional.
Step 3: Signature
Signature is often a point of confusion for first-time users, but the answer is simple: it is optional and skippable. There is no downside to moving past this screen without an upload, and it does not affect the "completeness" of your order.
This step exists for athletes who want to include a digital version of their signature on their merch, which can add a high-end, authentic feel to a drop. If you don't have a clean signature file ready, just hit the next button.
Step 4: Info
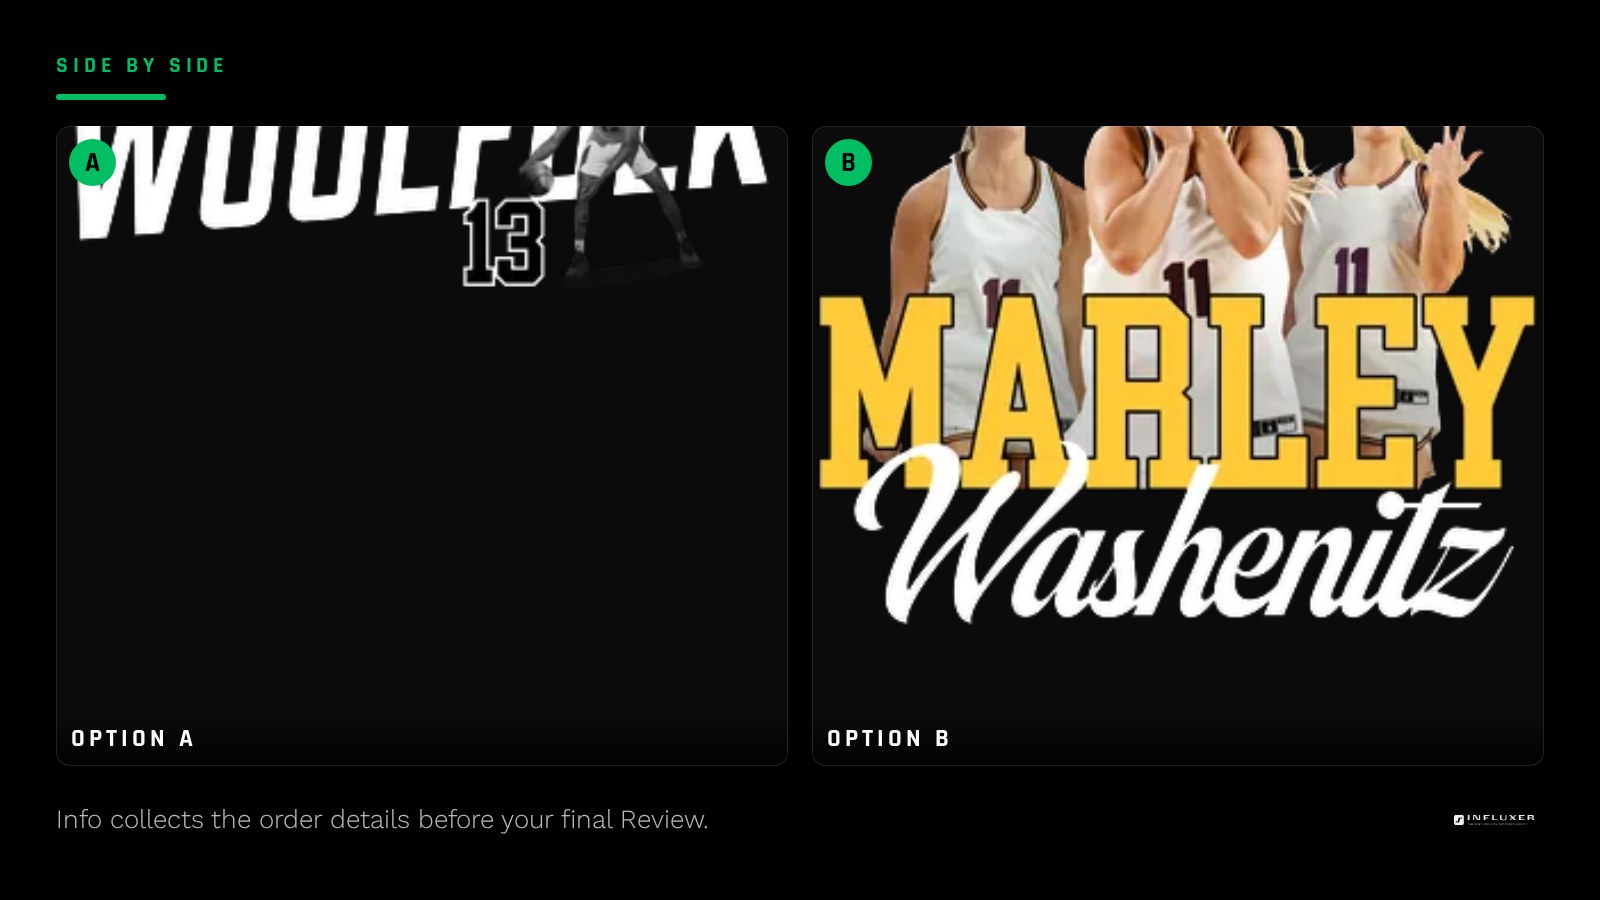
The Info step is where the studio collects essential details: your full name, contact information, and school, sport, or jersey number. This data ensures your merch is correctly categorized and that we can reach you if there are technical questions.
This is also where you make a choice about your account: you can look up an existing account, create a new one, or continue manually. A full account is not required to finish; the manual option is a fast, no-commitment way to get to Review.
Step 5: Review
Review is your final checkpoint. You will see a summary of everything: the design mockup, garment colors, any photo or signature, and the contact info you provided. This is your last chance to catch a typo or a color choice you want to swap.
Once you hit the submit button, your order is sent to the Influxer team for a technical review. A human checks the artwork against print requirements like resolution and placement. If they find an issue, they will reach out with a specific fix.
This human-led review is what ensures that when you finally take live your store, the physical products meet the highest quality standards.
The power of the auto-save
Every action you take in these five steps feeds into a persistent draft. This is why you can leave the studio after the Design step and return days later without losing your progress. The act of entering information triggers the save automatically.
Because these same five steps apply whether you are a DIY designer or a student athlete picking a template, the process becomes second nature very quickly. Once you understand the flow, you can take live new designs in just a few minutes.
Your checklist for the studio flow
- Design: place your art on a real garment mockup and check colors.
- Photo: optionally add a high-res image; skip if you don't have one.
- Signature: optionally upload a signature file; skip to keep things simple.
- Info: provide your details and choose an account path.
- Review: check every spelling, color, and placement one last time.
- Auto-save: trust that your progress is being saved.
- Human review: know that a technical expert will check your files.
Frequently asked questions
Can I really skip the Photo and Signature steps?
Absolutely. Both are optional parts of the flow. Skipping them does not block you from reaching the Review step or submitting a complete order.
How does the process change for different design paths?
The five steps stay identical regardless of the path. The only difference is what happens inside the Design step: the "Upload" path focuses on file placement, while the "Template" path focuses on layout selection.
What exactly does the Influxer team check at the end?
The technical review focuses on print readiness. They check for things like image resolution, background transparency, and whether the design placement is safe for the specific garment.
How long does it take to move through all five steps?
If you have your files and info ready, you can finish in under ten minutes. The auto-save feature lets you take as much time as you need.
Compare both paths — See upload and ready-made designs side by side before you choose.
Watch the studio walkthrough — Short videos covering every step of the design studio.