Bring your own
How to Remove the Background From a Logo for Merch
A background remover can leave a faint halo or ragged edge behind. Here is how to remove a background properly and check the result.
By Influxer · Published 2026-08-16 · Updated 2026-08-16 · 4 min read

Most logos that need a background removed start life as a screenshot, a photo of a printed piece, or an old export from a tool that only supported flat white canvases. Getting a clean cutout matters because any leftover background pixels show up as a box or a faint fringe once the design lands on a colored garment.
This guide covers the fastest ways to remove a background depending on what kind of logo you have, the mistakes automatic tools commonly leave behind, and how to confirm the result before you upload it to the Influxer studio.
Match the method to the logo type
A flat logo made of solid colors and clean edges, like a wordmark or a simple icon, is usually easiest to clean up with a magic wand or color-select tool in any image editor, since the background is one consistent color you can select and delete in a couple of clicks.
A logo with shading, a photo element, or soft edges is harder to isolate cleanly by hand and is where an AI-based background remover tends to do better, since it can follow irregular edges a simple color selection cannot.
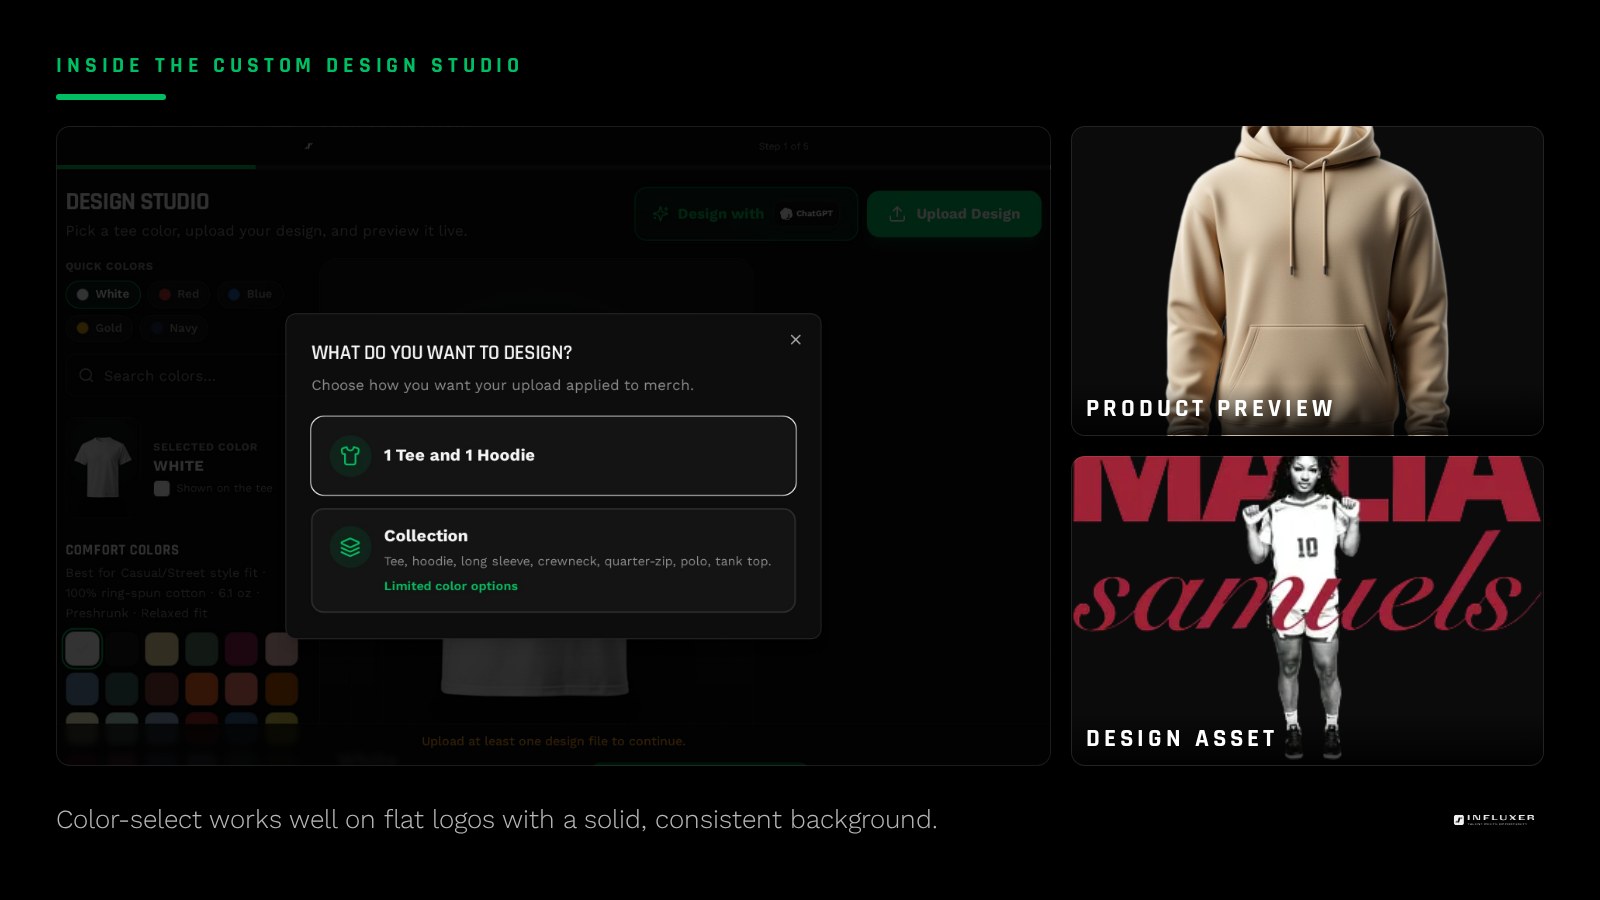
Using a color-select tool for flat logos
Open the file in any editor with a magic wand or similar selection tool, click on the background color, and delete the selection to leave transparency behind. If the background has any gradient or texture, increase the selection tolerance slightly and select in a few passes rather than trying to catch everything in one click.
After deleting, zoom in around the edges of the logo. A hard color-select often leaves a thin ring of the original background color still clinging to the artwork, sometimes called a fringe, which needs a second small selection pass to clean up.
Using an automatic background remover
Automatic tools, including the AI logo helper available in the Design step of the Influxer studio, work well on most photo-based or complex logos and save significant time over manual selection. They are not perfect on every image, particularly logos with colors close to the background or very fine detail near the edges.
Always review the result at 100 percent zoom rather than trusting the tool blindly. The most common issue is a faint gray or semi-transparent fringe left around the edges, which is visible once placed on a dark garment even though it looks fine on a white screen.
Fixing a fringe or halo after removal
If you spot a fringe, most editors have a way to shrink the selection by a pixel or two before finalizing the cutout, or a "defringe" or "matte cleanup" filter that removes a thin border of leftover background color. Applying either usually solves the problem without redoing the whole removal.
For stubborn cases, zoom to the affected area and manually erase the remaining pixels along the edge, working slowly enough to avoid cutting into the actual artwork.
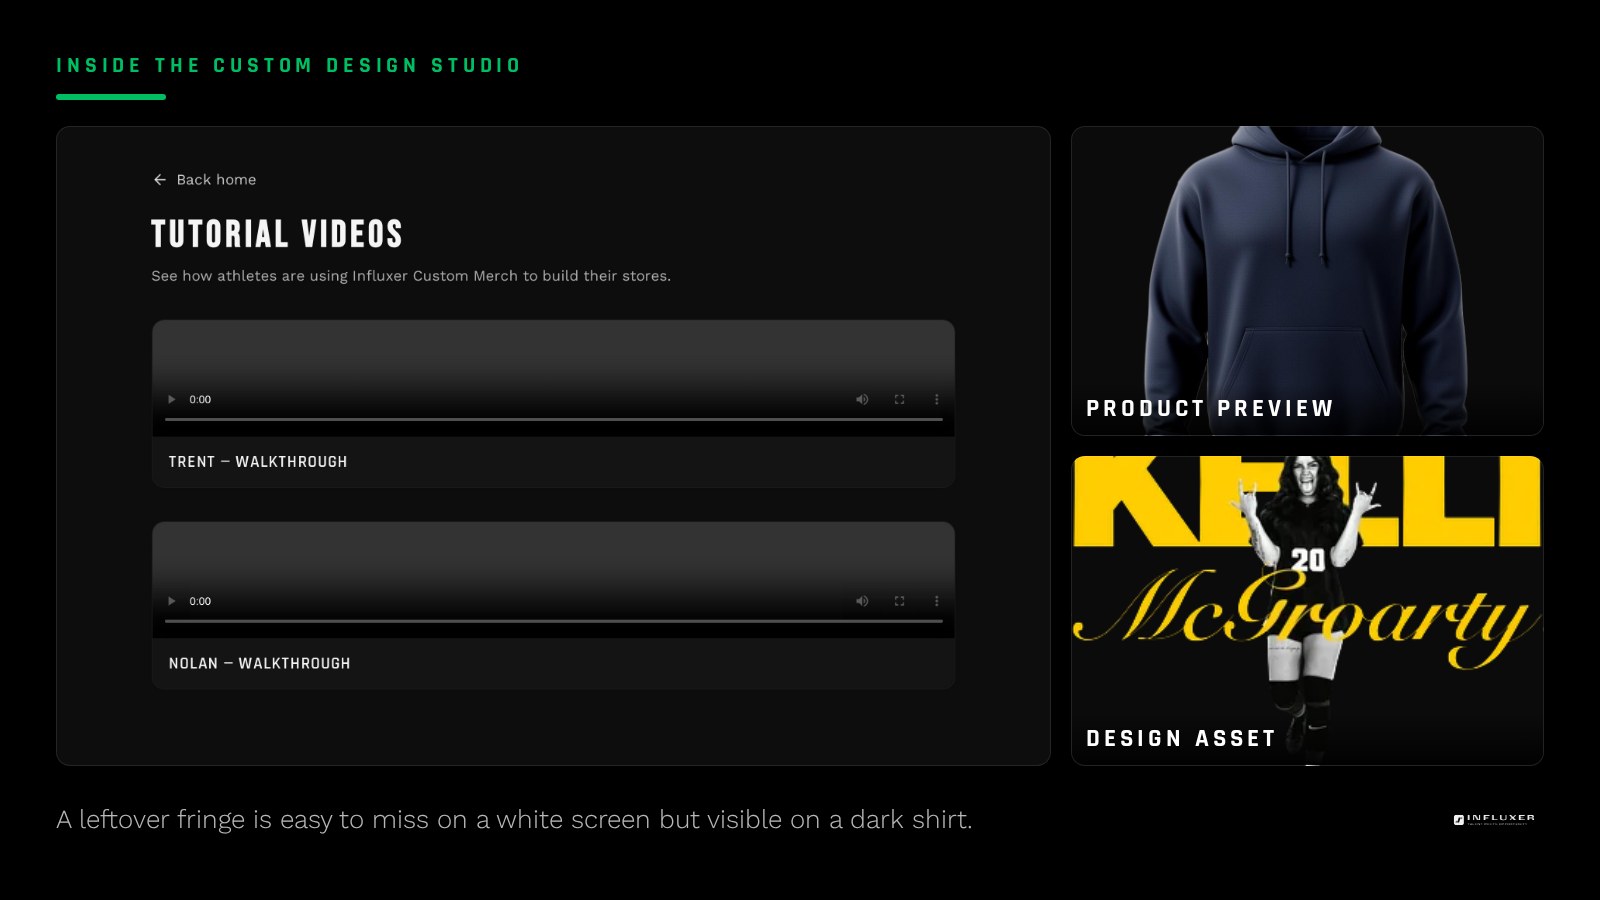
Exporting the cleaned-up logo
Once the background is removed, export as PNG with transparency enabled, not JPG, since JPG cannot store the transparent areas you just created and would simply refill them with a solid color. Keep the export at the largest pixel size your source supports, since removing a background does not change resolution, only what surrounds the artwork.
If the original logo also exists as a vector file, consider redrawing it as a vector instead of cleaning up a raster cutout, since a vector version scales to any print size without needing this process repeated.
Checking the result before you upload
Place the finished file over a solid black background to confirm no rectangle, halo, or fringe remains. This single test catches almost every leftover background issue that a white-canvas preview would hide completely.
Once it passes, upload it to the studio and preview it on the actual garment mockup, including a darker color if your drop includes one, since that is the final confirmation that the cleanup actually worked.
Removing a logo background cleanly
- Choose color-select for flat logos, an AI remover for photo or shaded logos.
- Zoom to 100 percent and inspect edges after removal.
- Clean up any fringe with a defringe filter or manual erase.
- Export as PNG with transparency, never JPG.
- Keep the largest pixel size your source supports.
- Test the result over a solid black background.
- Preview on a dark garment mockup before finalizing.
Frequently asked questions
What is the fastest way to remove a background from a simple logo?
For a flat logo with a solid-color background, a magic wand or color-select tool in any image editor is usually fastest. Click the background, delete it, and check for any leftover fringe around the edges afterward.
Why does my logo still have a faint edge after removing the background?
Automatic background removers can leave a thin, semi-transparent fringe of the original background color around the edges. A defringe filter or a second cleanup pass usually removes it.
Can I use the AI logo helper in the studio to remove a background?
Yes, the Design step includes an AI logo helper that can generate artwork with a transparent background already applied, which is useful if you are creating new artwork rather than cleaning up an existing file.
Do I need to remove the background if I only print on white shirts?
A hidden background is invisible on a white shirt, but if your drop includes any other garment color, that same file will show a visible box, so it is worth removing before you upload either way.
Upload your cleaned-up logo — Preview the finished cutout on a real garment mockup, including dark colors.
Watch the studio walkthrough — See how the AI logo helper handles background removal.