Bring your own
How to Resize a Logo for a Shirt Without Wrecking It
Resizing a logo the wrong way stretches it, softens it, or throws off its proportions. Here is how to do it correctly for print.
By Influxer · Published 2026-08-16 · Updated 2026-08-16 · 4 min read
Resizing a logo sounds like the simplest step in getting a design ready for a shirt, and it is, right up until someone drags a corner handle without holding the proportion lock, or scales a small file up to fill a print area it was never built for. Both mistakes are easy to make and easy to avoid once you know what to watch for.
This guide covers the difference between scaling down (usually safe) and scaling up (usually risky), how to keep proportions locked, and how the two file types, raster and vector, behave completely differently when resized.
Scaling down is almost always safe
Taking a large, high-resolution logo and making it smaller for a left chest placement rarely causes problems, because you are discarding detail the print did not need anyway rather than inventing detail that was never there. A 4000-pixel-wide PNG scaled down to 1200 pixels for a chest mark will look just as sharp as the original at that smaller size.
The one thing to watch when scaling down is fine detail becoming too small to read. A logo with a small tagline or thin serif font that reads fine at full front size may turn to mush at left chest size, independent of resolution, simply because the detail is now physically tiny on fabric.
Scaling up is where problems start
Enlarging a raster file, meaning a PNG or JPG, beyond its native pixel dimensions forces software to invent pixels that were never captured, which is what produces the soft, slightly blurry look on a finished print. There is no setting that avoids this for a raster file; the only real fix is starting from a larger or vector source.
A useful gut check: if you have to enlarge a file more than about 25 to 30 percent above its native pixel size to fill your intended print area, treat that as a resolution problem, not a resizing problem, and go back to check whether a larger source file exists.
Why vector files sidestep the whole issue
A vector logo, saved as SVG, EPS, or PDF, stores shapes as math rather than pixels, so scaling it up or down produces identical sharpness at any size. If your logo exists as a vector file anywhere, always resize from that source rather than a flattened PNG export of it.
This is one of the strongest reasons to keep a vector master copy of any logo you plan to reuse across a left chest mark, a full back print, and a hoodie sleeve hit, since one file then covers every size cleanly.
Keep proportions locked
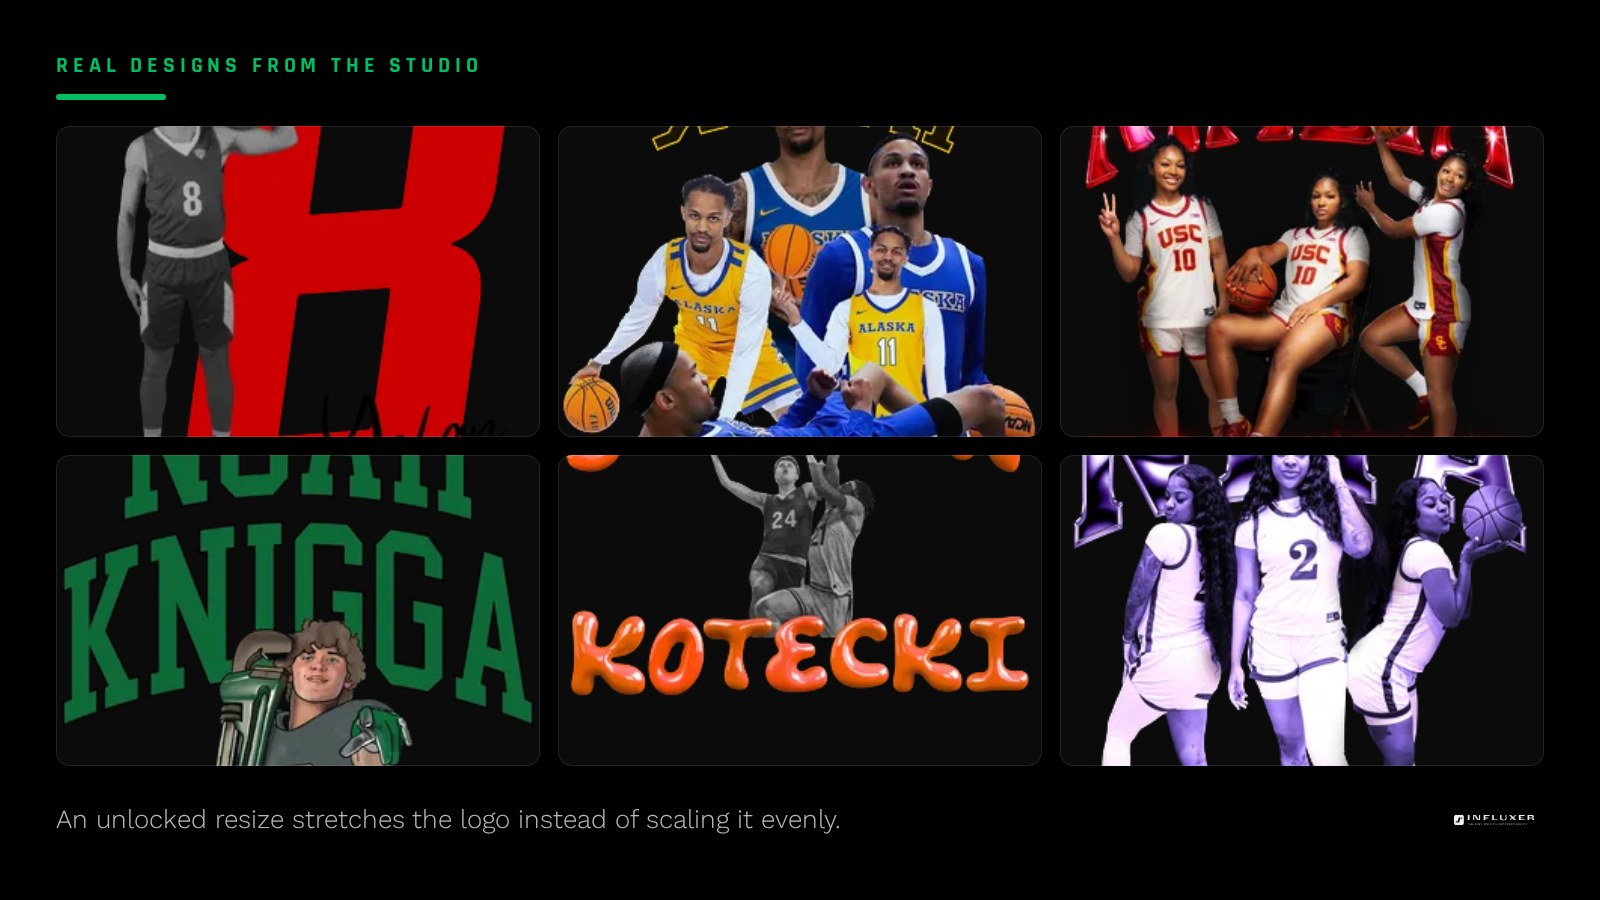
Almost every image and design tool has a link or lock icon next to the width and height fields; keep it engaged whenever you resize. An unlocked resize that changes width and height by different amounts stretches or squashes the logo, which is usually obvious to anyone who sees the original elsewhere.
If a tool does not offer a lock, calculate the second dimension yourself: divide your target width by the original width, then multiply the original height by that same ratio.
- Always resize with proportions locked.
- Scale down freely; scale up only from a vector or a much larger source.
- Recheck small text and thin details at the new, smaller size.
- Keep a vector master file when one exists.
Resizing for different placements on the same drop
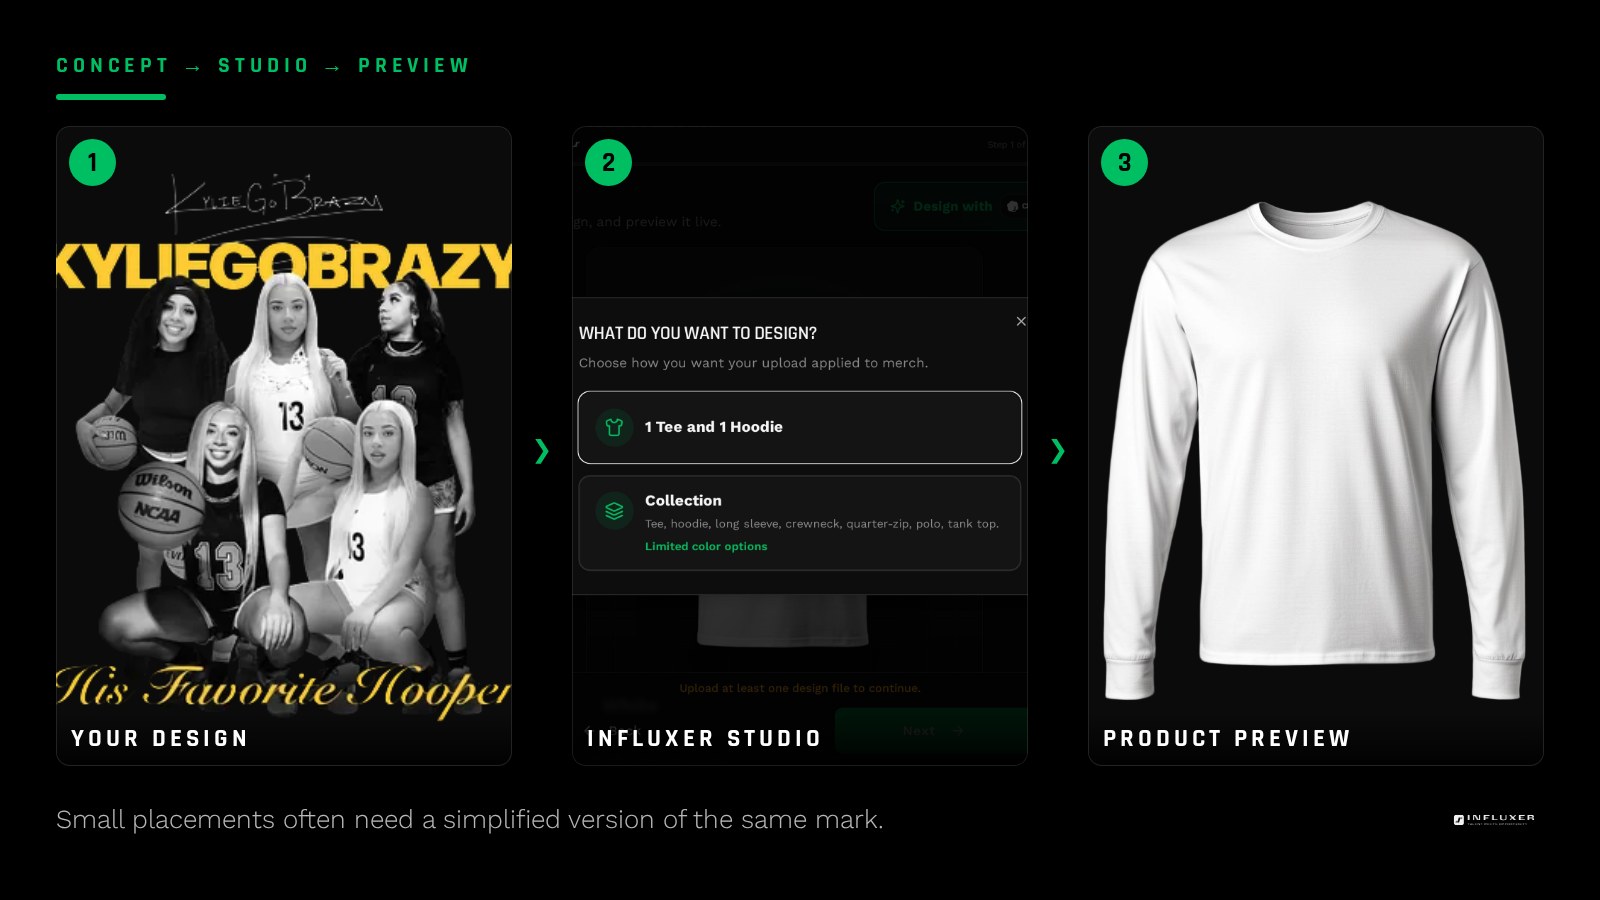
A logo built for a large back print rarely translates directly to a left chest mark, because fine details that read at a distance can disappear at four inches wide. Consider a simplified version of the logo for the smallest placements, keeping the core shape or initials and dropping secondary elements like a tagline or fine outline.
The Influxer studio previews your artwork directly inside each print area on the actual garment, so you can see immediately whether a resized version still reads clearly before committing to it.
What to check after resizing, before you upload
Zoom into the resized file at 100 percent and compare edges to the original. Look specifically at thin strokes, small text, and any fine detail near the edges of the logo, since these degrade first when a raster file is stretched.
If the resized version looks noticeably softer than the original at the same zoom level, go back to a larger source rather than trying to sharpen the current export, since sharpening filters add contrast around edges but do not restore lost detail.
Resizing a logo correctly
- Lock proportions before dragging any resize handle.
- Scale down freely from a high-resolution source.
- Avoid scaling a raster file up more than about 25 to 30 percent.
- Resize from a vector master file whenever one exists.
- Simplify fine details for the smallest placements like a left chest.
- Zoom to 100 percent after resizing to check edge sharpness.
- Preview the resized version inside the actual print area before finalizing.
Frequently asked questions
Is it safe to make a logo smaller for printing?
Yes, scaling a logo down is almost always safe since you are discarding detail the smaller print does not need. Just double-check that small text or fine details are still legible at the new size.
Why does my logo look blurry after I made it bigger?
Enlarging a raster file beyond its native pixel dimensions forces software to invent pixels that were never captured, which produces a soft look. The fix is resizing from a larger source file or a vector version, not adjusting settings on the current export.
How do I resize without stretching my logo?
Keep the proportion lock engaged in your design tool so width and height scale by the same ratio. If no lock is available, calculate the matching height yourself using the same scale factor you applied to the width.
Should I use a different version of my logo for a small placement?
Often yes. A simplified version that drops a tagline or fine outline usually reads better at a small left chest size than the full detailed version shrunk down, since fine details can disappear at that scale regardless of resolution.
Upload your logo — Resize and place your logo directly inside a real garment print area.
Not sure which path fits? — Compare uploading your own artwork with starting from a ready-made design.